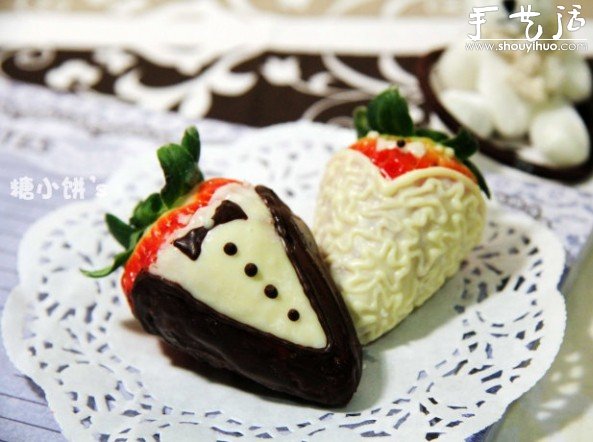
The simple method of making strawberry snacks was created by a netizen on Sina Blog. The editor looked really delicious and interesting, so I picked it up and shared it with you here. Please refer to the graphic instructions below for detailed production instructions. The only reminder is: you must eat it in time when you are done!
Main materials:
1 catty of strawberries, 1 box of white chocolate, 1 box of dark chocolate
Tools required:
Oiled paper, tape
Production steps:
Step 1:
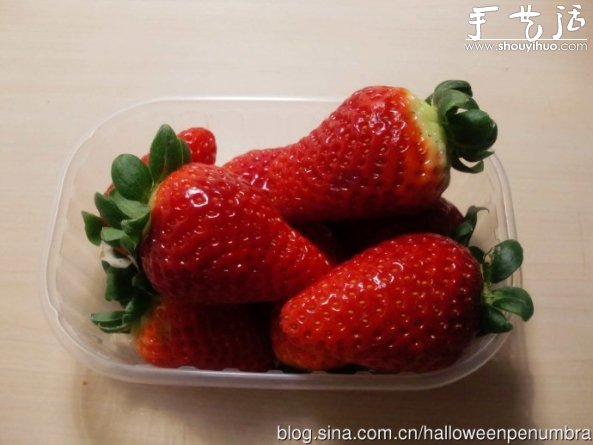
Wash the strawberries. Drain the water
Step 2:
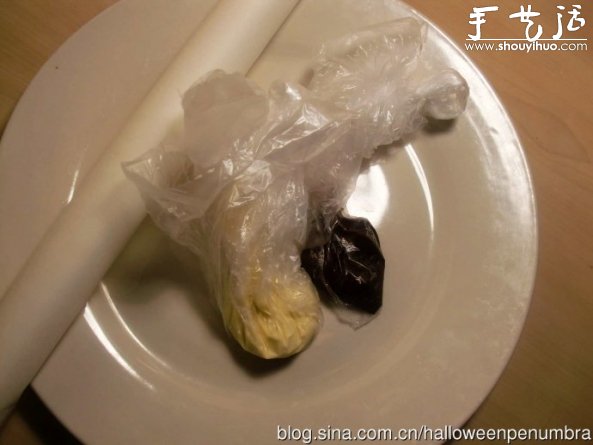
The black and white chocolate is heated and melted over water (the heating water temperature is 65°C. It is melted directly without tempering.)
It should be noted that I used ziplock bags to melt the chocolate because I was lazy. But its actually better in a bowl.
Because it is very difficult to put it in a plastic bag when dipping it in chocolate. Uneven. It is easy to leave traces of wrinkles on the fresh-keeping bag.
Also. Because it is a fruit chocolate snack. I don’t have high requirements for the taste of chocolate. So there is no temperature adjustment here
But chocolate is actually a very sensitive thing. Whether the tempering is done well or not has a significant impact on the taste. So of course it’s better to adjust the temperature
And from the colorTo put it bluntly, chocolates made casually like this are of course not as shiny as fine ones.
Step 3:
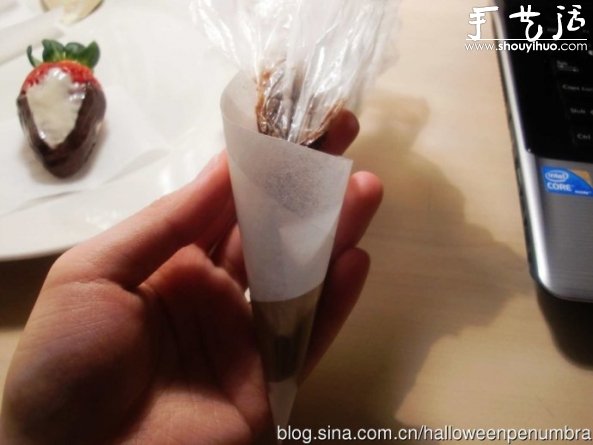
The oil paper is rolled into a tube shape. Use tape to stick it on (those who have decorating tools don’t have to go through this trouble =-=
Step 4:
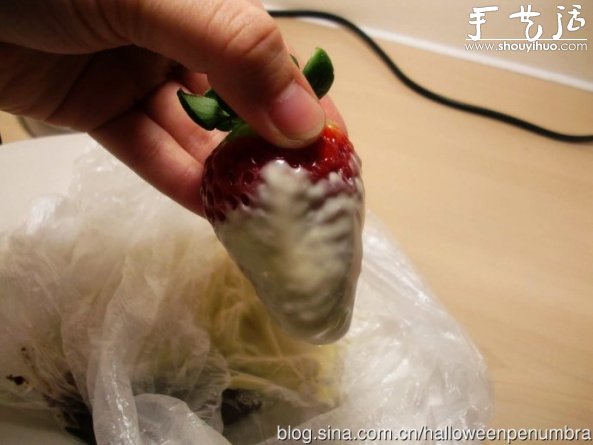
Groom’s chocolate: dip the middle in white chocolate
Step 5:
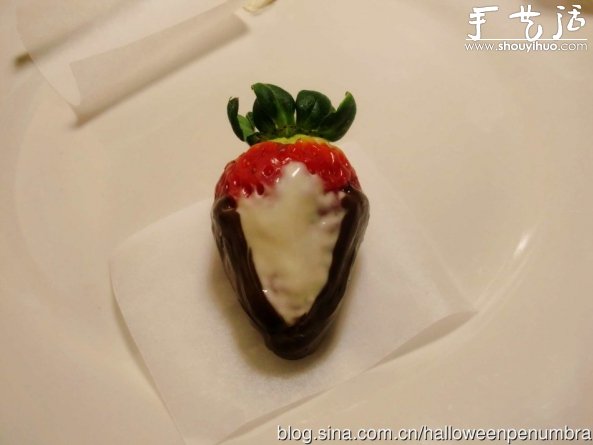
After drying, dip the left and right sides in dark chocolate once
Step 6:
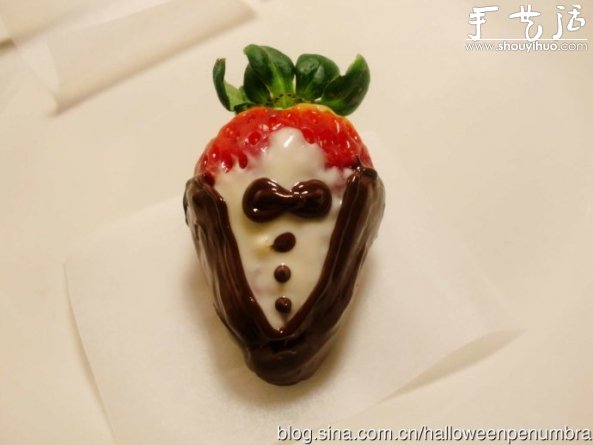
After drying, put the chocolate syrup into the prepared oil paper tube. Use scissors to cut a small hole at the tip.
Outline. Extrude the bow and buttons (the one taking the photo also added a little bit of white art to the bow)
Step 7:

Bridal Chocolate: Dip the left and right sides in white chocolate. Place in a cool and ventilated place to dry
Step 8:
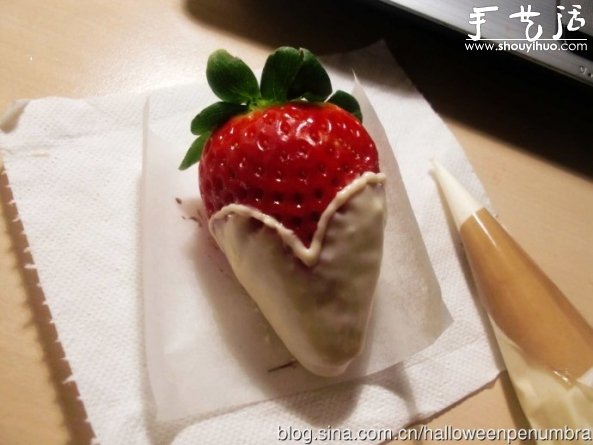
Put the white chocolate syrup into a paper tube. Outline the edges
Step 9:
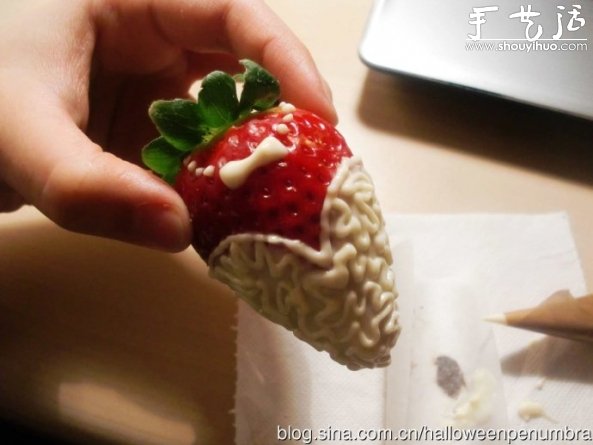
Put on a lace pattern and a bow necklace (the one in the photo also had a little bit of black art on the bow)
Step 10:
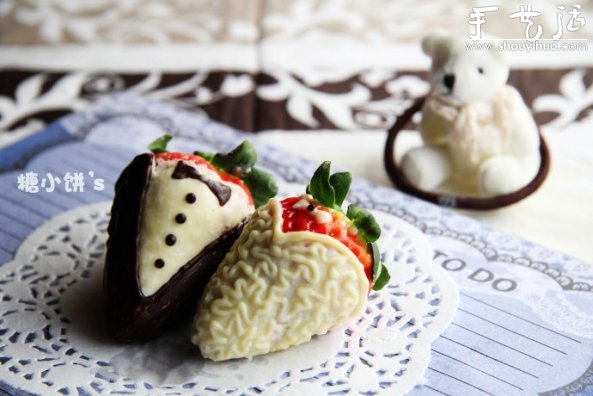
Then it’s done~


