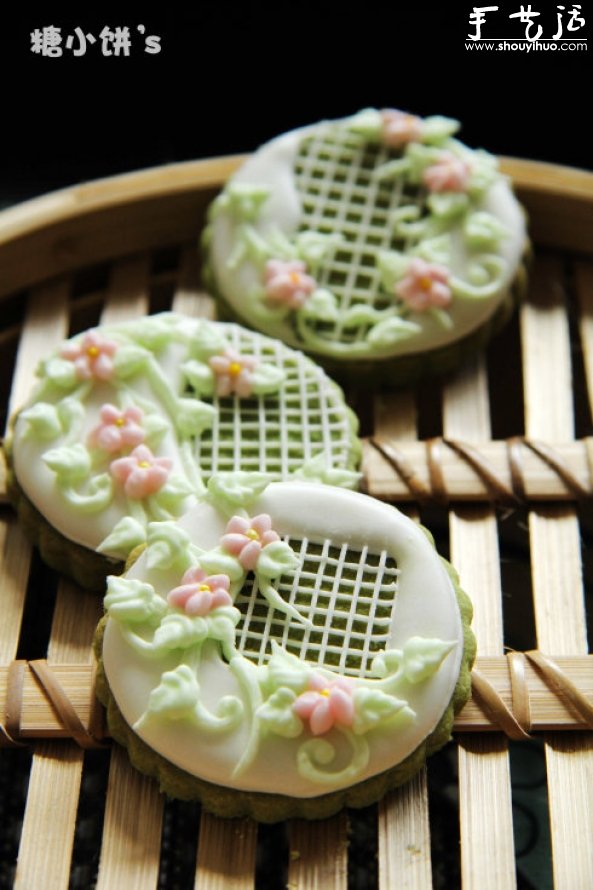
DIY tutorial for meringue biscuits, beautiful colors and patterns, you can’t bear to eat them! Girls who like baking can follow the detailed illustrated tutorial below. I highly recommend this craft activity to you. After you finish it, share it with your family and friends. This is one of the joys of life!
Main materials:
Matcha biscuits, low-protein sugar powder, red and green pigment
Tools required:
Noodle bowl, spoon, oven, plastic wrap, oil paper tube
Production steps:
Step 1:

Toasted matcha cookie base. Matcha changes color easily. So lower the baking temperature and extend the baking time.
Despite this, uneven coloring still occurs due to uneven baking temperatures
As for the biscuit recipes, I don’t recommend them here for the time being. Although it is a very delicious recipe
I want to try this recipe because it is decorated with coarse sugar on the surface to enhance the taste.
So I thought that when used to decorate meringue, it would not be too sweet but would have a very harmonious taste
But the texture of this biscuit is too crispy. Although there is no problem in using it as meringue decoration
Its just that its very easy to get damaged. I accidentally broke two pieces while making it = =
Step 2:
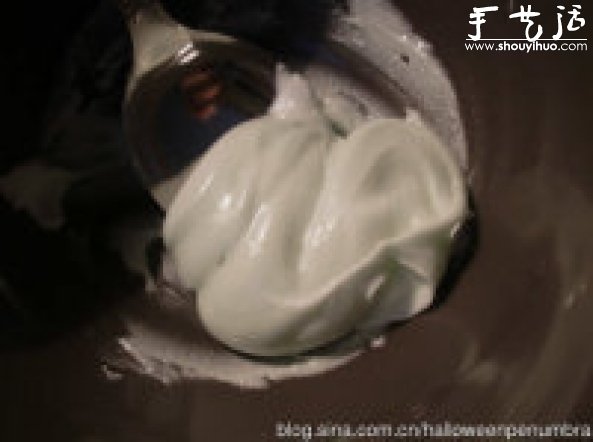
There are two types of meringue with different thicknesses. The thin ones are used for laying the foundation.
Step 3:
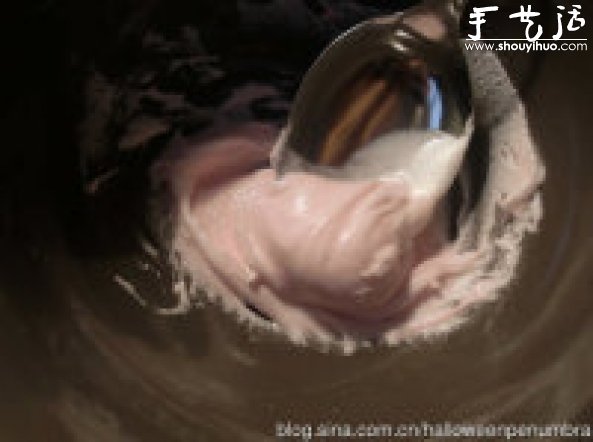
The thick one is used for flower decorations
Step 4:
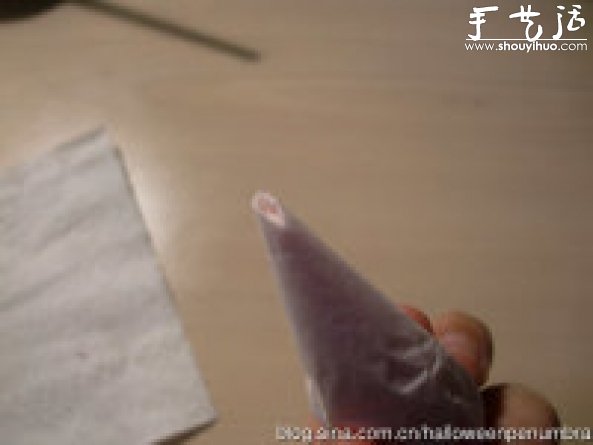
For floral decorations, divide some icing sugar into green and pink colors and put them in oil paper tubes.
Cut the green one into a round shape first. The red opening is cut diagonally into a drop shape
Step 5:
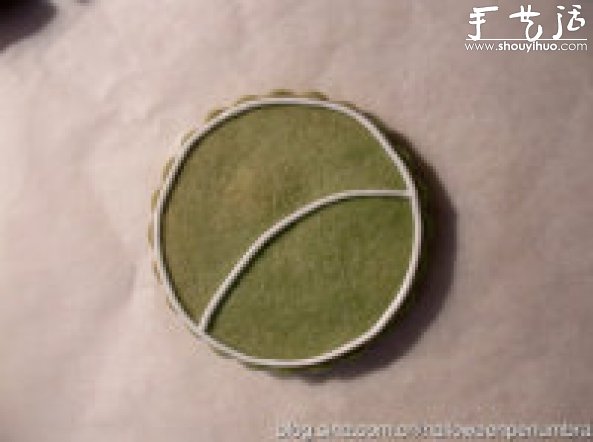
The white floral icing is first outlined on the cookie base
Step 6:
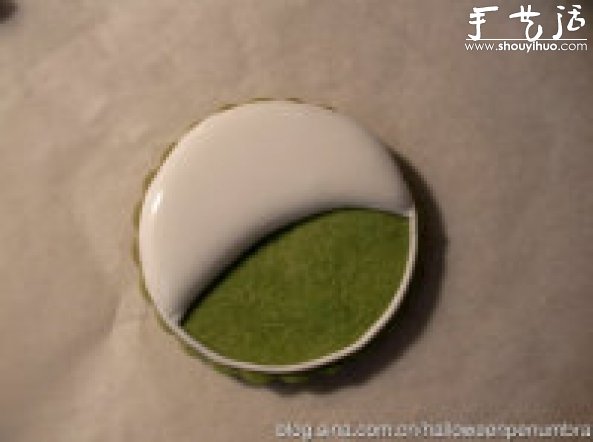
Then fill with icing sugar. Use a toothpick to help spread evenly
Step 7:
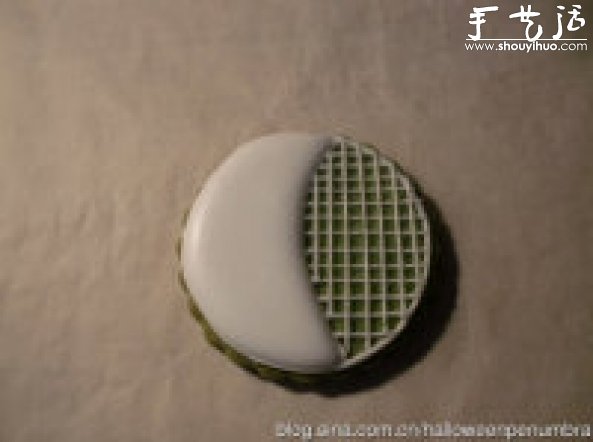
Then fill with icing sugar. Use a toothpick to help spread evenly
Step 8:
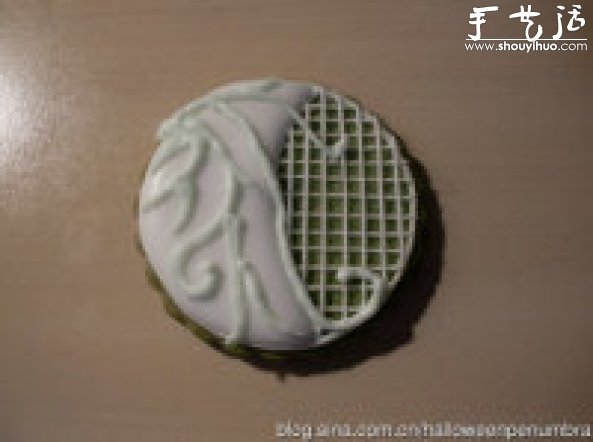
Use the pink one to squeeze out 5 petals. In the middle, I decorated it with yellow beads to make a flower center.
It’s the kind of mini candies that are on top of ice cream. If not, just use meringue in the center instead~
Step 9:
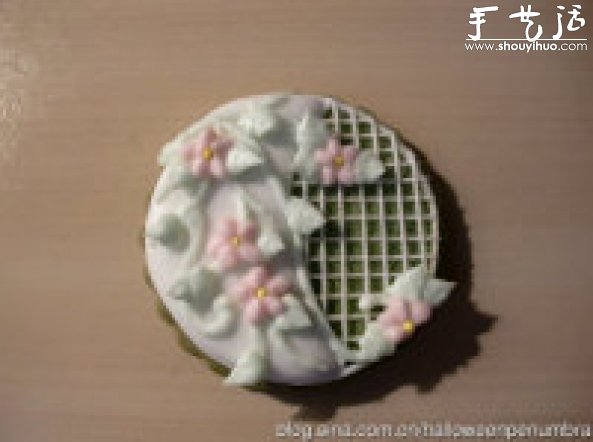
Finally, cut the opening of the green icing oil paper tube into a triangle. Squeeze out the leaves. That’s it
Step 10:
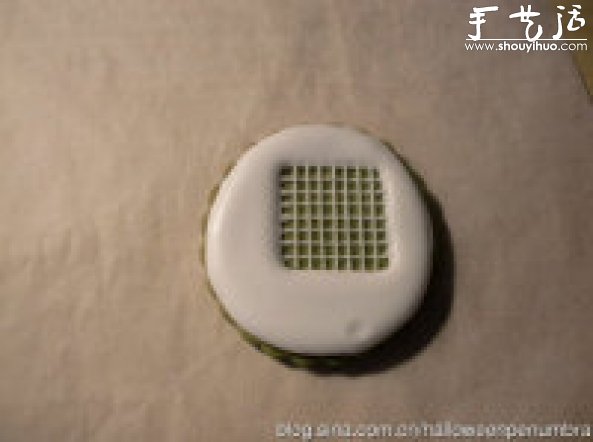
This is another one. You can see an indentation in the lower right corner of the cookie on the left. That was accidentally touched before the frosting was dry
Step 11:
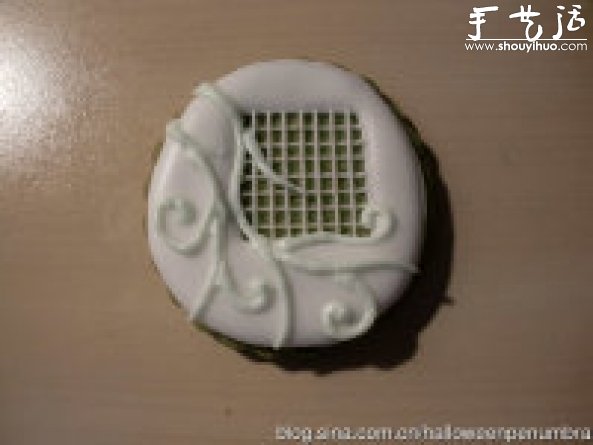
Fortunately, it is very convenient to cover that position =-= but you still have to be careful.
Step 12:

The rest of the process is the same. You’ll understand just by looking at the picture
Step 13:

This one is the same. In the same way, it can be used for various combination decorations~
Step 14:

The effect is great~


