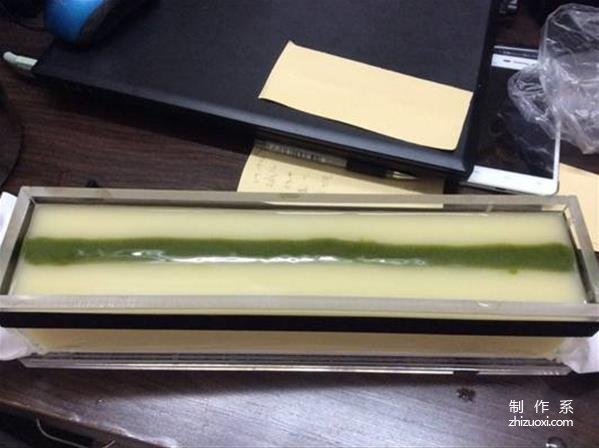

No. Step 1: Divide one-third of the soap liquid into T and add green juice powder to adjust the color. Pour the green soap liquid into the middle grid of the acrylic rendering mold, and pour the white (natural color) soap liquid into both sides. Be careful not to pour all the grid into one grid at once. Pour in one grid after it is full. This will make the partition easy to deform and the soap liquid to leak into other grids. Pour a little into each grid first to ensure that the bottom will not mix. Then slowly and evenly fill the other grids and remove them. The partition is ready to render.

Second step, use a thermometer to look at the lines and arrows drawn in the picture below Direction starts rendering

The following is the picture after the second step

The pattern has come out. Next, follow the third step of the diagram just to draw an S-shaped curve. If you look carefully, you can see the direction of the lines.

After the rendering is completed, you can take it to the incubator to keep it warm. The power will be cut off for 24 hours, and the soap will naturally release in the incubator. Remove from the mold after cooling

The above is the soap placed in reverse after being removed from the mold , then you can start cutting. You must not cut wrong, otherwise the rendered pattern will not be cut. I have a 30 cm long mold and want to cut each piece of 6 cm. Next, cut the soap vertically into 5 large pieces. Six centimeter long soap bar

Next, cut the large piece crosswise. The rendered pattern can be obtained. Please pay attention to the picture below. In which direction the surface pattern is, it must be cross-cut

The charm of rendering is that after cutting, there will be symmetrical and identical patterns. Below is a picture of all the cuts, taken at night, the light is not good
p>
The following is a real photo of the outdoor light during the day, which is also its original appearance. Oh, each pair has a heart shape in the middle, it’s amazing.


