This is also my first time doing it. I have been playing around with it for nearly a month. Generally speaking, the Cambridge bag is not difficult. If you follow the steps step by step, it will basically not be too bad. But in terms of details, you must do it before you understand it. It is said to be a must-have for beginners. The package made does make sense. Main materials: vegetable tanned leather wax 1.8mm

Prepare leather and pattern.

Unloading, Be sure not to rush, some small parts are quite difficult to cut.

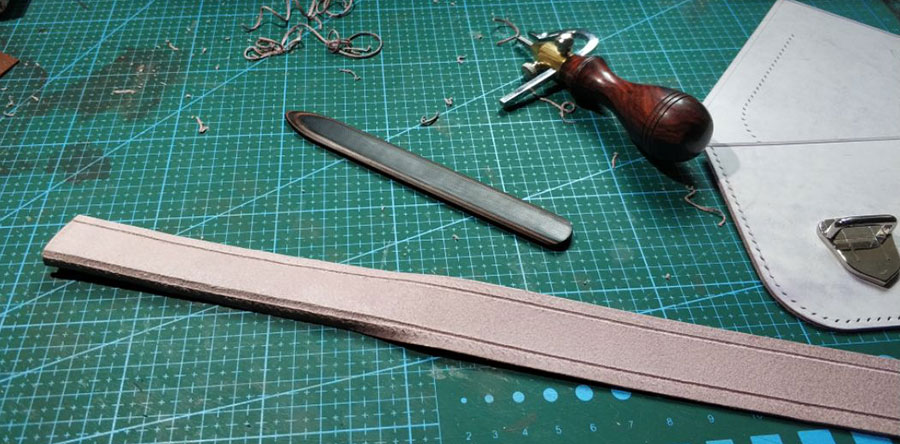
Pick out first Handle part. Back cover → press decorative line → edge trimming → edge sealing → cut and cut the positioning line. Note: Cut the edges without trimming them.

You can sew first Once you have a good grip, insert the strip into it. Remember to punch holes in the strip according to the pattern.

Pack cover hole.

Remove small parts . Back cover → punch holes. Be sure to seal the back first and then drill the holes, otherwise bed surface agent will easily accumulate in the holes.

Press the decorative line→ Edge cutting → edge sealing.

Cover and The two upper parts are punched according to the pattern.

Sew.

Seam handles , punch holes together after bonding.

On the other side, You need a glue with good stickiness, otherwise it may not stick.

Cover part Finish.

Stitch details .

Stitch details.

Handle details.

Take out the backpack. Back cover → Press the decorative line on the bag →Bag edge trimming→Bag edge sealing→Bag body pressing and cutting line→Edge trimming→Edge sealing.

Cut according to the version.

Sew.

Details.

Install hardware.

Install the buckle.

The front pocket roughly determines the location of the hardware.

Back cover.

Draw decorative lines.

Edge sealing.

The small side strips are also on the back cover.
< img src="https://img.111diy.com/timthumb.php?src=/d/file/fujian/29069fa68e74d3840edc1674370d45b7.jpg" alt="">
Note: The small side strips only need to be sealed with the side where the main body of the bag is sewn.< p style="text-align: center;">

Edge sealing.

Install the lower part of the buckle.

Not much to say, it depends on the version.

Dig grooves into the side strips and then bend the edges. The margins of the grooves should be wider than the holes and the depth should be moderate. It’s easy to dig through if it’s too deep, and it won’t be folded if it’s too shallow.

Fold it and use the shaping rod as an assistant.

It will be easier to sew if fixed with a clip, and it will not be easy to shift and sew incorrectly.

Sew.

Seal the edges.

Remember to try the buckle first.

Sewn with the main body of the bag.

The edges must be in place.

Large side strip back cover.

The short side is sealed. The long side is not needed, just seal it together after sewing.

Chop the cover and the piece of skin on the back, making sure the holes are correct .

When cutting large side strips, it is recommended to cut both sides toward the middle, otherwise there may be problems with the number of holes.

To be combined Three parts.

Behead.

and the small side The same principle applies.

Fold.

Install side ears.

Sutures, Same, clips secure.

Sew.

Edge sealing.

The other side is also completed.

Sew on the cover.

Roll up the strap and put it on. Completed. Tips: It took about a month of stop and go. It’s not too difficult. The side strips are a little tiring to sew. It’s recommended to divide this kind of time-consuming and laborious thing into small parts. The leather should be of moderate thickness and stiff. The ingredients I ordered are quite suitable. Original text https://www.shougongke.com/course/485200.html
Cambridge Bag


 Edge sealing.


