There are a lot of things going on this year, and I just had time to make something at the end of the year, so I made a card package for a friend. Since it was an arc, I made a papier-m?ché. I will also send it to the leather craftsman so that everyone can play with it together. This time I tried my best to let everyone see what I had in mind when I drew the paper model. I hope that everyone can draw the paper model they want according to their own ideas in the future. First draw the card slot pad core shape according to the width of the card, and place 4-6 cards according to user needs. They can be stacked without degaussing problems

Then I drew 3 progressive layers. This problem depends on the total thickness of how many cards I want to put and the pads used. The thickness of the core leather material is not certain depending on the actual situation

My 3-layer stack looks like this

Then use vegetable tanning as the core and glue the three layers together

Take the top paper shape and draw a baseline, and then draw a baseline according to the lower edge of the highest card

These two stages are cut separately Come down

Look at the effect on the inside

The structure of placing the card is probably like this

A particularly thin strip

Wrap the inside like this, otherwise it would be too rough to expose it directly

The finished effect

Let’s draw the cover paper shape of the Mengka slot. In fact, the so-called design The process is just that.

Find the curvature you want and cut the paper

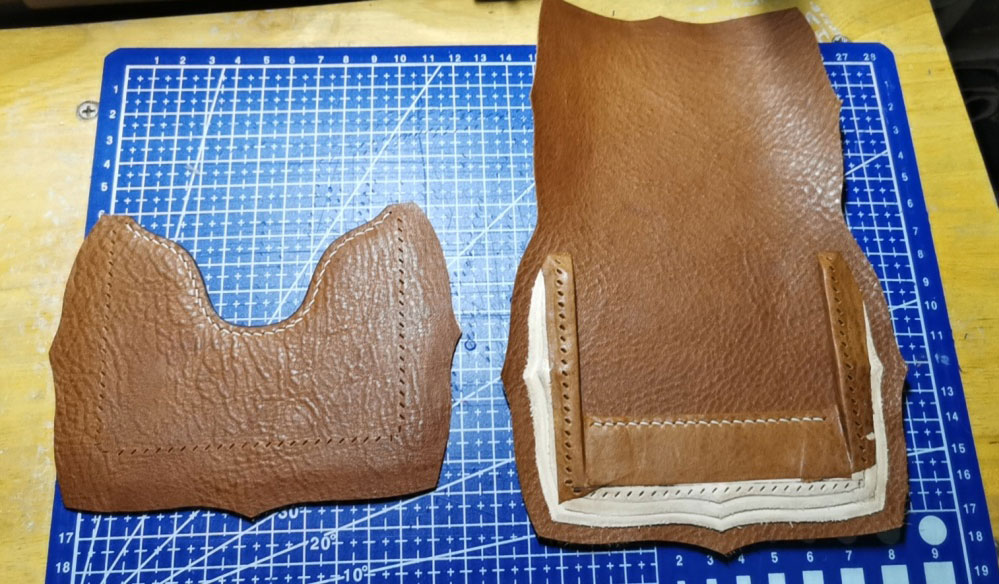
Cut the material and stick the inner and outer pieces against each other. Both pieces are thin. This is the key point. Since the user is a woman, what I am going to make this time is a round one. The shape of Stick it to make the surface form a curvature. I personally like this very much

The upper seam is edged, and the inner arc is not easy to polish

The lighting is better, but the effect is not bad, and the curvature can also be

Then draw the shape of the lippi. In fact, this kind of problem depends on my mood. I also thought about it. Which size to use, this is the process of painting. This piece needs to be aligned, but it is not completely accurate

Cut the eyes separately and prepare to sew this half

This line is tiring to sew and is too thick. But it must be sewed to avoid the glue getting stuck in the future.Go into the gap

Shape the outer ring and cut it neatly. This picture is big. Please look at it from the side

Edge this position

The appearance of installing the card is similar to what I imagined, not bad

Draw a paper shape of the inner pocket according to the shape of the upper part. It must be able to put some change, store tickets, etc.

I plan Place the logo in this position and draw a small paper shape with a cushion core

Make logo cushion core and thin outer ring

The outer ring of dough is thin and the logo is made

Install logo and stitch

Then edge the lower edge of the seam

According to the lining paper pattern above, I placed 8mm of lower skin material. This time I made the anti-joint and then cut it. A particularly thin and large strip

Sew along the outer edge

Then follow the hammer and turn it over. This is half of the turn, so that everyone can see clearly

The whole page looks like this

Now prepare to sew in this way and its done

Use a needle to locate the middle position, turn it inside out and use an awl to pierce the skin

After sewing, I couldn’t find the place to cut the material well at night, and the right side was a little pleated. Be careful

What it looks like on the side

The open appearance, please refer to it, the inner pocket can be used as it is, and it’s good to make individual shapes

Drawing download http://img2.pixiaojiang.com/20201221-972.pdf See you in the next issue after this is completed! Thank you for watching. Tianjin Lao Zhang


