Author: Freedom, WeChat: gener47 This is a fully hand-stitched YSL bag that you can’t buy in the counter. ^_^ I recently saw this bag in Moments and was instantly attracted, so I decided to try making it. Main materials: cowhide, sheepskin Required tools: 3.38 Mojia chopper, various paring knives and thinning knives, Chong Yes ironing machine, wood edge oil, normal line 532571, normal line 632571, Japanese line wax, Japanese edge wax, Steps for making German leather bran, spacing gauge, edger, nylon hammer, and small toy leather cone:

First make the handle core, two pieces of 5mm tanned leather facing each other

Draw the shape of the handle

Then cut it with one knife. Just

Corner

Just cut the shape and follow the feeling

Make an up and down handle Core

Then prepare Layout, this step is a bit tricky

That’s about it

Then prepare to cut the materials, heartache

Straps are the most annoying and very expensive

OK, cut it according to the line

Shape the handle leather, wet it first, and then press it with bone strips

After drying, cut the holes

Beveled at both ends

Use the same method below, then install the hardware and sew with an awl

It will be fine after sealing the edges,

The hang tag is very simple, just install the hardware and stick the two layers of leather together Just OK

Then Paste the inner lining of the side skin
 Sewing the upper edge
 SewingNow, a few small things have been completed, and the process is simple, so I didn’t take any photos

Then make the small pocket on the front. The ears on both sides of the bag should be thinned. There is no 801. It is purely handmade

Just push it little by little

Then prepare the bran and hardware

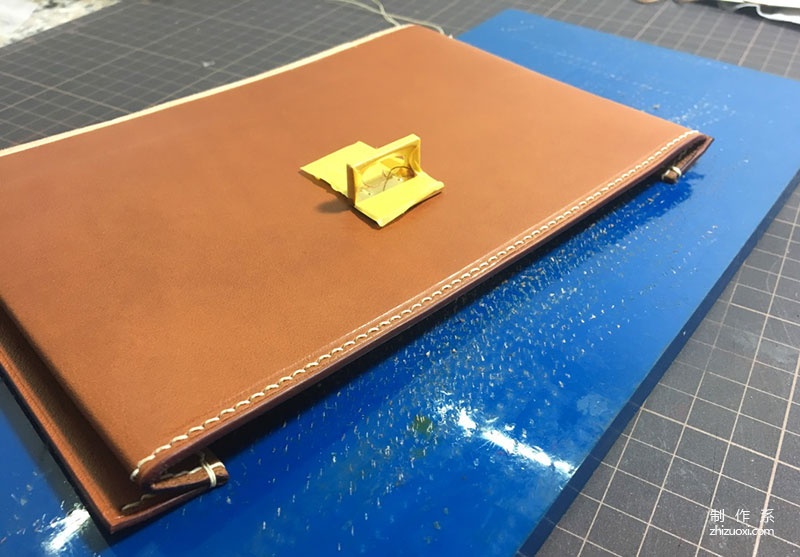
Determine the hardware installation location

Click up

Then stick the endothelium and punch holes on the upper edge

Sewing and trimming

Line

oil on top

Add tape to avoid spending any money

Okay

Sew these now

Continue to make the pocket, and bevel the lower edge where it needs to be sewn

This way

packageFront panel

5mm cutting on all sides
 < /p>Prepare the bran, stick it on and set aside for later use

Draw lines where the small pocket leather needs to be bent

Sanding

To facilitate bending, dig a groove first

Reverse fold, punch and sew
OK

The front skin is bulging

Adhere and sew the small pocket

Then attach the ears on both sides and sew

The front panel is ready

Make the cover part and cut around it

This way

Then lift the ears like this

Open the bag cover and put the handle

Sew

OK

Bag cover

Punch

Opening

Put on the collar

Sew

Put itTry the strap on, it looks good

Punched holes in the cover

Seam
 < /p>The area where the back edge of the cover needs to be bonded is beveled

Edge

Iron

Then sew the cover and back panel

The middle layer is made of two layers of sheepskin facing each other, sandwiched with chaff

Low skin punch

The upper edge of the side leather

Punch holes where you need to sew

Just glue it like this

Sew

Then sew the lower edge

Thats it

Sewn

Glue it to the front panel and then sew
< img src="https://img.111diy.com/timthumb.php?src=/d/file/p/5ff795854870c8e694bccf8077785c2a.jpg" alt="">
OK

Take a look

Glue the back panel and prepare for the last step

Glue the two parts together

Pinch

Sewing

Just poke and sew a stitch

Sewn

Edge sealing

Sewing straps, the most annoying step< p style="text-align: center;">

Cutting

Oil on top

Prepare the monk head

Strap punched

Attach the straps and the finished product

Back

Handle

Hang tag

After opening

Bottom

size, what is placed inside is 6s

Package lock

I deleted many steps for these two small objects before I could barely express the entire production process. It seems that the next tutorial will be divided into two parts, haha. I didn’t understand the part. You can ask me in the small window, the tutorial may not be accurate, I mainly share the production process, I wish everyone a happy production, and share the pictures with me when you are done!
Academy Pack


