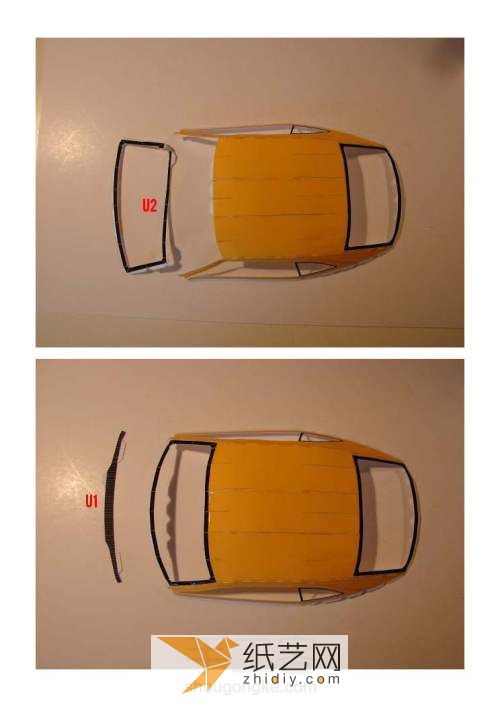
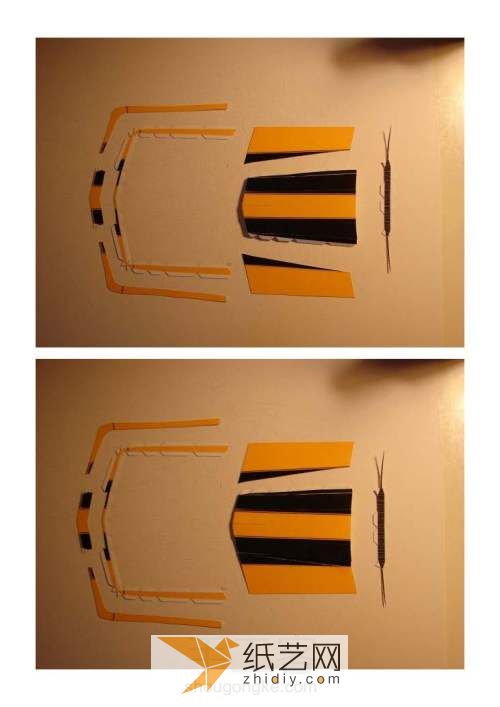
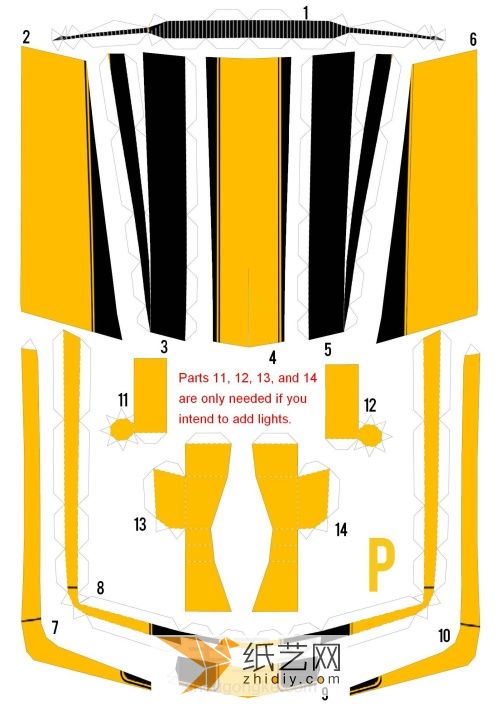
Paper model making is full of charm. The reason why paper models are so popular and loved by everyone is mainly because paper models can be very simple or very complex to make, which is completely determined by the paper model you make. This manual illustrated tutorial we are learning with you is to teach you how to make a paper model of the Bumblebee sports car. Judging from the production effect and the finished appearance, the paper model of this Bumblebee sports car is really great. , very attractive, but if you want to make it completely and very beautiful, then you should carefully take a look at the manual illustrated tutorial of the Bumblebee paper model sports car recommended here.
Step 1:

Cut out all the parts on the paper model
Step 2:

Start the paper below Combination of models
Step 3:

Place the two door positions of the Hornet first
Step 4:

The Bumblebee Glue the two doors of the paper model
Step 5:

The window position is also glued
Step 6:

The upper body of the Bumblebee paper model car is ready
Step 7:

This is how to make the wheel position
Step 8:

The front hood position of the paper model car has been made
< p>Step 9:Isn’t the front of the Bumblebee paper model pretty cool
Step 10:

The frame of the car has been made
Step 11:

There are many small parts that need to be sorted out in advance
Step 12:

Start pasting slowly
Step 13:

This is what the car lights look like
Step 14:

Continue to add the following parts
Step 15:

Make it slowly, don’t rush
Step 16:

Most of it is done now
Step 17:

Okay, the lights in front of the car have been made
Step 18:
< p>
Continue to make other parts of the paper model
Step 19:

Paste slowly according to the tutorial
Step 20:
< img alt="The making process of the cool Bumblebee sports car paper model" src="https://img.111diy.com/timthumb.php?src=/d/file/20220222/boctqzjlsv0.jpg" />
These little You can use tweezers to assist when pasting parts
Step 21:

It will be completed soon
Step 22:

Okay
Step 23:

To make the position inside the paper model car body
Step 24:

Just paste them in order
Step 25:

Students who are familiar with the structure of the car should find it easy to make it
Step 26:

Continue to make the paste
Step 27:

Previous Main driver and co-pilot positions
Step 28:

Continue with the subsequent production
Step 29:

The seat of the sports car paper model has also been pasted
< p>Step 30:Make two headrests
Step 31:

Paste the headrest
Step 32:< /p>

Let’s make the steering wheel and other parts
Step 33:

Every small part is very delicate
Step 34:
p>
The steering wheel is also installed
Step 35:

Let’s make the seats for the main driver and co-pilot
Step 36:

Adhere the seats
Step 37:

This is how to glue the inside of the car The seat part
Step 38:

Starting to add the framework
Step 39:

Glue the interior of the car
Step 40:

The production of the paper model sports car rearview mirror is also very detailed
Step 41:

Let’s stick it first Good rearview mirror
Step 42:

It’s glued, it looks very realistic
Step 43:

Change the rearview mirror Glue to both sides of the sports car paper model
Step 44:

Let’s make the back of the sports car paper model
Step 45:

There are many parts, so we need to continue to make them slowly
Step 46:

First arrange the order of pasting
< p>Step 47:Assemble the rear of this paper model piece by piece
Step 48:

Continue to make the rear part of the car
Step 49:

It will be completed soon
Step 50:

The rear part of the car has been completed
Step 51:
The car will beThe wheel position is made
Step 52:

Still need to paste slowly
Step 53:

glued
p>Step 54:

The rear part of the paper model car is ready
Step 55:

Let’s make a car chassis
Step 56:
This one is easier to make
Step 57:

The paper model car chassis has been completed
Step 58 :

Let’s continue making the wheels of the paper model
Step 59:

Everyone is familiar with the wheels
Step 60:

Just follow the steps and slowly add the parts
Step 61:

The paper model car tires will be completed soon
Step 62:

The car tires are completed!
No. Step 63:

The next step is to put the various frames together
Step 64:

Don’t forget the two exhaust holes
Step 65:

A pretty cool bumblebee paper model
Step 66:

If you want to make it, you can print it yourself Drawings
Step 67:

Drawings of Bumblebee paper model
Step 68:< /p>

The drawings of the paper model can also be purchased
Step 69:

We usually buy our favorite paper models in paper model stores
Step 70:

The paper model drawings printed in this way need to use better paper
Step 71:

The drawings of the paper model are used It’s also best to have a good printer
Step 72:

It’s still a paper model drawing
Step 73:

Use the printed drawings as follows You can complete the previous production process yourself
Step 74:

Drawings of the tire part of the Bumblebee paper model
Step 75:

It is still the tire part
Chapter Step 76:

Because there are four tires
Step 77:

The last drawing of the paper model tire
Step 78:
 < /p>
< /p>
This is the drawing of the tire parts
Step 79:

Drawings of the front of the Bumblebee paper model
Step 80:
p>
Drawings of tire positions
Step 81:

Here are the drawings of the paper model hood
Step 82:
< p>
Drawing of door position
Step 83:

The right door position of the paper model Drawings
Step 84:

Drawings of the rear position of the paper model
Step 85:

Part of the drawing of the car body
p>Step 86:

Remember the order when cutting these drawings
Step 87:

Drawings of the body part
Step 88:

Drawing of the position of the paper model car seat
Step 89:

It is also a drawing of the position of the car seat
< p>Step 90:
These positions need to be paid attention to when folding and pasting
p>Step 91:

Drawing of the position of the car lights
Step 92:

If you want to make this Bumblebee paper model sports car , you need to pay special attention to the paper model drawings. That is to say, you need to process the drawings before making them. You cannot just pay attention to the tutorial itself. I hope you can pay special attention to it when making this paper model. This.


![[Paper Model] Halloween paper model Rilakkuma and his friends free drawing download](https://img.111diy.com/timthumb.php?src=/d/file/20220217/1neof3cdpgu.jpg&w=200&h=200&zc=1)


