Author: Jiewu-Getang, Weibo: https://weibo.com/u/6469651870 The whole bag is hand-sewn, suitable for daily commuting. I hope this is a brief bag-making process that can serve as some reference for everyone.

Production tools: Leather knife, ruler, punch, chopping material: crazy horse leather, thread, lining cloth, rivets, belt buckle, zipper

Prepare the leather, draw a pattern on the leather with a mercury pen, and then cut it with a leather knife .

Due to the leather The color texture is slightly different, so I dyed it separately to unify the overall color matching

First use a watering can to evenly wet the leather surface, and then use a wool ball to dip the dye into the color (it is recommended to use a cloth such as cotton to slowly turn the color in small circles, so that The color is easier to apply evenly, so be sure to wear PVC gloves to prevent dye from getting on your hands)

After the color dries, you can apply it several times to make the color more even


It is recommended to drill holes first Then thin the edge (if you thin it first, the leather surface will be thinner and the hole will easily go astray)


stitch

Front zipper pocket sewn

Calculate the size of the pocket and cut it out with scissors (the fabric should be slightly wider than the leather)


Cloth andThe skin is well bonded

The front leather is spliced ??(you can count the number of holes in advance and cut them separately or glue them together and cut them together)

I calculated the hole positions, cut them separately, and then used thumbtacks to determine the positions

After sewing

Draw lines on the skin with a mercury pen

Cut the leather and dye it< p style="text-align: center;">

Threaded and sewn It is the handle of the backpack. Daily use of the handle requires a certain load-bearing capacity. The two-sided leather is stitched together, which is relatively more beautiful

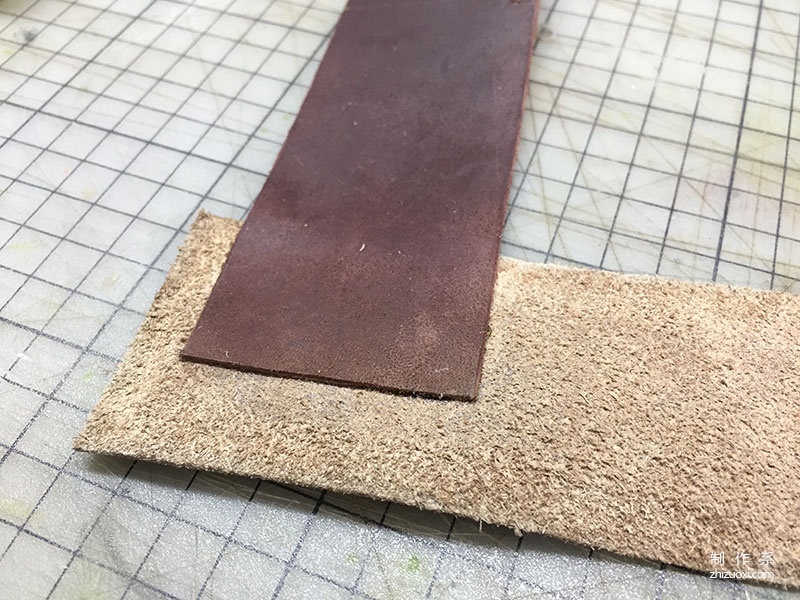
Back strap adhesive

After the whole is bonded

Cutting seams Thread (the strap is connected with one more stitch to make it stronger after daily use)

After sewing, determine the location and drill holes, and fix it with rivets

The lower part of the strap is connected (the length of the front strap, after sewing the front, I found that the strap was short, so I had no choice but to remove it Sew again)

The effect after the back is fully stitched

For the inner bag of the backpack, calculate the size of the cloth and leather, and sew the leather and cloth first. If you want to separate the pockets, determine the location and sew the thread.

The opening of the pocket is not strong enough for our daily use. You can fold the leather inward one layer at the opening and then sew it up. This will make it stronger and more beautiful, and there is no need to seal the edges.

The correct version of the package After the reverse side is sewn, sew the bottom side

Wait until the whole thing is sewn, then turn the bag over (I forgot to take a picture of the process of sewing the inner bag, but the general process is similar)

Then take your bag and go wandering~


Tips: The whole is not complicated. You must be patient. Backpack


 Threaded and sewn It is the handle of the backpack. Daily use of the handle requires a certain load-bearing capacity. The two-sided leather is stitched together, which is relatively more beautiful


 Threaded and sewn It is the handle of the backpack. Daily use of the handle requires a certain load-bearing capacity. The two-sided leather is stitched together, which is relatively more beautiful


