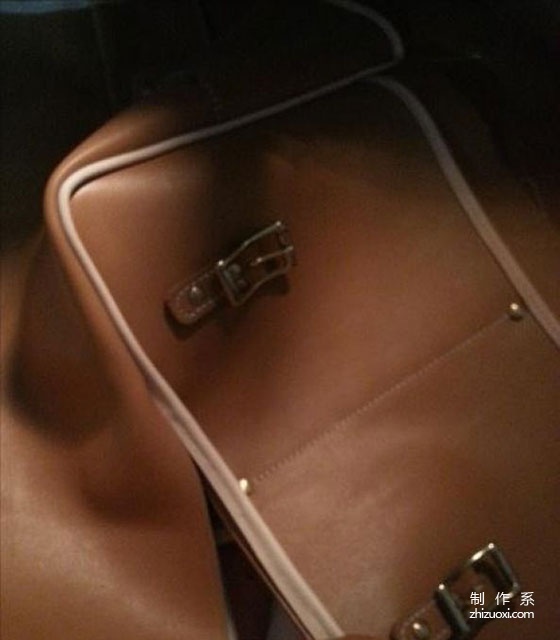
It can’t be said to be a tutorial. It’s not that high-tech. There are a lot of awesome people out there, so I don’t even dare to show off. It’s a big bag. I’ve been doing it for a long time. It doesn’t look very complicated, but the rib-wrapping and hemming are very time-consuming. If you like it, you can give it a try. Oh, the author’s Weibo http://weibo.com/u/3207339684 Main materials: leather, vegetable tanning, pure copper Accessories Required tools: scissors, leather knife, wax thread, needle, white glue, punch and Lingzhan Sihe Button molds, awls, cmc, etc. Production steps:

I have a small idea in my mind, draw it and then calculate the size of the bag I want to make


Cut the required leather shape and size

First, I made a small handle and filled it with cotton rope for a fuller feel

Connect the handle to the rectangular leather because the handle is very commonly used Therefore, it must be strong to fix the handle and connect the rectangular leather material to the bag cover


Hemming

First make the two small pockets on the front and sew the buckles to the bag. Do it in advance to avoid trouble later

The bag cover and the bag body are connected and punched and sutured
< img src="https://img.111diy.com/timthumb.php?src=/d/file/p/d7334134d248c96f477d2390c1a38f3e.jpg" alt="">

Looking like during stitching


Make an inner pocket

Wrap the ribs. How to wrap it? Cut a thin leather strip of original color with a width of 2.2 inches, fill it with a leather cord, wrap it up, and then glue and punch holes

The ribs in the middle of the leather on both sides are sewn from the reverse side

It looks like a big project when turned over

Continue to wrap the ribs

. . .

Wrap it up quickly

Look down

...

ok

Upper snap button

ok

Sew on the buckle

Shoulder pads

Hardware


Complete
Shoulder Bag


