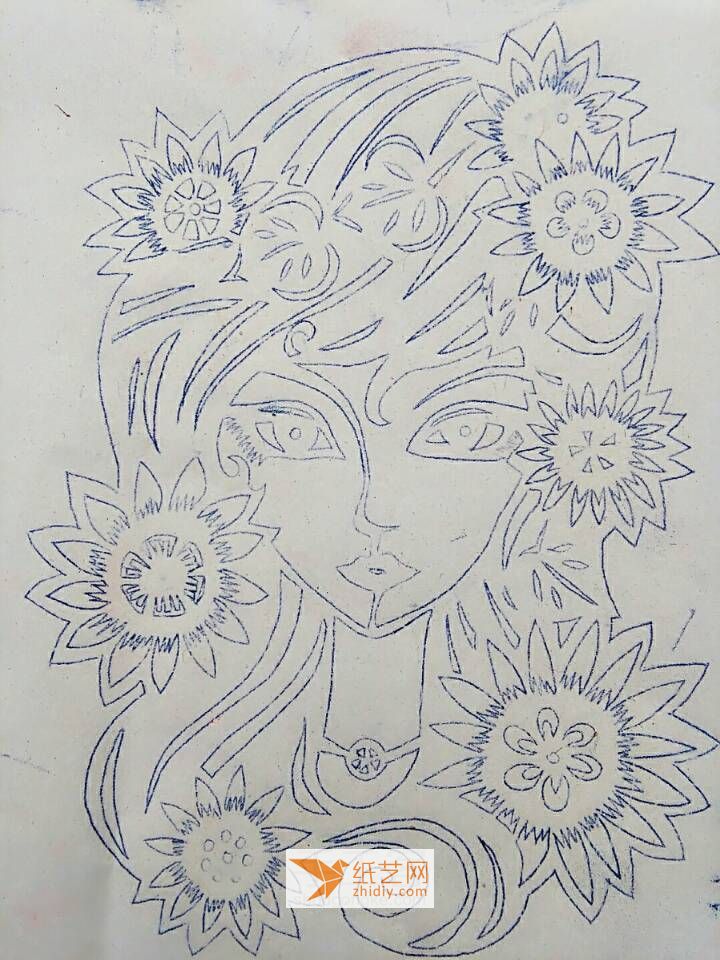
The traditional paper-cutting process usually involves using scissors to cut the paper to obtain the paper-cutting graphics we need. However, for many paper-cutting beginners, if they want to make some complex paper-cutting patterns, they must use the traditional paper-cutting method. It is difficult to achieve. After all, it is difficult to check out some delicate structures if you are not familiar enough with the scissors. However, we have another way to help you quickly complete the creation and production of exquisite hand-cut paper-cutting. , that is done by paper cutting.
In fact, this is also a kind of paper-cutting, but this paper-cutting method is more flexible. How should the specific re-production be done? We use such a tutorial to take screenshots for you. You can see this simple paper-cutting production tutorial, which teaches you to complete the production of a very exquisite paper-cutting beauty picture. When we make it, we first need to complete the printing of this drawing. , or whether we will print it on the paper we need. Because we need to use a carving knife to make the color, it is appropriate to use harder paper. For example, using cardboard is a better choice. After completing the printing of the pattern, we need to use a carving knife to engrave. When engraving, we need to handle the texture with special care because if different textures are processed incorrectly, there will be If the entire texture is carved out, the entire paper-cutting effect will become very poor. And we usually layer multiple sheets of paper. If this is done incorrectly, the entire work will fail.
Step 1:

Draw or print
Step 2:

Step 3:
Step 4:

Step 5:

Step 6:

Step 7:

Step 8:

Details completed
No. 9 Steps:

Carve out the outline and complete
Step 10:

Open


