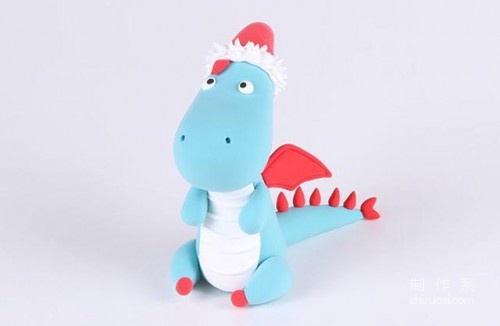
Prepare clay: red, blue, white, black clay

Making tutorial: First we use blue Make an oval shape out of clay, as shown in the picture, the upper part should be thinner.

Then glue the eyes as shown in the picture and poke out the nostrils with a tool.

Use bright red clay to make a pointed The hat is worn on the top of the head.

Wrap a white hat brim and poke out the furry feeling, and then make a small red decoration.

Make a cone of blue clay as the body part, and make a thin sheet of white clay and attach it to the body as the belly.
< img data-action="zoom" src="https://img.111diy.com/timthumb.php?src=/d/file/fujian/4d12e00306f24c9c81dee6d45e2d08fa.jpg"/>
Glue the body and head together.

Use blue clay to make four drop shapes as the limbs, two big ones, two small ones, and the big drop shape Glue a small red ball on one end of the shape, as shown in the picture.

Glue the dinosaurs limbs. The big teardrop shape is the two legs, and the smaller ones are Its the arm.


Make a dinosaur tail as shown in the picture. There should be small red spines on the blue tail

Use red clay to make a pair of dinosaur wings, as shown in the picture.

Connect the tail and wings Once glued, our dinosaur is ready. Isn’t it cute?


