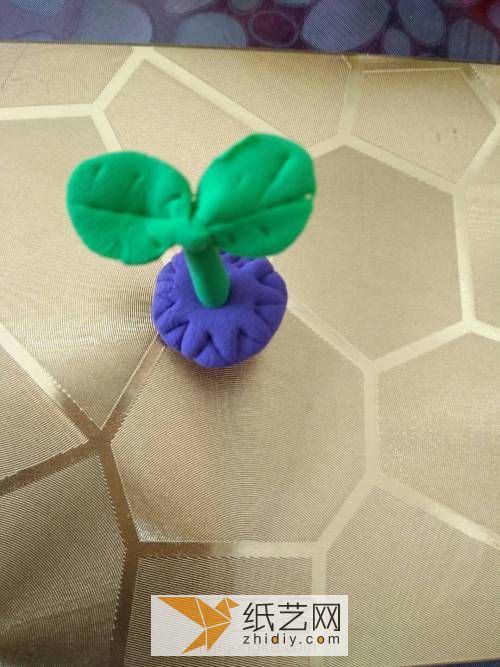
How to use ultra-light clay to make saplings that represent the hope of spring? This is also a relatively simple beginners tutorial among the ultra-light clay hand-illustrated tutorials. That is to say, ordinary ultra-light clay making enthusiasts can make very cute and interesting ultra-light clay creations by learning this hand-illustrated tutorial. . What we have made here is a very cute and cartoon sapling with ultra-light clay effect. This sapling just represents the hope of spring and is also a theme of our ultra-light clay production. I believe everyone will still be happy during the entire production. You can appreciate how simple and interesting it is.
Step 1:

This is a small sapling made of ultra-light clay
Step 2:

It looks very cute, very suitable for children who are beginners
Step 3:

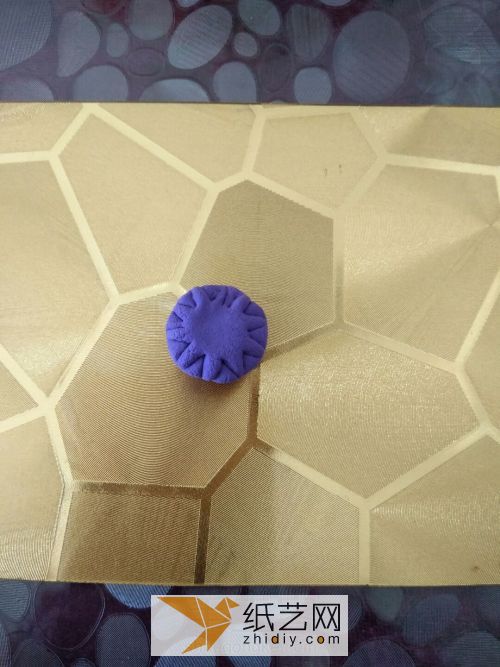
Use a little purple ultra-light clay to press Flatten into a round shape
Step 4:

Press a pattern on the edge, like soil
Step 5:< /p>

Use green ultra-light clay to make small buds
Step 6:

Drill a small hole in the middle of the purple clay
Step 7:

This way Insert the green clay inside
Step 8:

Then knead a little green clay into the shape of a leaf
Step 9:

In this way, you can make two small leaves
Step 10:

Then we press the veins of the leaves on it
Step 11:

Some students may think that such a handmade production is too simple? Except for beginners learning ultra-light In addition to the important reason why clay production needs to start with simple tutorials, we should also consider that if we make a relatively complete ultra-light clay handmade production combination, such as the production of a small park, we have completed small animals or After making some other small branches, we may also need to make some saplings. At this time, we can use this ultra-light clay sapling making tutorial to help us.


