I love crafts and love life. I am very interested today. Maybe I will drink wine to cheer up. I will make a handicraft to give to another child. I made a very beautiful seven-star ladybug. Now I will share the process with you< /p>

1. First prepare the ultra-light clay you need for this handicraft Three colors are used, red, black and gray.

2. Still the old rule, first take out one color and shape it into a larger circle. Then flatten it to make the shell of the seven-star ladybug. Don’t flatten it too much.


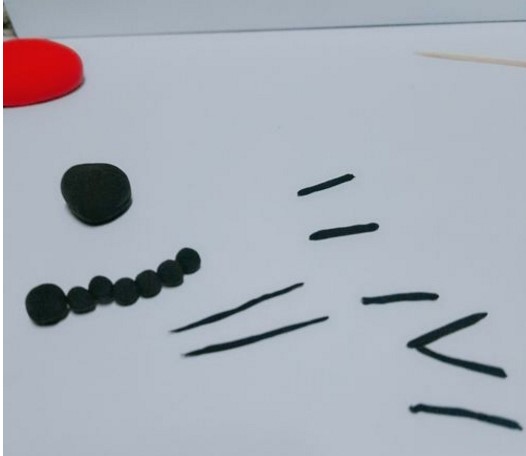
3 . Then take out the black one and shape it into two slightly larger circles, and then shape it into several smaller circles to make its legs, eyes, and antennae. First, roll the feet into small circles into strips. For the tentacles, first roll the round shape into a strip and then fold into two small circles.


4. First, glue the two larger circles on Go up to its body, one to be its head, and the other to be the largest star of the seven stars, glued in the middle

5. Glue the tentacles on again, take two and stick them in the middle of the shell, and divide them into two parts.

6. Finally, glue on the feet and eyes. You’re done. The kids love it.


