Tutorial on making DIY bear dolls from old gloves. If you have a choice, use brown gloves. Choosing black and white striped ones always feels weird, like a zebra~
Main materials:
1 glove, stuffing, buttons
Tools required:
Scissors, needle and thread, eraser pen
Production steps:
Step 1:

The main materials and tools required for the tutorial are as shown below.
Step 2:

Cut the gloves according to the marked method.
Step 3:

Cut out the paper pattern and cut the gloves into the same shape according to the paper pattern.
Step 4:

As shown in the picture, cut off the part of the glove that serves as the head, fold it in half with the inside facing out, and sew the glove fragments where the red dotted line is drawn on the paper pattern.
Step 5:

The effect after sewing in the previous step is as shown in the figure. The remaining part should be used to sew the ears.
Step 6:

Fold both sides of the ears in half to fix them, as shown in the picture.
Step 7:
Attach the ears to the head where you left them blank, then sew to the head.
Step 8:

The effect after sewing the ears on both sides is as shown below.
Step 9:

Next is the bears body. As shown in the picture, turn the inside of the body part outward and sew the red line part.
Step 10:

Turn the head inside out and sew it with the body part. The specific effect is as shown in the picture.
Step 11:

After sewing, turn the front side out, as shown in the picture.
Step 12:

Turn the body part inside out and sew the connection between the body part and the two arms according to the red line in the picture.
Step 13:

The effect of turning it back to the front after sewing is as shown in the picture.
Step 14:

Then start sewing the tail, still sewing the inside of the tail facing out, and then turn the outside out. The finished effect is as shown in the picture.
Step 15:

Stuff the tail with stuffing, and then sew the tail at the red stitching position.
Step 16:

Sew the tail to the body, as shown in the picture.
Step 17:

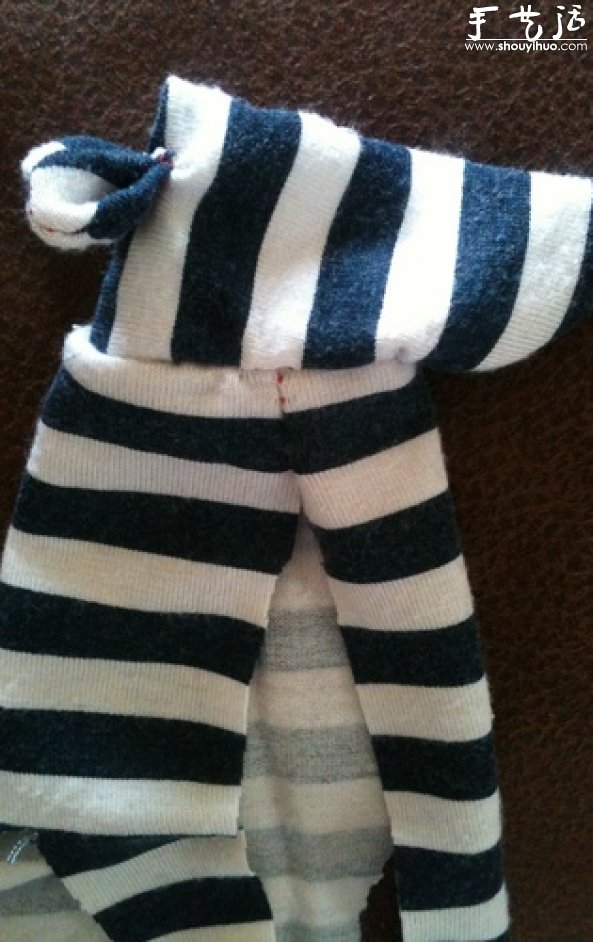
Turn the bears body part inside out and sew the red line in the picture.
Step 18:

The arms can be sutured as shown in the picture, that is, take the arms out from the crotch and suture them..
Step 19:

The effect after the body and arms are sewn together is as shown in the picture.
Step 20:

After the crotch is also sutured, the effect is as shown below.
Step 21:

Finally, sew two buttons as eyes, and the glove bear is complete~
Tips:
Note, you need one glove and not one pair!


