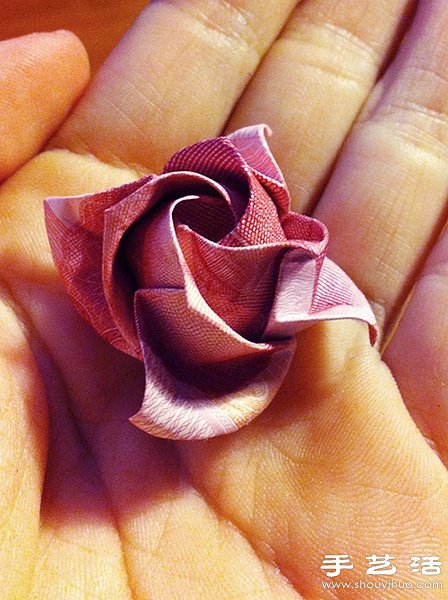
The editor of Handicrafts.com will share with you a manual tutorial on paper currency origami roses. Prepare a banknote of any denomination and start folding it. The one used here is a hundred yuan RMB. For the specific steps of origami roses, please refer to the detailed illustrated tutorial below~
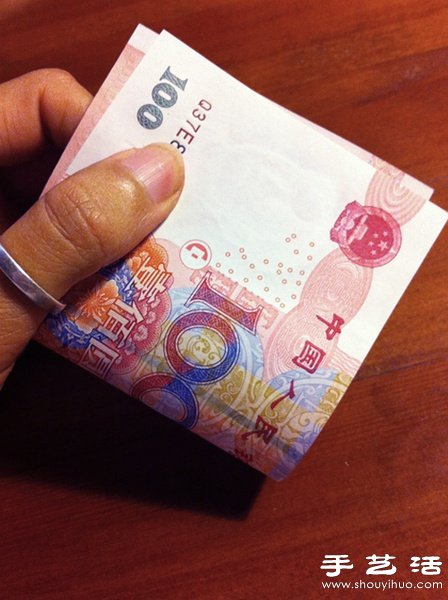
First find a hundred-yuan note, preferably new, and fold it in half into a square.
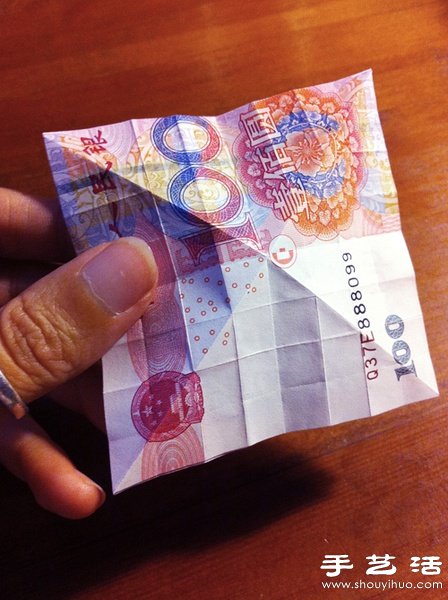
Fold it in half repeatedly to form a crease, which is the basis for the origami rose later, so be sure to fold it carefully.
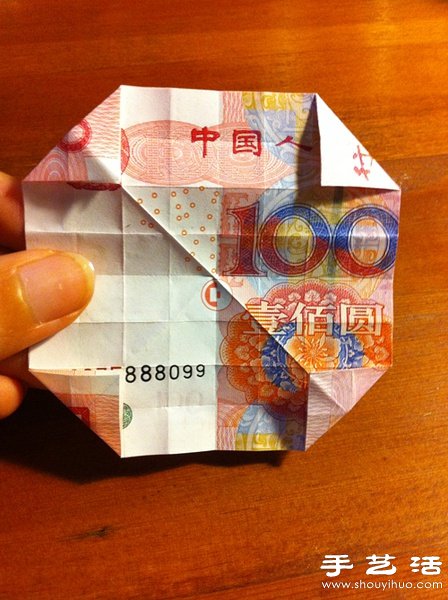
Fold the four corners as shown in the picture above. From this step on, the folding method is different from the Kawasaki rose. The corners are folded towards the reverse side, while the Kawasaki rose is folded towards the front.
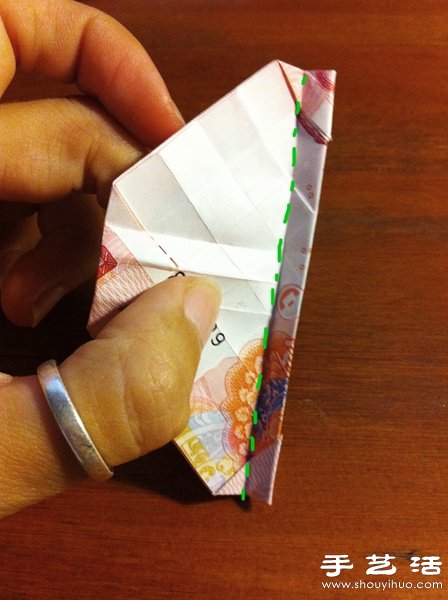
First fold it along the diagonal line, and then make a crease along the green line. Use the same method to make creases in both directions. The green line is the bisecting diagonal of the small square.
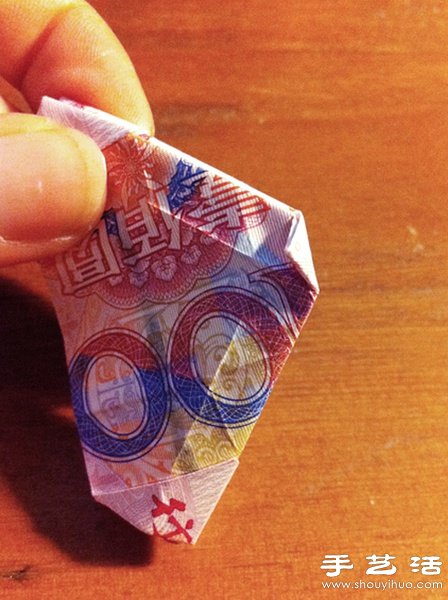
Fold it along the diagonal line, then follow the small square crease, fold up the middle corner, and press firmly.
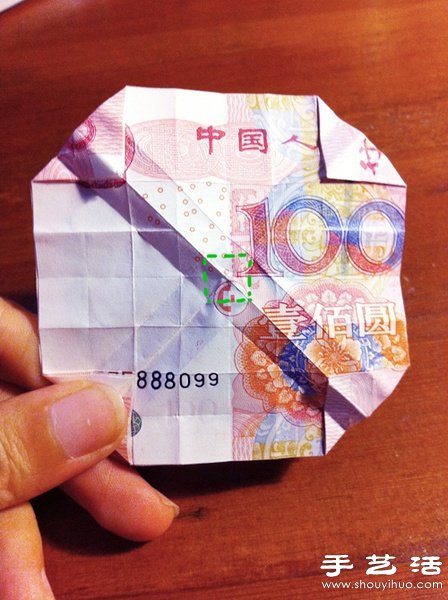
After unfolding, a crease is formed as shown by the green line.
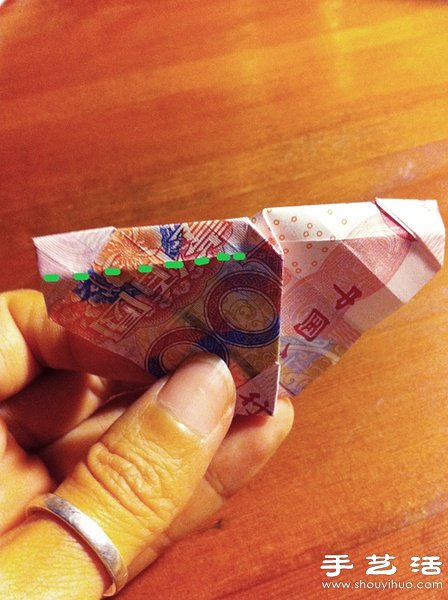
Pinch along the crease into the shape shown in the picture above. The back and front are symmetrical and have the same structure; then fold down along the green line.
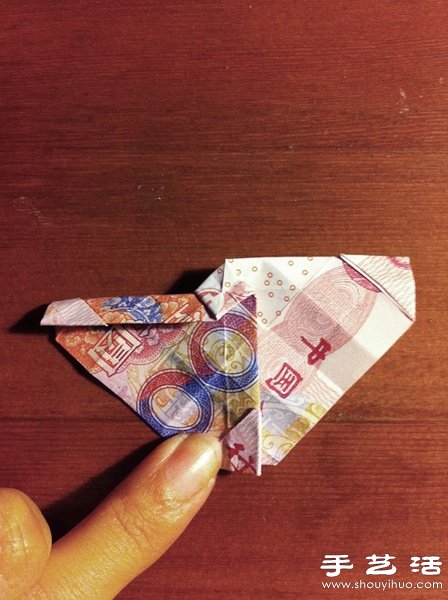
After folding, it will look like the picture above, and then unfold into a pinwheel shape like the next step!
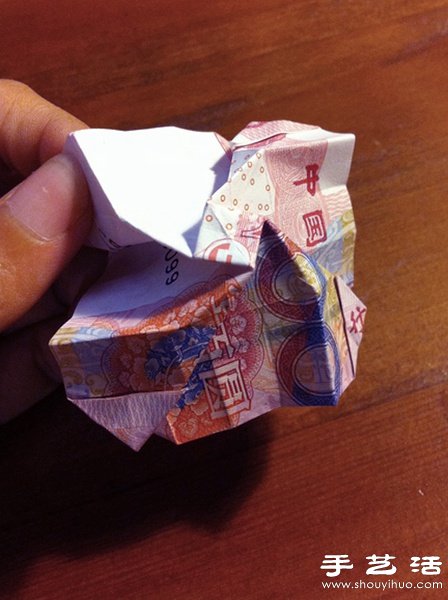
The folding method of Fukuyama rose below is completely different from that of Kawasaki rose! Be sure to see this step clearly! Make a protruding crease along the green line! Pay attention to the turning position.
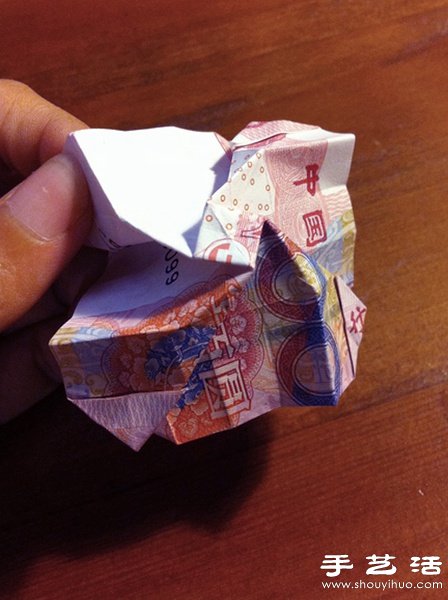
After pinching all four sides, the entire money becomes three-dimensional and has a vivid spiral shape.
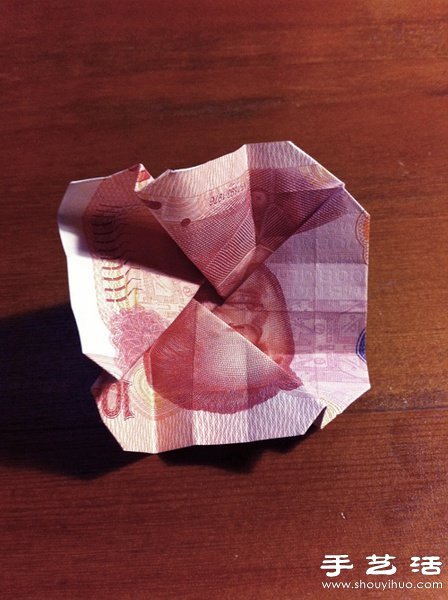
Looking over it, it looks like a half-open morning glory.
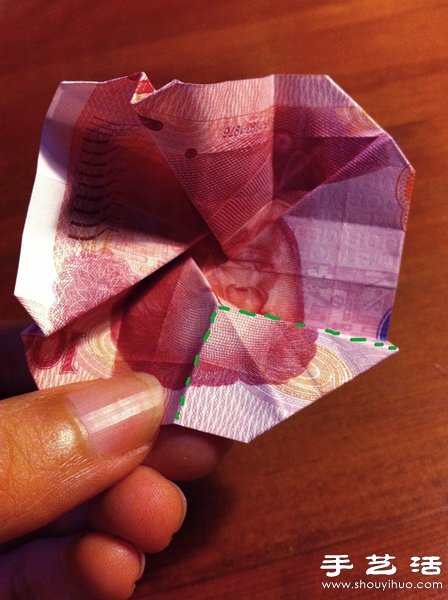
Pinch out an L-shaped crease at right angles along the green line. The corners should be flattened as shown in the picture above.
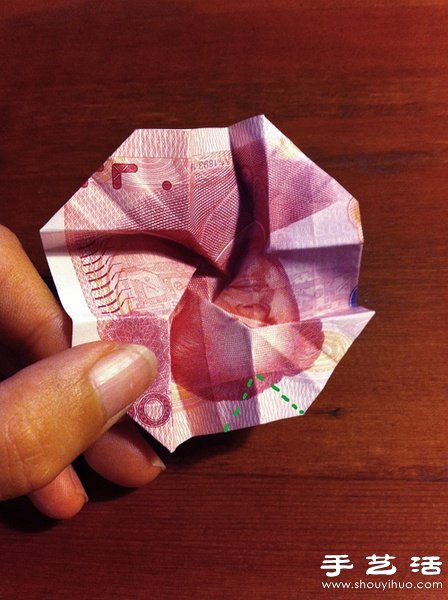
After pinching all four sides, it will look like the picture above! Then, pinch out prominent creases along the inverted V-shaped green line.
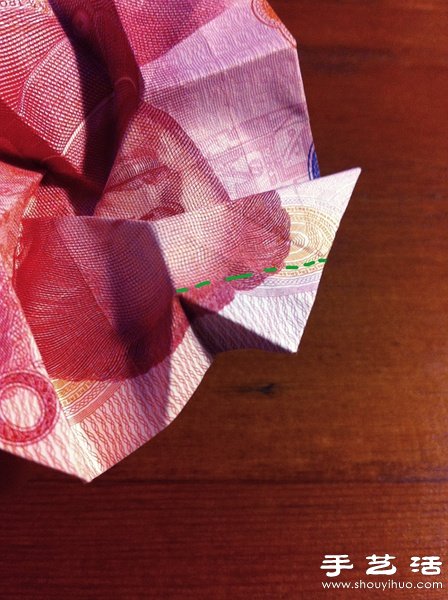
After pinching the V-shaped crease, it looks like this! Then fold it upward along the horizontal green line.
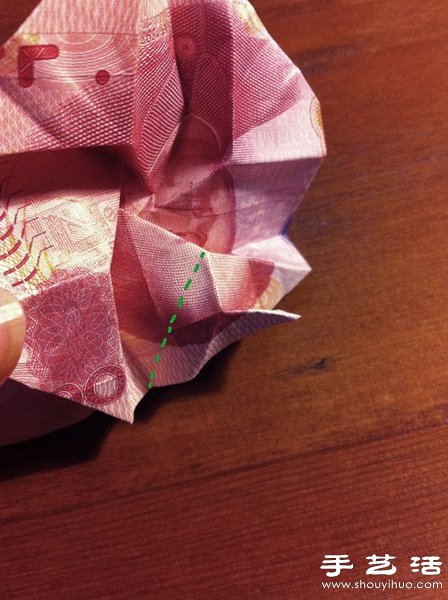
Then fold upward along this green line, which is the diagonal line of a standard small square.
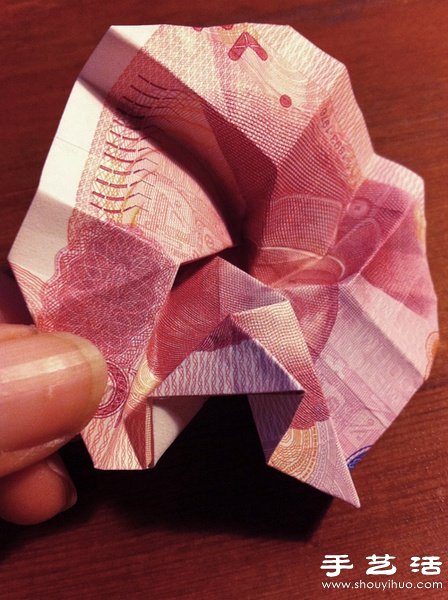
This is what one side looks like after folding. Fold all four sides in the same way.
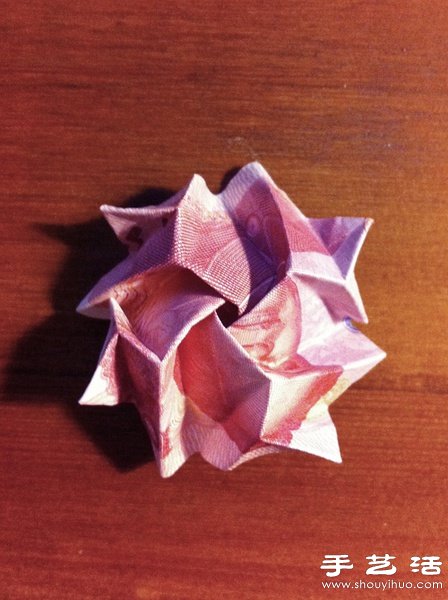
After the creases are done, turn it over to see the effect.
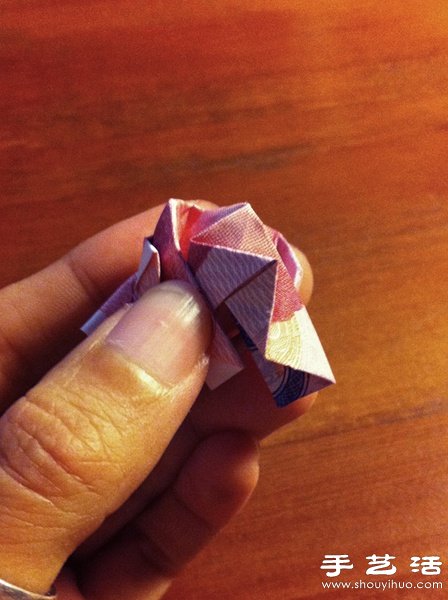
At this step, you will find that you can rotate it in the direction of the spiral and wrap it tightly. This process is like closing an umbrella! Please compare this step with the next step to see if you are doing it right and you can close it like this. It means you did it right.
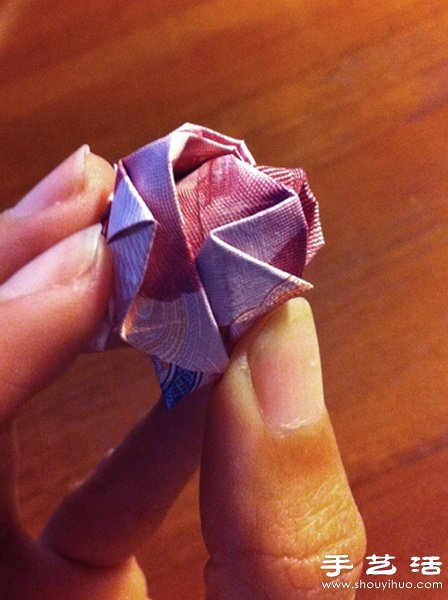
Looking from the side, the four sides are tightened and can be folded into a bullet shape! As soon as you let go, it pops open and becomes like a small umbrella.
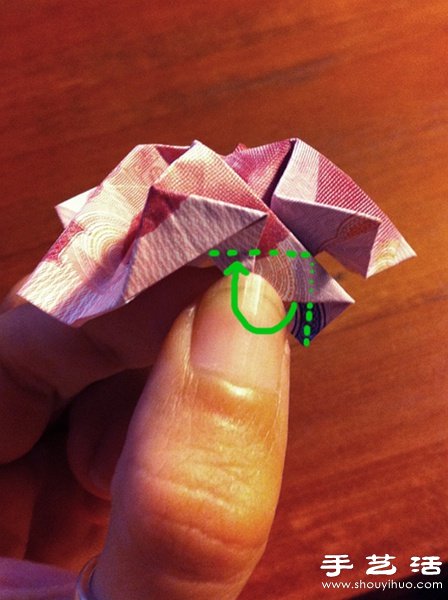
Then start doing the feet, this step is a little more complicated. The pinched part is double-layered. Open it from the middle like a birds beak and fold it upward along the two lines! The horizontal line is the fold line of the upper layer, the vertical line is the fold line of the lower layer, and the small dots are Indicates that the polyline is blocked by the upper layer.
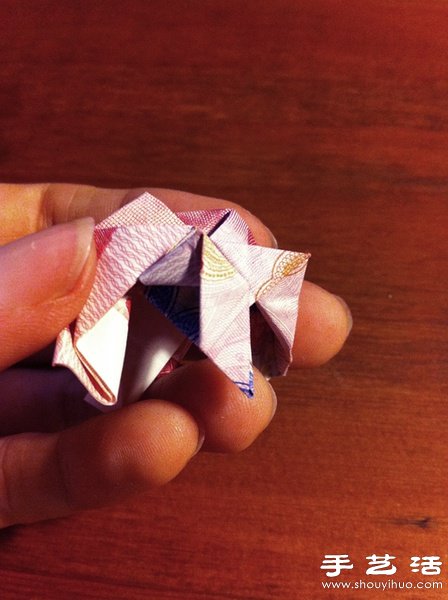
Open the small mouth and fold it upwards, and fold it along the green line in the previous step, and it will look like this! This means that one foot is ready.
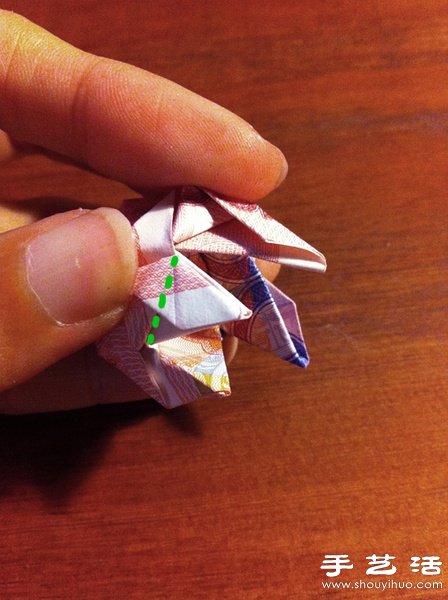
After folding all four sides, 4 feet appear! Fold each foot inward along the green line. To do this step, you need to rotate and tighten hard to make the structure in place, otherwise the four legs will not be able to be crossed.
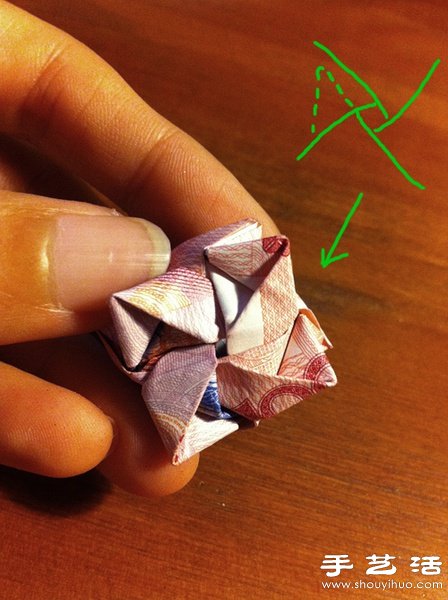
Put your 4 feet together in order, insert the 4th foot under the 1st foot!

Turn over, this is what the front looks like! This bud is only as big as a walnut.
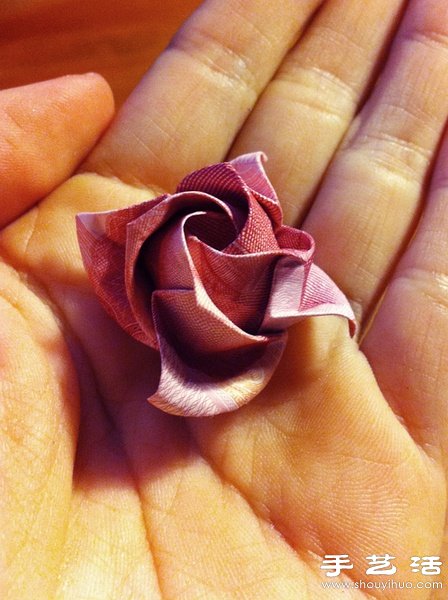
Pinch out the curvature of the petals and roll the tips of the petals outward.
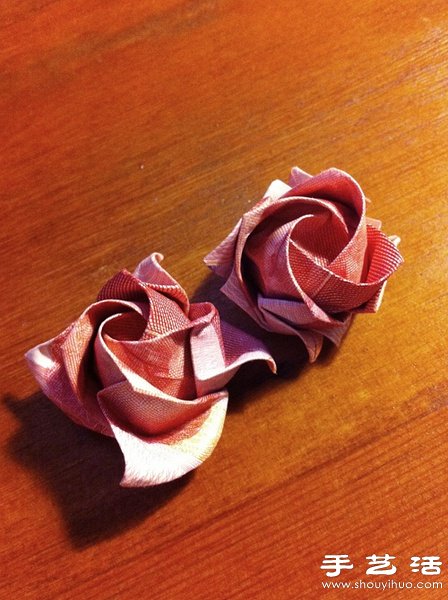
The folded Fukuyama Rose is a bit complicated. Have you finished it?


