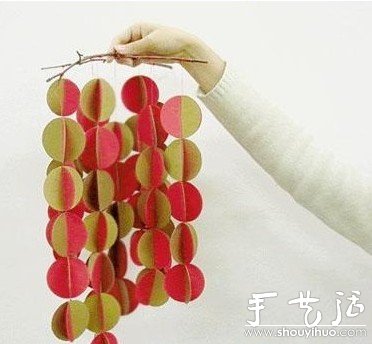
The following is a DIY hand-made method for two-color paper wind chimes.
Materials:
Two colors of hard board used to make the sphere
Colored paper fishing line (connected to spheres)
Twigs, scissors, pencil, compass
Steps:
Draw a circle with a diameter of 6cm on the cardboard and cut it out. About 40 balls are enough. If you want to make more abundant wind chimes, you can also make a few more.
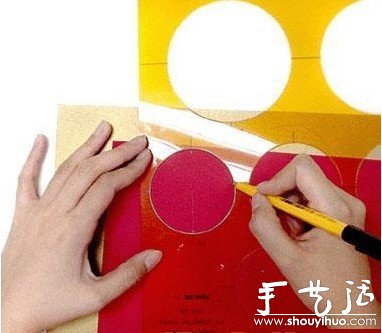
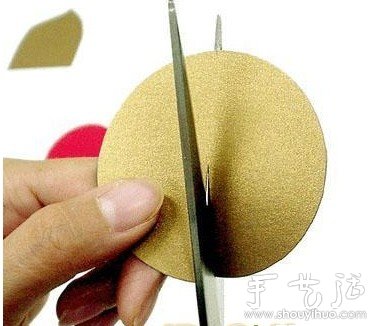
When you cut to the center of the circle, you need to insert another ball, so there is a gap in the thickness of the paper.
Cut it as shown in the picture (see the scraps of paper thickness?).
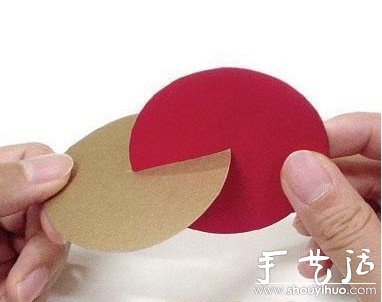
Insert two balls of different colors together to complete the cross sphere. Now its time to connect the spheres.
To make the wind chime more sensitive to the wind, I used a line thinner than fishing line. According to the order in the picture below, first pass the needle thread through the edge of the red paper on the cross line a little, then tie a knot, and then pull it down along the cross line and pass a little on the edge of the gold paper. Repeat the same operation.

In this way, you have made one. The number of balls is about 5-6.
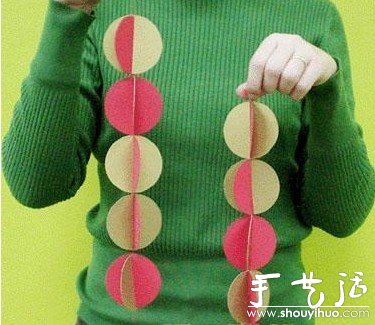
After crossing, fix with steel wire.
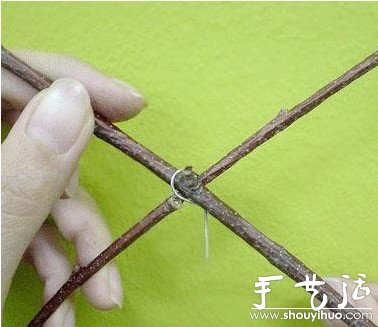
Hang the paper wind chimes you just made on the shelf to create a beautiful country-style wind chime. In order to make it fluffy, make the number of balls in each wind chime different. After making it, don’t forget to share this beautiful two-color paper wind chime with your family and friends. This is an authentic handmade work!
