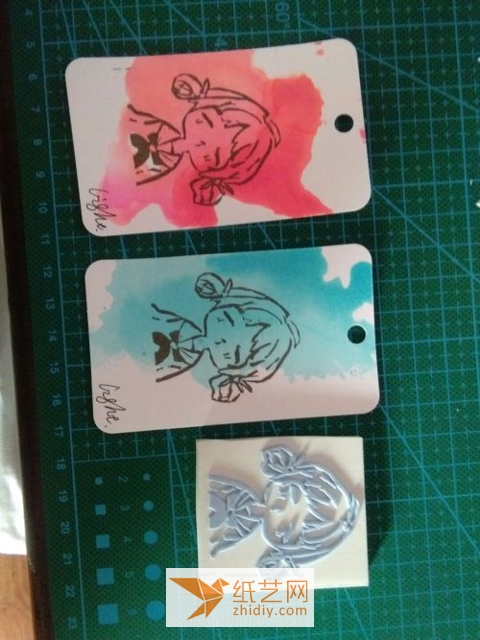
Using rubber stamps to make beautiful patterns is full of charm for those of you who like handmade creative production, so we recommend a more interesting rubber stamp making tutorial to you here. How to make this rubber stamp This tutorial can teach you how to print the pattern of a little girl onto a rubber stamp. After the transfer is completed, we can engrave. From the production effect, you should be able to see the detailed display of the manual illustration tutorial. How can a complex pattern like a little girl be displayed through hand-made rubber stamps? The actual effect is indeed quite outstanding. The produced little girl pattern also looks very beautiful on the rubber stamp. .
Step 1:

Use a pencil to trace the pattern on the sulfuric acid paper
Step 2:

Print to rubber brick Above
Step 3:

The transfer is done. If there are discontinuous lines, you can trace them with a pencil again
Step 4:
< p>
Cut the rubber stamp of appropriate size
Step 5:

Start carving
Step 6:

What it will look like after it is carved
Chapter 7 steps:

Slowly remove the pencil marks
Step 8:

Print on the ink pad
Step 9:

Start printing the pattern onto the paper
Step 10:

Can be made into a bookmark
Step 11:

We are learning this The manual illustration tutorial is the main thing to pay attention to. It actually focuses on how to engrave rubber stamps.It can restore the patterns we made and drawn to the greatest extent, because the sketch patterns of the little girl are more difficult to express through rubber stamps than other hand-made ones, so we need to be more delicate in the carving of the lines. .


