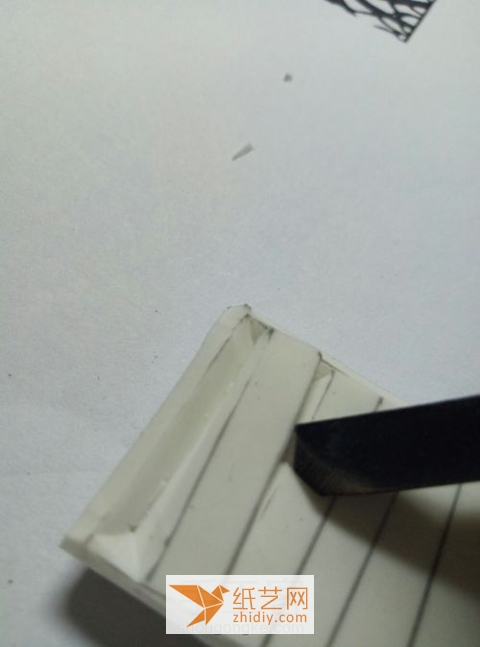
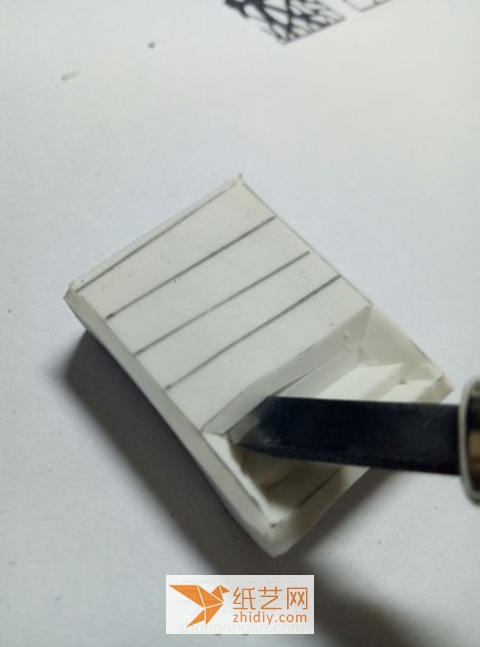
When making the blank space of a rubber stamp, many production details require special consideration in order to finally achieve the desired effect. For example, in the process of making the blank space, we need to master some basic blank spaces. As for the production method, I recommend everyone to learn the basic production method of rubber stamp blanks, that is, how to make a washboard blank! From the renderings, you can see that the white space on the washboard looks similar to the washboard in terms of structure. This kind of design and production is not particularly difficult. For those who don’t like complicated white space For students who are making, just learn how to leave blank space on the washboard.
Step 1:

A small rubber brick
Step 2:

Draw the edges first Out of the box
Step 3:

Put a grid inside
Step 4:

Get the carving knife ready and you can start.
Step 5:

Cut off the edges along the outermost frame
No.Step 6:

This is a hypotenuse
Step 7:

Start carving the first piece
Step 8:

Carve a circle along the edge
Step 9:

Continue to carve this circle
Step 10:

It will be much easier to carve the edges first
Step 11:

Carve the second line diagonally
No. 12 Steps:

In this way, the first frame is carved out
Step 13:

The next grid needs to beCut the knife halfway
Step 14:

Carve along the lines again
Step 15:

This is the first Two frames are enough
Step 16:

The following is still the same and cut in half the position
Step 17:

After everything is cut, does it look like a washboard?
Step 18:

In the process of learning such a manual illustration tutorial of leaving blank space on a washboard, we can use this manual illustration tutorial to see each step in detail How to operate? The richness of the steps shown in this manual illustrated tutorial is still very strong. It is more detailed than the illustrated tutorial on the blank washboard with rubber stamps that we learned before. This is also more beneficial to us. Learning, especially for beginners of rubber stamps, such detailed tutorials can make everyone more confident when learning!


