When we make and learn rubber stamps, the basic rubber stamp tutorial should be mastered first. So what is the basic rubber stamp making tutorial? The more important basic rubber stamp production tutorial is actually the production of blank space for rubber stamps. That is to say, we need to first master how to make a good-looking blank space, or an efficient blank space, before we can make wonderful products. rubber stamp! What I recommend here is the most basic method of making white space, that is, how to make a washboard white space. The so-called washboard white space is what we can see in the completed renderings. It is similar to the structure of a washboard. The production of such a structure is a relatively simple type of white space production, and it is also the most classic. One kind, and one that everyone must learn when learning rubber stamps.
Step 1:

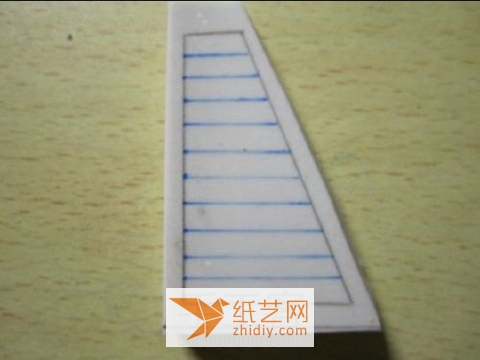
Use a piece of scrap material to demonstrate, first draw the line
Step 2:
 < /p>
< /p>
Carve a groove on the edge
Step 3:

It is tilted, look at it
Step 4:

Then start from the first piece
Step 5:

Use the knife at an angle and carve this piece directly
< p>Step 6:
Okay, the first part is carved out
Step 7:

Then Then cut the knife a little lower
Step 8:

The other side is also carved diagonally by pressing the lines
Step 9:< /p>

The second block is carved out
Step 10:

This is what it looks like
Step 11:

Continue to look like a washboard
Step 12:

From the completed renderings, you can already see that we simply performed some carvings to form a very neat washboard structure. This structure makes the blank design and production of rubber stamps extremely simple, further enhancing our ability to make rubber stamps to create beautiful rubber stamp effects. I believe you can feel the handwork from this rubber stamp beginners tutorial. The magic of making rubber stamps!


