A friend ordered a long clip. After talking on the phone and seeing a few photos he sent me, I found out that the style requirement was very clear: retro. The rest is up to me. I like customers like this the most, happy and neat, no problem at all. However, during the production process, he still made the selection of the pattern and the cloth buckle himself, because these two factors directly determine the overall style of the wallet.

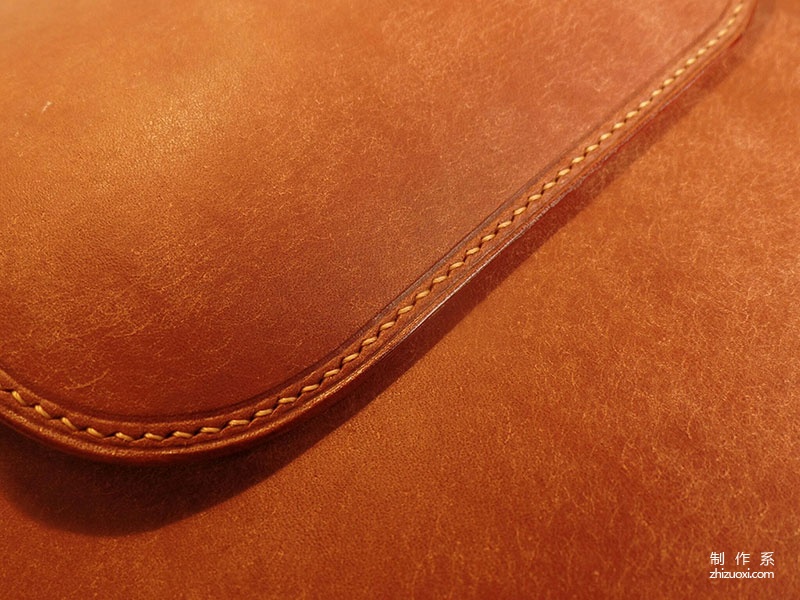
Leather Me The Italian Pueblo maroon frosted shoulder leather was chosen. The vegetable tanned leather surface has been frosted, and the light white color reveals the vicissitudes of time and retro feel.

The following is the production Process: This is the leather I bought

Template
 < /p>Cutting the leather trim
 < /p>
< /p>


Adhere and sew the outer cover and the inner cover, and seal the edges and press the lines.


The second step is to seal the edge of the card position and press the decorative line before making and sewing it

Sew the bottom of the card position

The three major parts of the wallet are completed, and the rest are Assembly

, sew the card position and the main body
 < /p>Be careful to use a ruler orUse other tools to press the edge of the leather to prevent pulling, deformation or glue opening

Without sewing, stick the folds and clips together and cut again along the original cutting holes. The reason why it is not punched in one go is because too much thickness may cause the reverse side to become crooked. The cutting depth should be such that the cutting teeth on the reverse side leak out a little.

After suturing Reverse side

After stitching Front

Third Step 1: Install the four-button buckle, find the positioning point and drill the buckle surface

Because Caibu buckles are used, the buckle surface is screwed on with screws

Mounting rod for buckle bottom

Sewing in the middle of the card position

The fourth step is to assemble the inner bag


Sew the inner bag and folds, and cut them in two steps as before. Because this time the stitching is in the fold and there is little space, I used a curved needle.


Finally seal the edges

The length of the screw handle of the Caibu buckle Every store is different, and the thickness of wallets also varies. We often encounter situations where the button handle is too long. At this time, there are two solutions: one is to add a spacer, and the other is to grind the button handle.short. The first type, add a gasket

Second, use a whetstone to grind the handle shorter


Finally a few photos of the finished product


Long clip


 < /p>Cutting the leather trim
 < /p>
< /p>


 < /p>Be careful to use a ruler orUse other tools to press the edge of the leather to prevent pulling, deformation or glue opening


 < /p>Cutting the leather trim
 < /p>
< /p>


 < /p>Be careful to use a ruler orUse other tools to press the edge of the leather to prevent pulling, deformation or glue opening


