Author: Flato, WeChat: k9999w11 I have been making customized bags during this period. I can only make this handbag when I have time. Because it is for personal use, I made it like this based on the principle of simplicity and generosity. The bag pictured in the last article was taken away by a customer right after returning from Beijing. I want to write a few words before the main text. Friends who want to see the production process can skip here and go straight down. First of all, I am not a master, I am just a craftsman who makes a living, let alone an artist. I only make things to satisfy customers, so don’t call me a master anymore. So far, the few articles I have published have all introduced the production of vegetable-tanned leather bags, because vegetable-tanned leather is simpler and more convenient to make, and I remember mentioning it in the previous article, here The articles I posted are not professional tutorials, and most of the people I am targeting may not know that this industry exists in the world, so the bags I made in the articles here are actually very basic, and the leather is easy to handle. , tools are very cheap. The most expensive tools I use in these articles are groove diggers and edge cutters. Other tools cost tens of dollars. I also want everyone to get started and learn how to use simple tools. You can also create results that satisfy you. I try to write the article from the shallower to the deeper (in fact, it is not very deep. Technical things are all practiced and there is no technology that is particularly difficult to copy), and I try to let everyone understand the industry as comprehensively as possible. It is still the old saying. Friends who want to communicate can Leave a message and say everything you know. 1. Main body processing
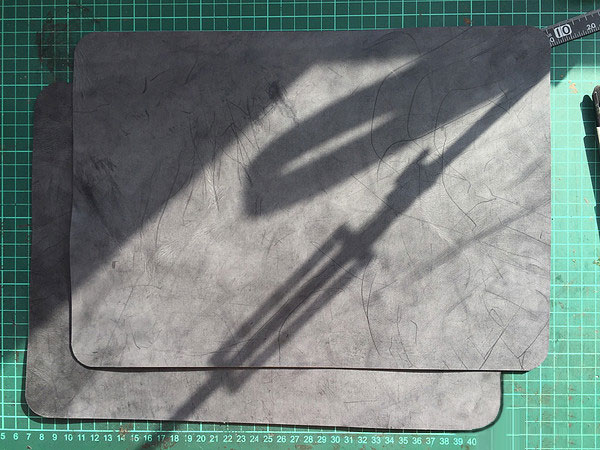
Package The main body size of the bag is 35*25cm, the radius of the chamfer is 2cm, and the leather thickness is 1.2cm. Just cut the material directly and accurately.
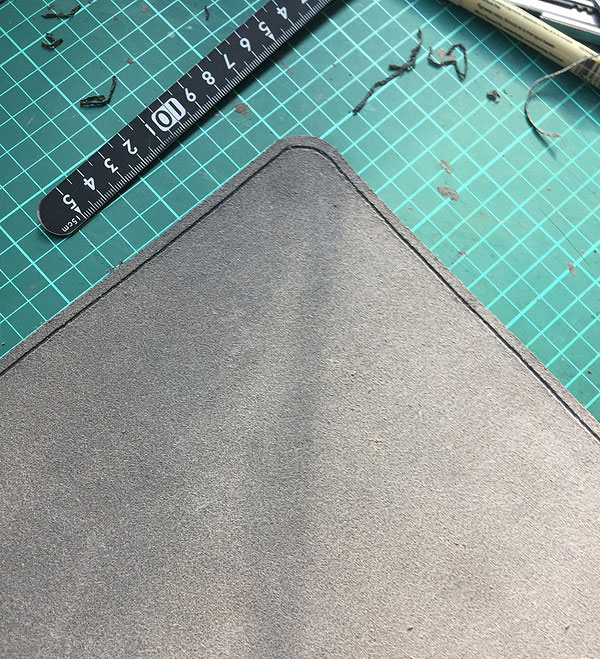
The distance between the flesh side and the leather edge Make a groove of 5mm. After digging the groove, use a paring knife to cut it off.
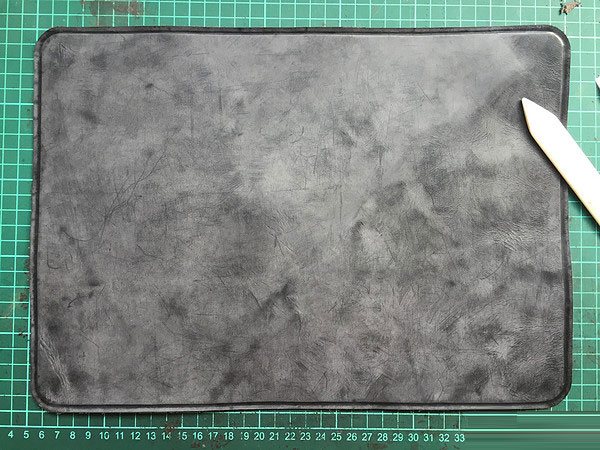
The cut meat Apply water to the face and make a drum shape on the front.
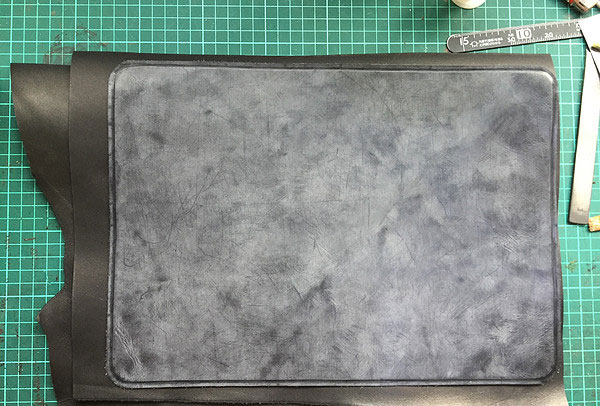

The outer skin is now processed, and then take two slightly larger pieces of vegetable tanning, with a thickness of 1.2mm, as the inner skin, and cut it roughly. The main part can be done after the cloth is Set aside for later use. 2. Handle part 1. Handle production

Take two long strips of leather, the length can be 40-45cm according to your preference. The width here is 3.5cm, because the inner diameter is 6mm and the thickness of the leather is 1.0mm.
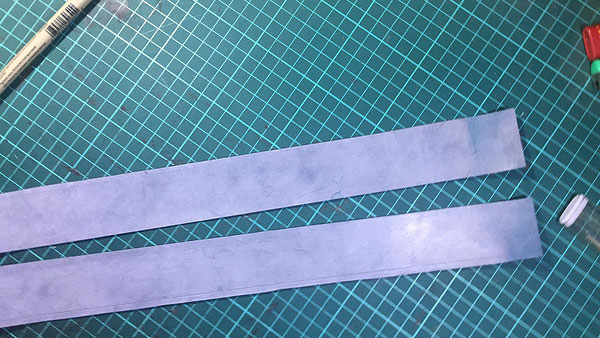
According to the required length and Customize the width.
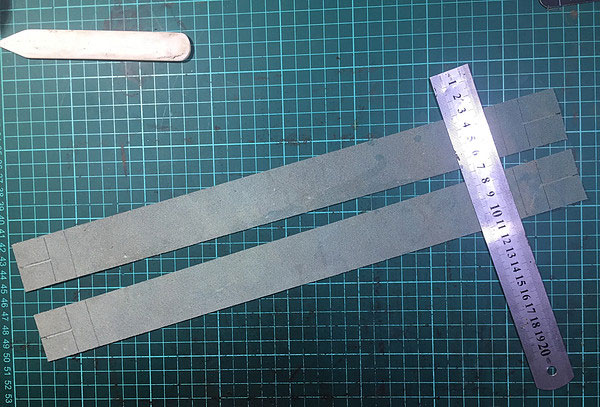
As shown in the picture above, draw the grooves and the positioning lines of the reinforced leather on both ends of the leather strip.

The line close to the ruler is 4cm from the right edge of the leather strip, the other line parallel to it is 2.5cm from the right edge of the leather strip, and the middle line perpendicular to this line Dig the groove for the bit line to about 4mm from the edge. Do the same treatment for both leather strips and will not go into details below.

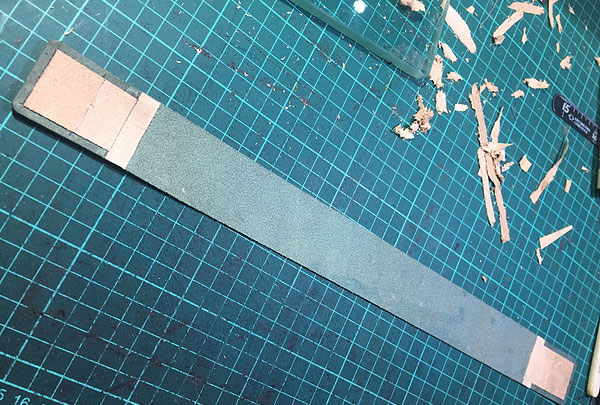 Take a piece of vegetable tanning with a thickness of 1mm The leather is tapered from the middle line to the left until it is very thin. Then apply glue and stick it to the position shown above. Imitate this on the other side.
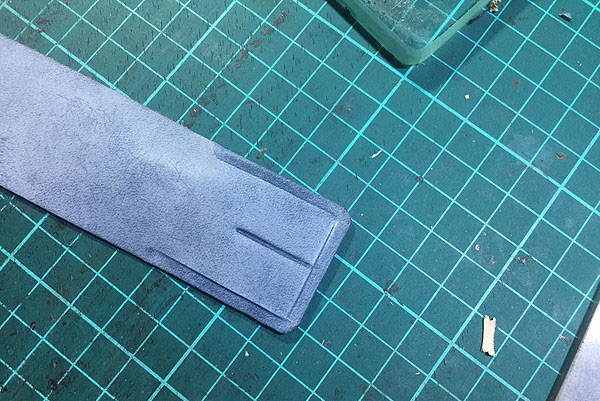
Turn over after sticking , use a shaping rod on the front to create special effects of drumming and grooving. 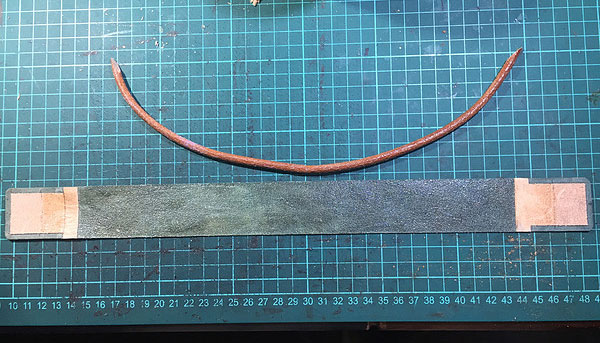
Then coat the meat surface Apply glue, take a leather rope, 6mm in diameter, symmetrically tapered at both ends, and 5cm shorter than the leather strip. Here you need to adjust the length of the leather rope according to the shape of the handle connector. This article is square. The leather cord is fully coated with glue. 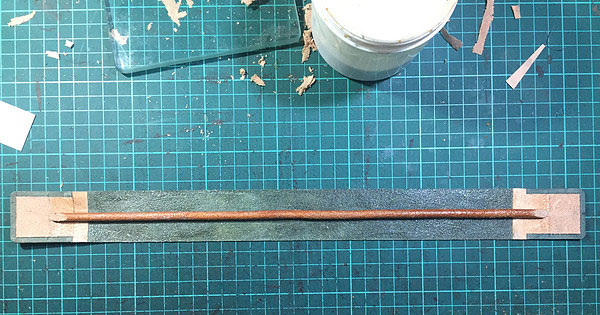
Wait until the glue is dry , stand straight in the center of the leather strip as shown in the picture above. 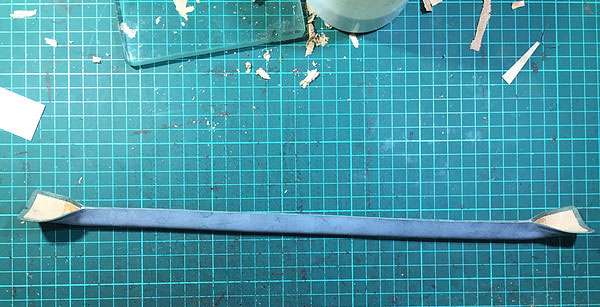
Then align both ends of the leather strip , pinch the edge gently (just stick a little bit on the edge, don't pinch the inside with your hands). 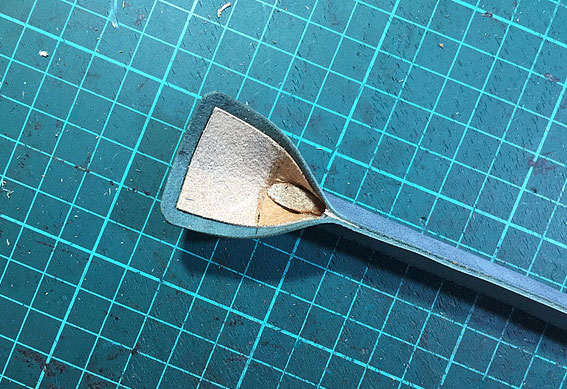
Like this, only Just lightly coat the outer edge, don't stick too much. 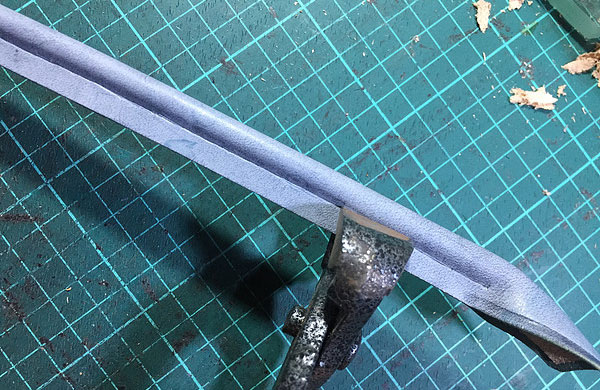
After that, you can use your own convenient tools such as flat-nose pliers or vise to stick to the innermost side of the leather rope to clamp the leather strip and glue it. I personally like to use a vise, which is moderately strong. That’s it, you can glue the innermost side very well, and the vise will leave a straight line to facilitate subsequent operations.
This will stick it.
After gluing it, because I used a vise on it, there will be a straight line on the inside. Along this straight line, use an edger or Draw a line with a width of 2.5mm.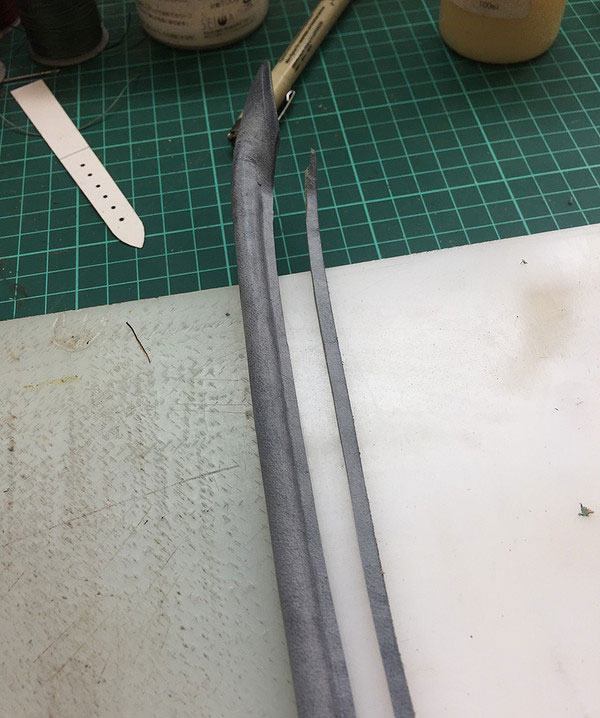
Along this line, cut off the excess leather.
Use a 3.0mm chopper to lightly make a chop mark without punching through.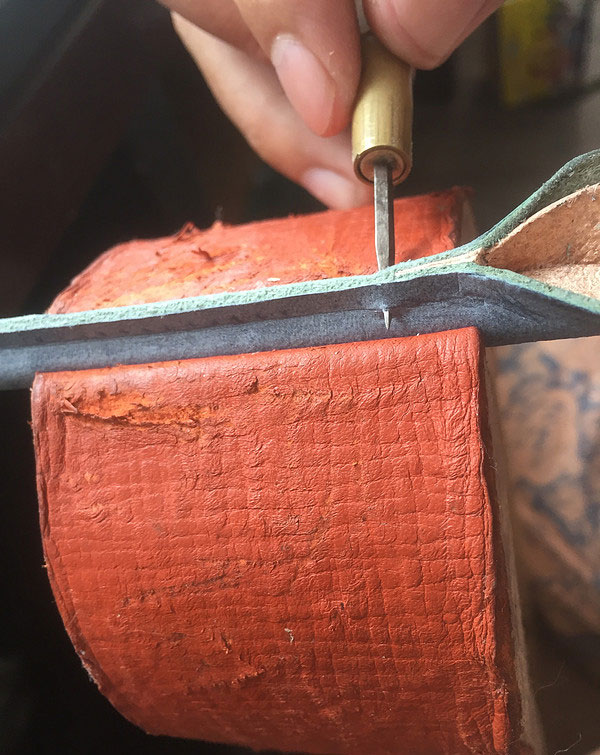
Clamp it with hand-sewn wooden clamps (please ignore the broken wooden clamps, which were chewed by the puppies at home), Use an awl to pierce from the side with the cutting mark to the other side.
Then suture.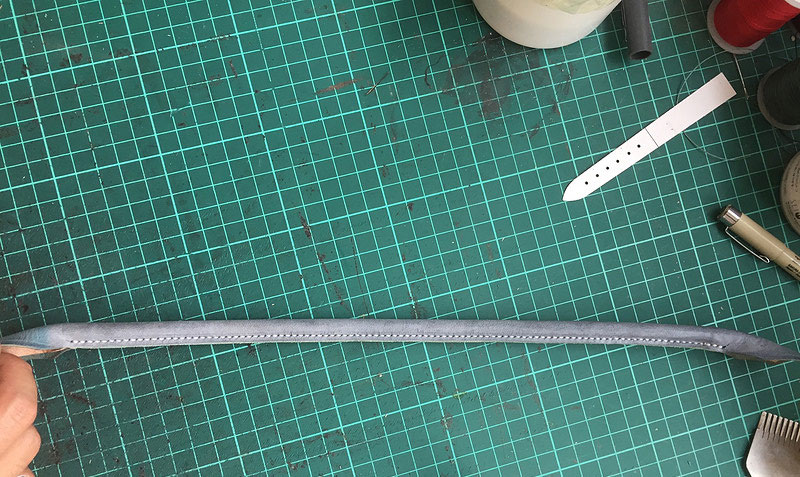

After sewing, seal the leather edge at the seam. 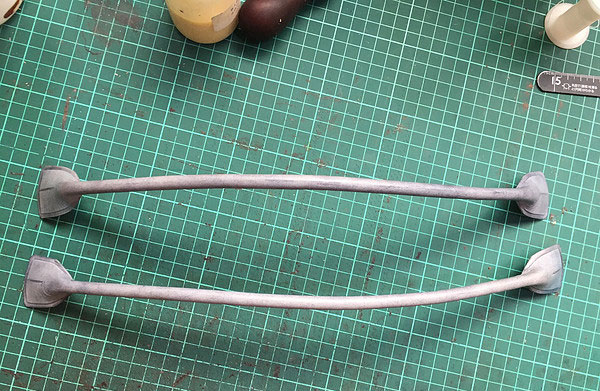
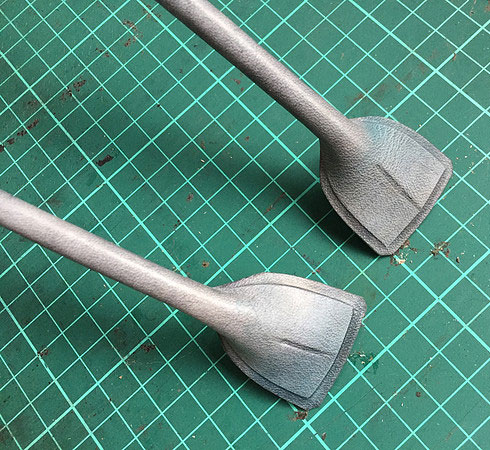
The two handles are now ready. 2. Handle installation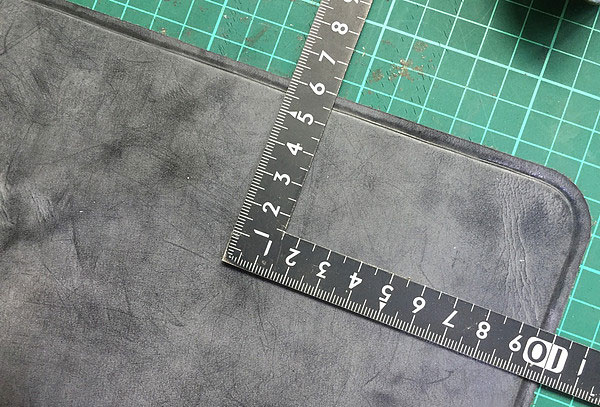
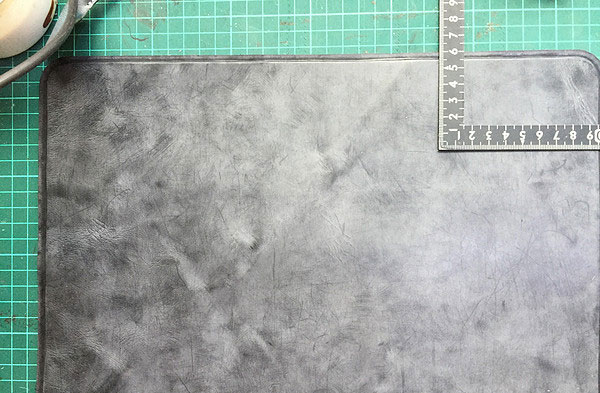
Take out the dough, as shown in the picture above , use a right-angled ruler to measure the intersection point 6cm from the upper edge and 10cm from the right edge, and make a positioning point for the lower right corner of the right handle. Follow the same method on the other side and find the lower left corner anchor point of the left handle. 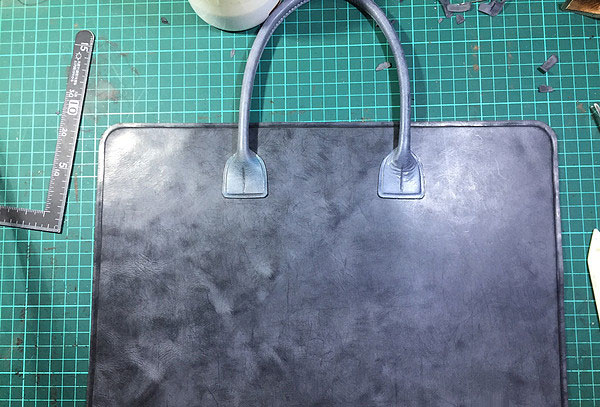
After finding the correct positioning point , glue the handle in place according to the position of the anchor point. As shown above. 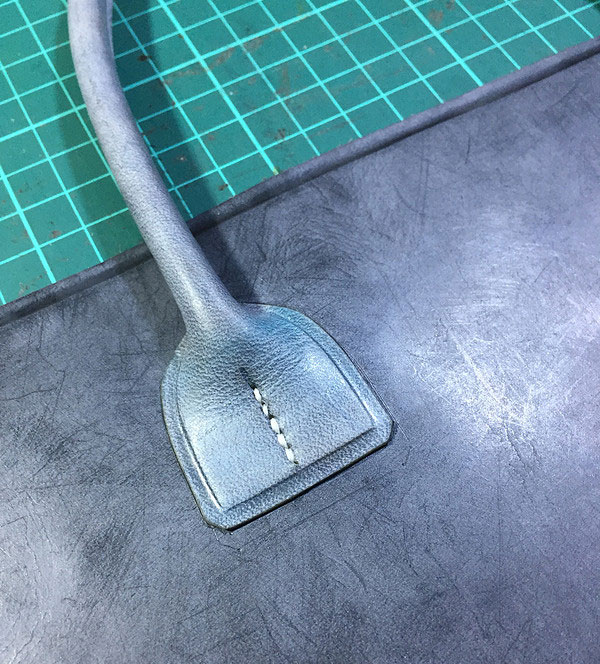
Cut the vertical line in the middle and cut the seam, and do the same on the other side. The handle is now fixed.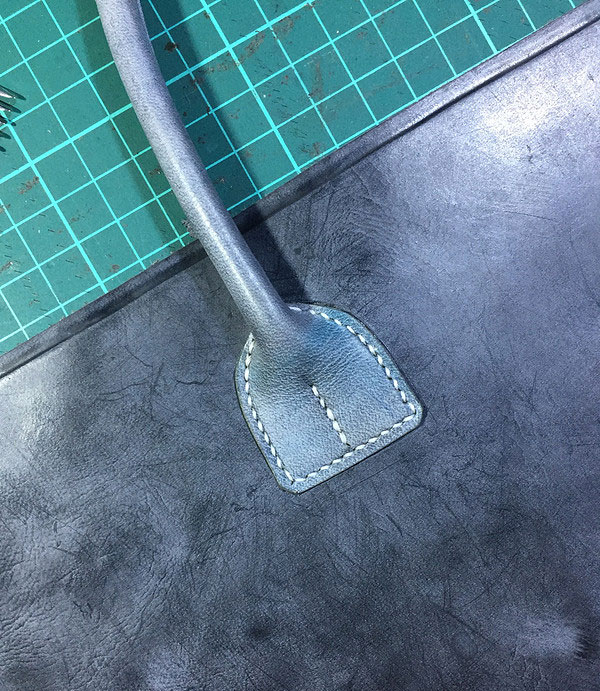
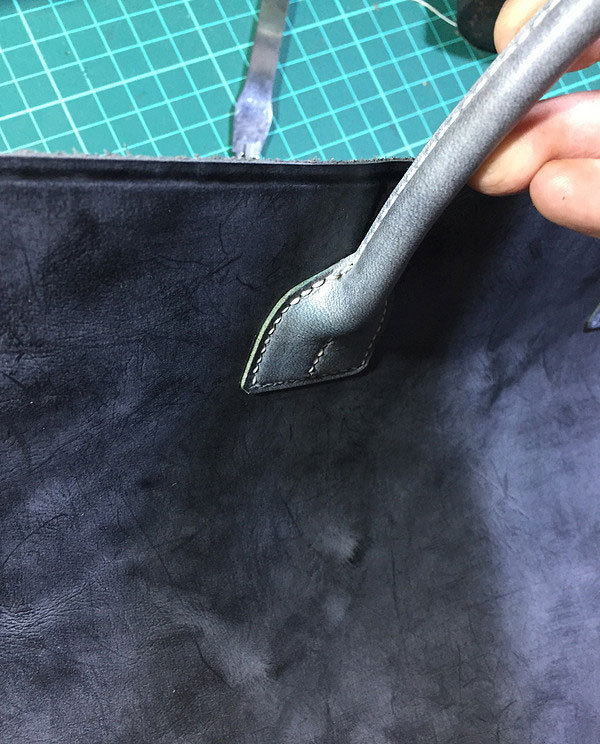
Then cut and sew all around along the bulging edge.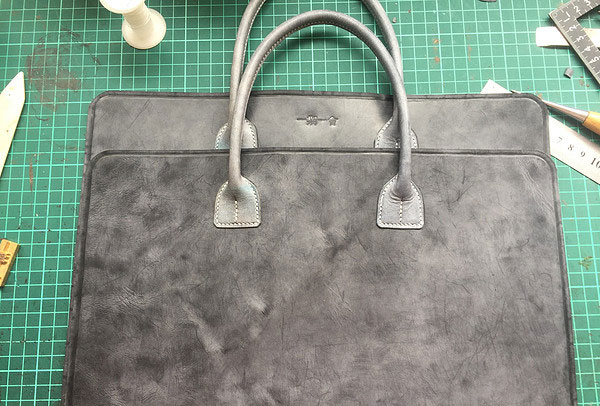
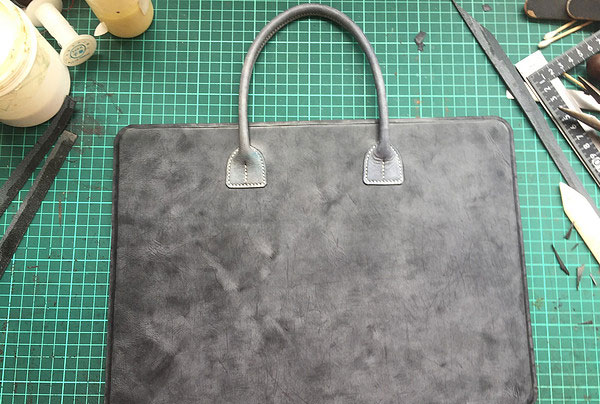
The effect after installing the handle.
< img src="http://img1.pixiaojiang.com/59495b8a541d57305.jpg_e600.jpg" alt="">
At this time, take the roughly cut lining and stick it to the back of the dough. Cut off the excess skin. Then iron the edges and cut them (through). The two large sides of the handbag are ready. 3. Zipper and side parts
Take a zipper with a length of 35cm (the length can be specified as needed, it is not fixed here), remove the teeth at both ends and install it Stop it at the top and bottom, and then wrap both ends with leather to stick it together. Then take two pieces of leather strips, here The width is 2.7cm per strip, which is determined by the thickness of the package. After the two leather strips are glued to both ends of the zipper, they are cut and stitched. Remove excess.
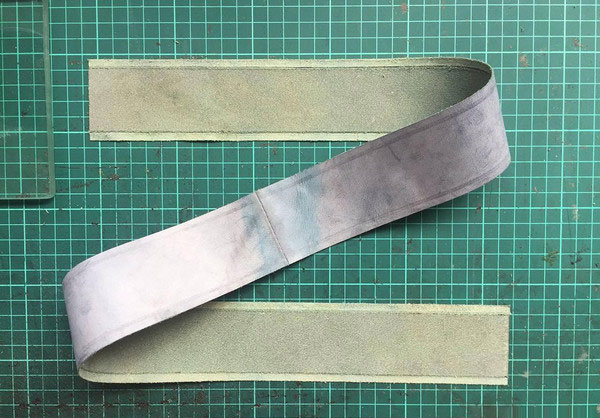
After sewing according to the zipper above The overall width of the bag is to take a longer leather strip, which should be larger than the sum of the three sides of the bag. If the leather is not long enough, you can splice it from the middle (it is understandable to join the leather, and some brand bags have bottoms that are not long enough to join the leather). Then sew one end to the zipper and leave the other end unsewed. 4. Overall combination part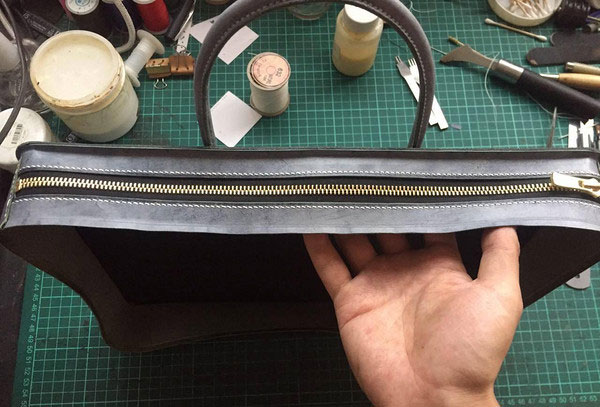
Once this is done, the overall combination can be carried out. Glue the zipper first, making sure both sides are symmetrical, and then glue the surrounding area bit by bit. 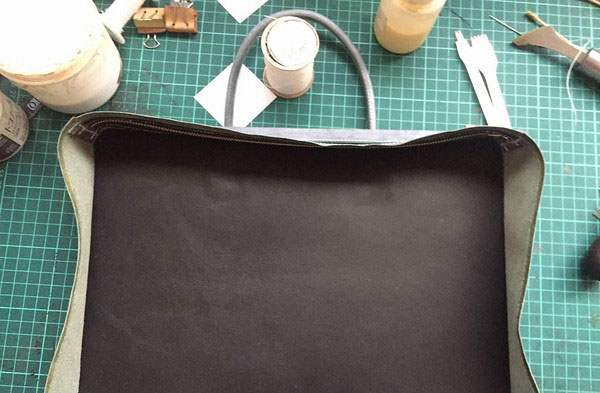
Finally at the sealing place , there will be excess leather. At this time, cut off the excess leather, leaving just the right length, glue it, and sew it with the zipper, and the surrounding sealing is completed. 

After gluing, still use an awl to cut off the dough. Use an awl to penetrate the side and suture. The thread can be sewn in 2-3 times. After everything is sewn, glue the dough on the other side and continue, the awl penetrates the suture. 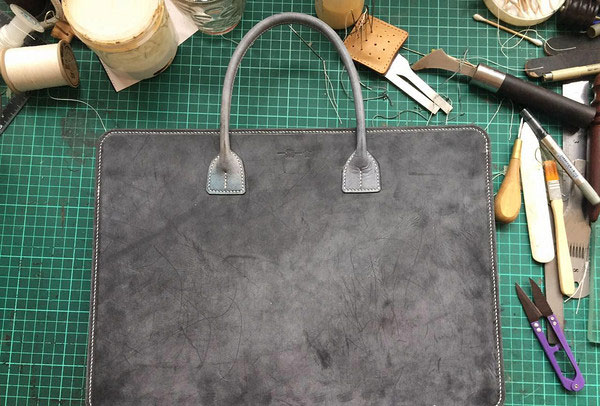
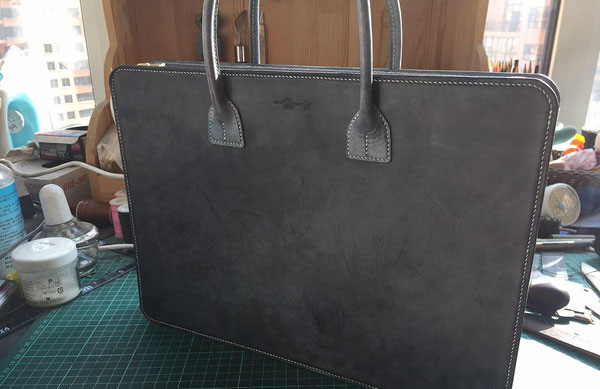
< img src="http://img1.pixiaojiang.com/59495b95cca861833.jpg_e600.jpg" alt="">
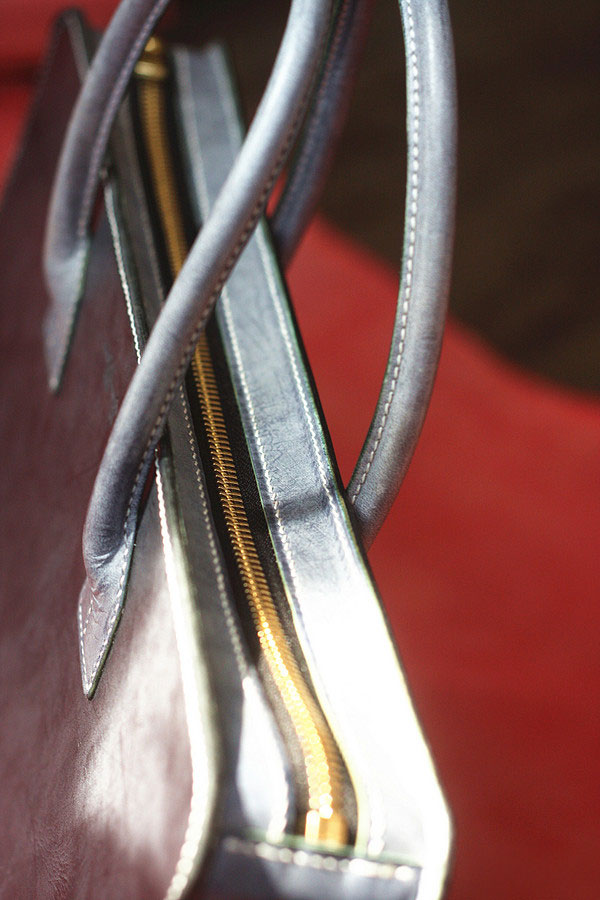
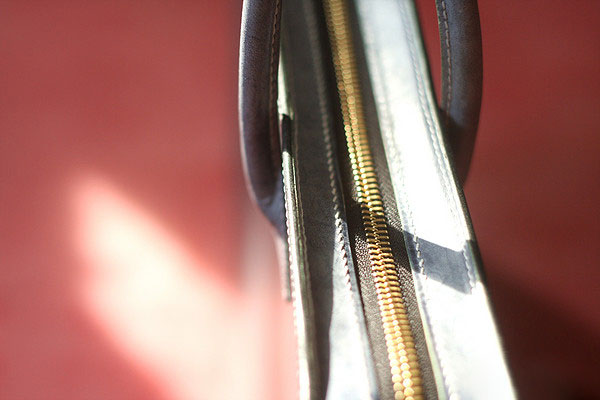
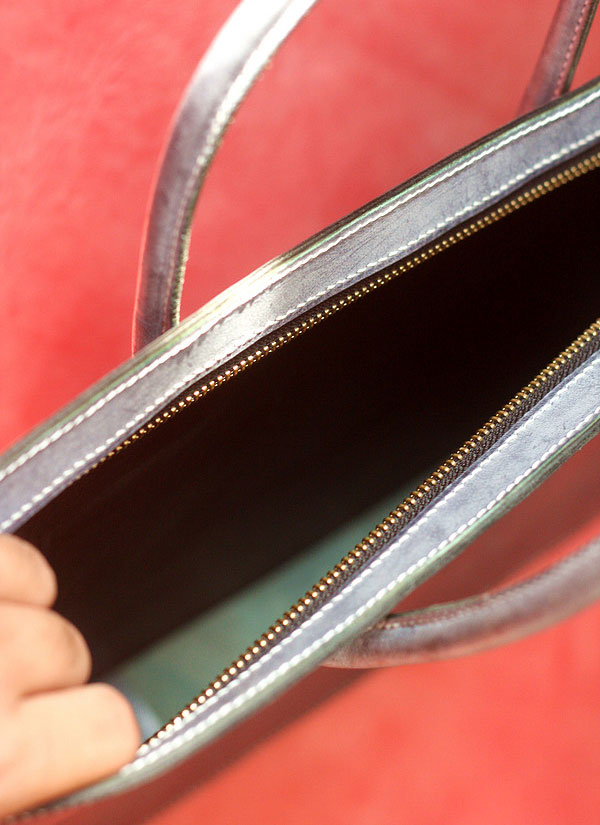
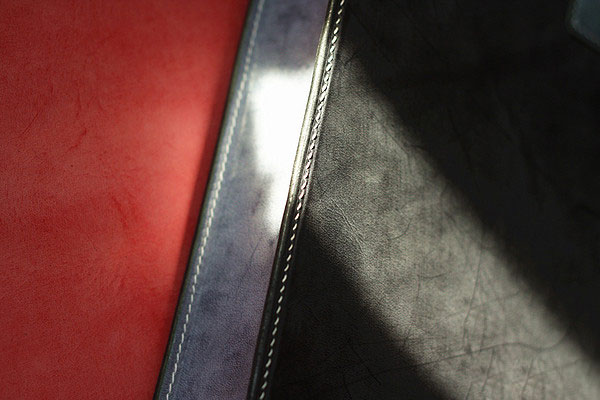
After sewing, proceed to normal processing, trimming and sealing. This package is complete. (Really tiring, endless stitches...) 5. Finished drawing
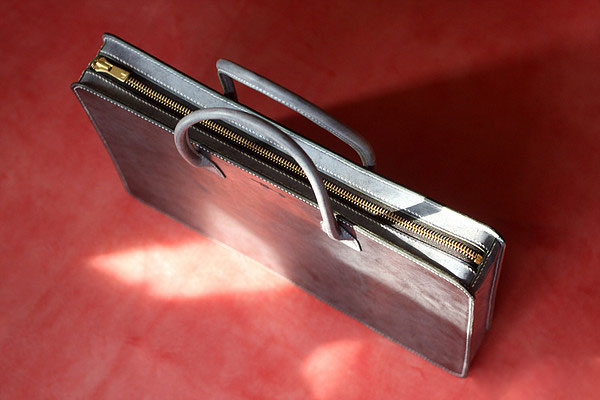


Mens handbags


 Take a piece of vegetable tanning with a thickness of 1mm The leather is tapered from the middle line to the left until it is very thin. Then apply glue and stick it to the position shown above. Imitate this on the other side.


 Then take two pieces of leather strips, here The width is 2.7cm per strip, which is determined by the thickness of the package. After the two leather strips are glued to both ends of the zipper, they are cut and stitched. Remove excess.


