I haven't had time to finish it, so I took advantage of the past few days to review the leather carving course and finished it. I am still a novice and can learn with everyone. Main materials: Vegetable tanned leather Required tools: Plain basic tools, carved basic tools Production steps:

I'm sorry that I took the time to do it, but I didn't take the previous picture. This was done before the special training camp course. There were many problems, so I signed up for the teachers basic course. . Don’t rush to cut it if the long clamp surface is larger. You will need to dye it later. Remember to put anti-stretching or other things on the knife to prevent the skin from deforming

After the carving is done, you can see that some lines are not curvy enough and the knife lines are too ugly

Come on, I will send it out today Just to practice more and compare in the future to see my growth after learning, haha

There are too many tools to introduce them all. I just want to say that leather art is a big pit, and leather carving is even more pitted. It breaks down, and it is difficult for people with weak strength to knock on the braided pattern

After the whole knocking is done, don't forget to carve the decorative lines (its a flaw). Its ugly if you can't carve it well. If its sticky, just tear it off and polish it. If you think its too hairy, go to bed. Polishing, I’m lazy haha

If you are careful, you will find that there are two differences. One was made years ago and the other was made after the year. The carved leather is now finished... I am so fast that no one else can

This one uses the original color and has not been dyed, because the leather has become a bit yellow after being left for a long time. I like it very much, so I also chose a similar color for the carving surface.

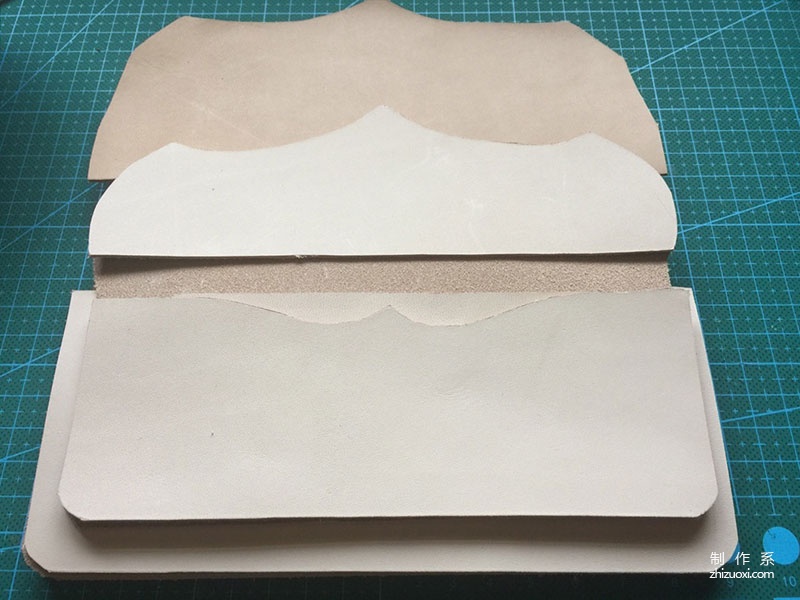
This is the previous It took a few days to cut out the inner skin, and it’s finally time to assemble it. I’m sorry to have skipped so many steps, such as polishing the flesh surface and bed surface

It looks like this after assembly. The original yellowish thin leather is not enough, so I bought a new leather and matched it with white. Some

Before assembly Remember to seal the areas to be edge-sealed first. After a while, it’s time to seal the edges as a whole. Some areas are difficult to deal with

Beat the post

Beat and chop with long clips facing each other

Start to assemble the stitches and seal the edges as a whole

Sewing and sewing

Stick and stick, sew and sew

Connect the bottom skin

Mezzanine and upper and lower sutures

The last seam

Finally stitched

It took a long time to make this long clip...

This is from years ago

Made years ago, oiled and dyed

I just used alcohol dye for the carved surface. My little cotton-padded jacket came to help me at that time, but I didn’t dare to dye it with oil and just forgot about it...

You have to continue practicing, you are still far away. Tips: Pay attention to the knife line, if it is slanted It will be very difficult to type later. I am also a novice. I plan to sign up for the teacher’s advanced class and study it in depth. Then I will compare and see my progress. Thank you for your appreciation! Let’s learn and make progress together, come on!
Leather carving long clip


