Author: Araki Douban: https://www.douban.com/people/viva-l/ The Saddle bag is designed based on the shape of a saddle stool. The bag body has a semicircular shape and has a retro feel. With its unruly temperament, it has become the favorite of celebrities and fashion bloggers in recent years. I personally like the concept and shape of the "saddle" very much, so I designed this bag. The overall shape of the design is the traditional American saddle bag shape, which is matched with the curve of the bag body, hand-painted shield buckles and double-sided ears with arc bottom, keeping the overall simplicity and elegance, and highlighting the fuller visual effect in the details. It has been almost a year since I updated a new tutorial because I have been making orders and I have to design and adjust new styles when I have free time, which is really too much to take care of. This was actually done at the beginning of the year, and a preview was posted, but it has been delayed until now to be edited and sorted out. I have seen your reminder emails and comments, and now it is finally sorted out, come on. The old rule is to post pictures of the finished product first.

Work ID photo

Put it first The design drawing of the shield buckle (my drawings are always impressionistic, you understand)

Because the bag body is in the shape of a saddle, I wanted to make the buckle into a shape similar to a shield to echo
< img src="https://img.111diy.com/timthumb.php?src=/d/file/p/c991d18f5ae33a88b35c034cf1fd9f8a.jpg" alt="">
I adjusted several versions, tried them one by one, and selected the rightmost one.

I made a draft to make sure it is what I want. em...Yes, this is just a draft. The following is the specific production process of the final product, as photographed Very detailed, not missing any key step of production.

Open material, the leather is Italian pueblo retro frosted cowhide

Cut the pattern

Cover trimming

Seal the edges with water, then apply edge sealing liquid for reinforcement.

Sandpaper polishing.

The cover and edge sealing are completed.

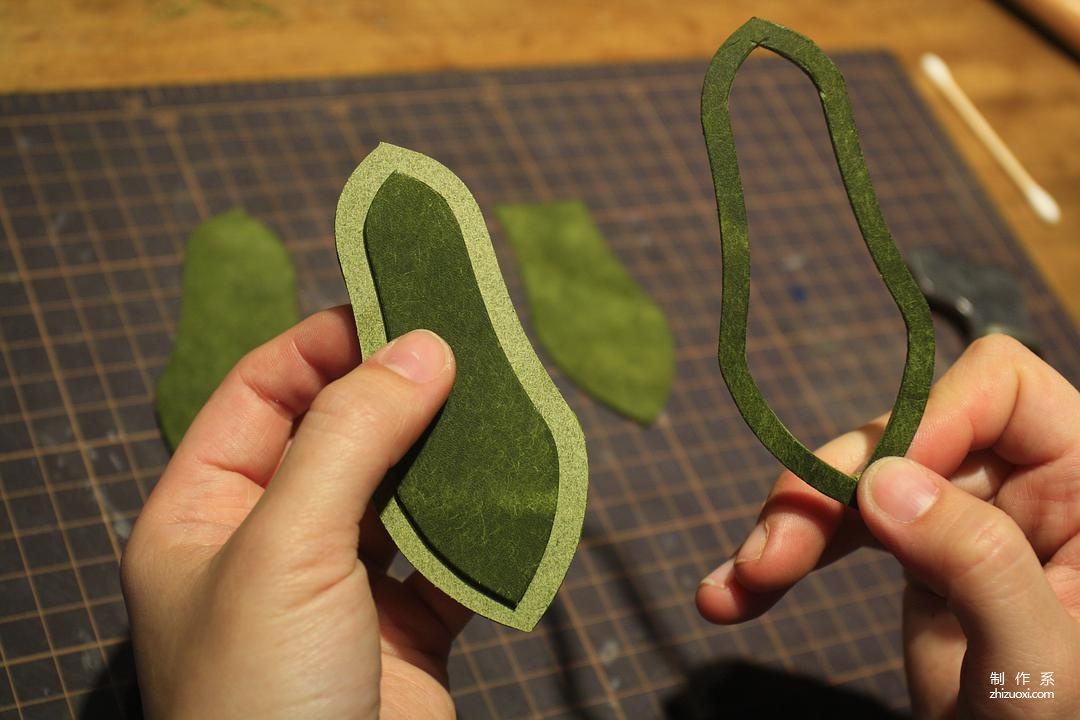
Start making the buckles and add the cushion core, a total of 4 layers are needed.

Cut a 4mm wide edge, and inside is the pad core, which can be used as a drum to make the buckle appear fuller.

From bottom to top, In order, they are the skin, cushion core, bottom, and suction buckle connecting piece.

Negative gluing

Attach cushion core to the negative film

Glue on the reverse side

Adhere the surface and cushion core, and press out the suture groove.

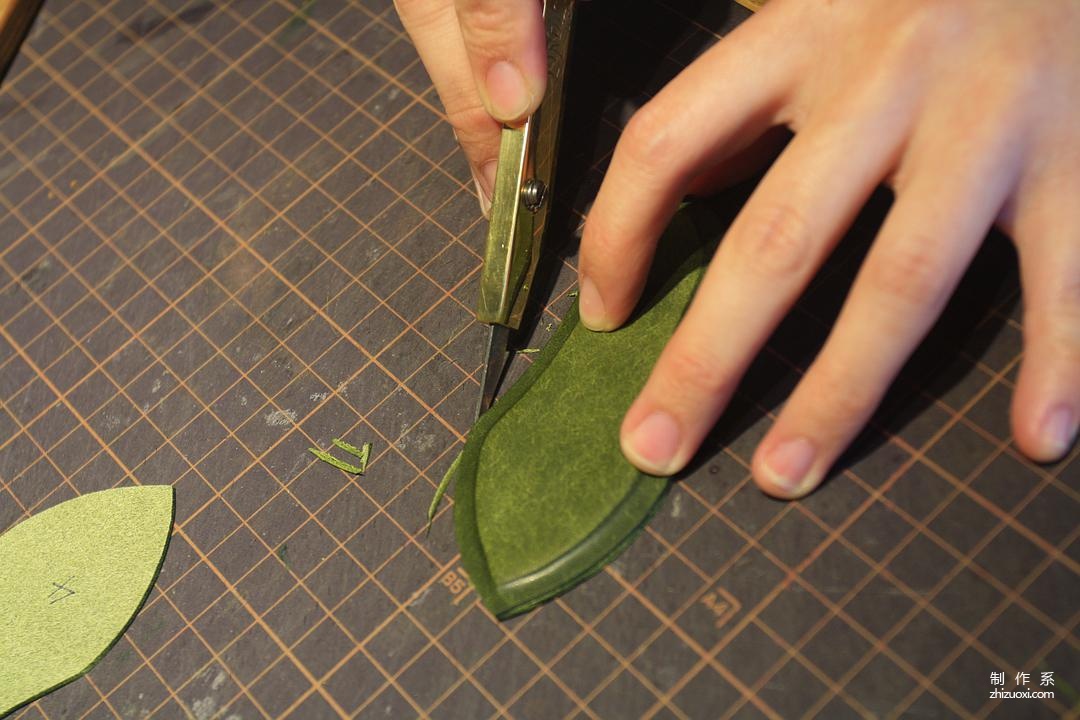
Cut off the excess
 Pressure suture reference line

Press out the chop position

Install the suction buckle on the suction buckle piece

The tangent line on the suction buckle piece is connected to the bag cover, so that the reverse side of the buckle is exactly on the same plane.

Just right "Sit in"

After adjusting everything, use sandpaper to smooth the edges.

Trimming< p style="text-align: center;">

After repairing, if there are any uneven areas, smooth them with sandpaper before proceeding.

Edge

Polished smooth

Sewing the buckle, using Japanese twine.

See the previous log of suture posts

After sewing, sew on the body Install the other half of the suction buckle on the front piece.

Now start making the side panels, which need to be thinned first.

The total thickness is 2mm, leaving only 0.5mm, and cutting off 1.5mm.

Both sides of the side panels have been thinned

Use flat-nose pliers to fold the sides.

This will make it easier to operate when sewing the whole piece

Now start making the shoulder straps and trimming the edges

Polish it smooth, actually do the whole Damn, this step is the most frustrating.

Polished

Now let’s start making over-ears. For the overall visual effect, the over-ear design is not used.Any exposed hardware.

Ear-covering patches Edge binding

Glue

The head of the upper shoulder strap
 Rivet reinforcement, this part will be sewn inside and the rivets will not be exposed.

On-ear fit The upper film

Paste and compact

Cut out the seam allowance

Sand it well and be patient at every step. This small detail is very important.

After the ears and side panels are done, start sewing.

Sew the over-ear to the side panels.

Sewing completed< p style="text-align: center;">

Main details After everything is processed, start the overall suture.

Integral stitching.

The side panels were thinned and hemmed before just for this corner

Sewing is about to be completed

Use flat-nose pliers to adjust the sides to make them flatter.

Trimming

Polishing

The bag body is completed and the shoulder strap buckle is made

Sewing the buckle.

Install pin buckle

Complete ps: My main job is a working cobbler, not teaching. This post is for sharing Technology and experience, by the way, I can show the production process to custom customers. Therefore, not all those who leave messages asking production questions areYou can answer them one by one, but more provocative questions will be discussed in future teaching posts.
Saddle bag


 Pressure suture reference line


 After repairing, if there are any uneven areas, smooth them with sandpaper before proceeding.


 Rivet reinforcement, this part will be sewn inside and the rivets will not be exposed.


 Main details After everything is processed, start the overall suture.


