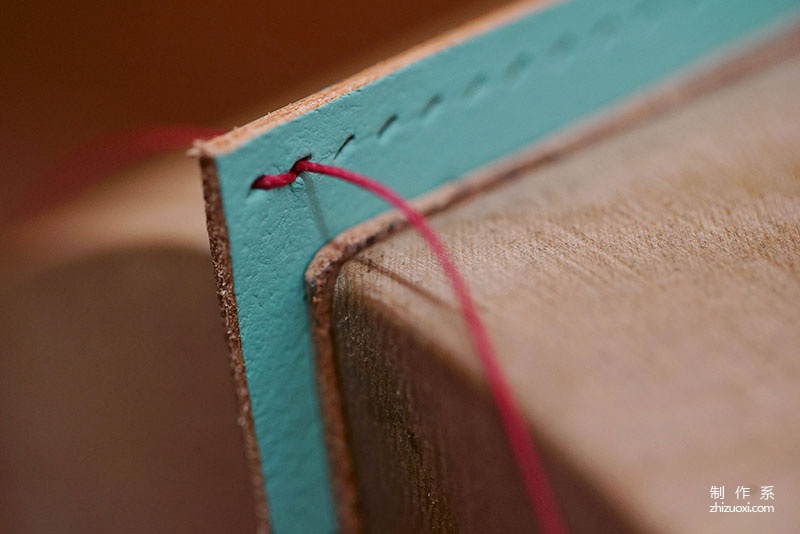
The double-sided cut-and-double wave stitching technique is commonly used in handmade
leather goods A sewing method, usually used in parts where the stitches on both sides can be seen. The shape of the waves on both sides is like ocean waves, rising and falling together, forming a unique visual beauty. The tutorial explains in detail the techniques and key points of double-sided punching and double-wavy stitching in handmade leather goods. Main materials: vegetable tanning, French hemp, KS. Required tools: needle, glue brush, hammer, spacing gauge, French chop. Production steps:

Double-sided chop and double wave stitching technique is a more commonly used sewing method in handmade leather goods. Usually It is used for parts where the stitches on both sides can be seen. The shape of the waves on both sides is like the waves, rising and falling together, forming a unique visual beauty.

Required for tutorial The tool is shown in the picture. KS yellow glue, clamping pliers, gluing brush, demonstration leather, French linen, wire wax, spacing gauge, Blanchard chop.

Take it out Two cut pieces of leather

Use a spacing gauge to measure 1 minute on the steel ruler and tighten (here I am not using centimeters as the unit, but inches as the unit, 1 minute in octal system)

Use a spacing gauge to mark the sewing auxiliary line so that you have a reference for cutting and it will be straight and not crooked

After drawing, make sure the auxiliary lines are thin and clear

After drawing the auxiliary lines Don’t rush to behead it first, there is a very important part here, the estimated location of the behead hole

As shown in the picture, the magic chop overlaps the first hole last time along the auxiliary line

When reserving the second line, you can put the already reserved one next to it, and then Start presetting the other one according to the preposition of the first one, as shown in the picture when done.

Cut after the pre-position is OK. The requirement for chopping is that the back of the leather only needs to expose the tip of the chop a little. It does not require too much force, just chop like that. The hole will be stretched and the stitches will be deformed accordingly when sewing.

Then apply glue, this step is very important, will affect the later sewing process and even edge sealing.

KS Yellow Glue It needs to be thin and fast. After the glue is applied, it can be glued. Pay attention to aligning the holes on both sides. Novices can use sharp objects such as needles to pass through to assist in positioning and pasting.

After gluing Use a roller or hammer to tap the edges of the adhesive. On the one hand, it can increase the firmness of the glue, and on the other hand, it can knock the edge fibers tightly and discharge the air during the adhesion, paving the way for the later edge sealing process.

For observation Carefully, I selected the contrasting red French twine

The outer layer of the twine is not coated and will fluff when stitched, so it needs to be waxed

The stitching of leather goods generally requires needle threading. First pass the thread through the needle hole, and then pass the tip of the needle through the center of the thread twice, as shown in the picture.

Then down Pull the thread to make it look like the picture.

The suture begins. The first step of suturing is the needle. Pass through the first hole and pull until both sides are equal lengths.

The right side is the front side of the suture. The first stitch is to pass the right-hand needle from the right side and straighten the thread forward

As shown in the animation

Put your left hand through the back of the first stitch

As shown in the animation

Through the following You can see the positional relationship between the two lines in the picture, that is, the second stitch on the left is above the first stitch.

Right hand front

Back of left hand

Front

Back
< img src="https://img.111diy.com/timthumb.php?src=/d/file/p/5c74f05cf8516eb7a33d4825e84e5fb1.jpg" alt="">
Then go back 1--2 stitches at the end, and then use wire cutters to align them Cut off the root and apply a little white glue. The tutorial is over. If you have any questions, you can leave a message.
Double-sided chop, double wave riding stitch


