Real cavalry belt Its very convenient. It can be fastened and unfastened in one second, and you can play it for three hours without getting tired of it. The production process is shared by "Tianyi Workshop Deep Blue". Main materials: 2 pieces of Tuscan textured belt leather 3.8cmx60cm, a set of cavalry buckles, 9x611 belt screws, 9x43 belt screws, vegetable tanned leather 2mm20x13cm. Tools required: 4mm round punch, 6mm round punch, leather DIY basic tools, leather edge processing set production steps:

As usual, let’s take a look at the finished product

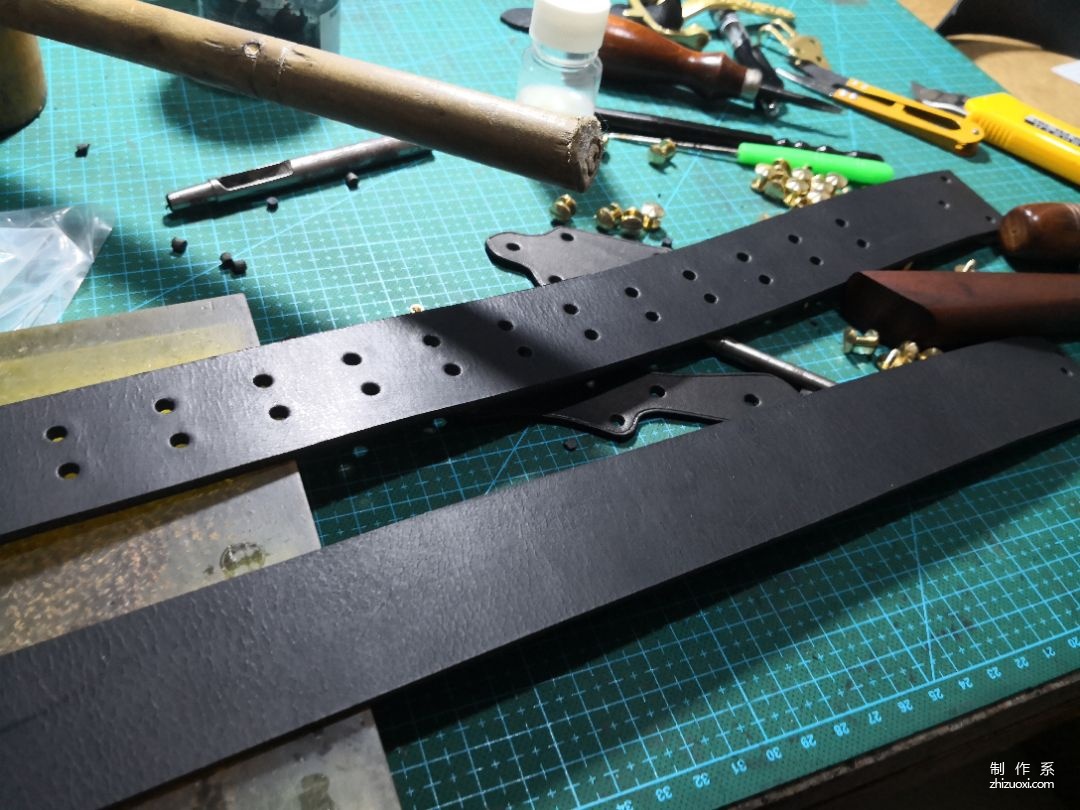
Punched holes in the front and rear header

All processed

Decorative line processing

Processed

Bed surface agent to treat meat surface

Separate after edge sealing, mark the holes

Head and tail opening

Punched holes

Press the decorative line

Install the adapter

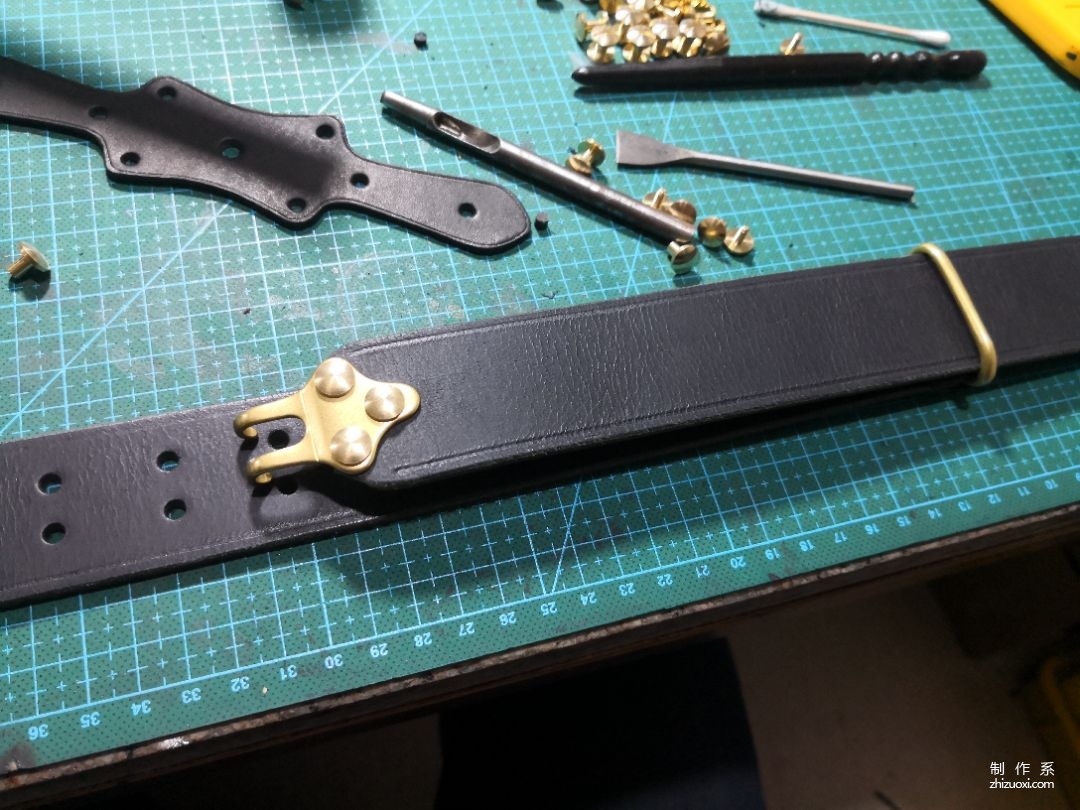
Installation hook

Connection effect

Install the header

Install with tail

Combined


Tips: Its very simple. If you want to make it look good, you can sew on the edge of the belt, and the effect will be better. good.
Belt Cavalry Belt


