The article is reproduced from kinii https://www.sogoke.com/tutorial/11676/Author: moko

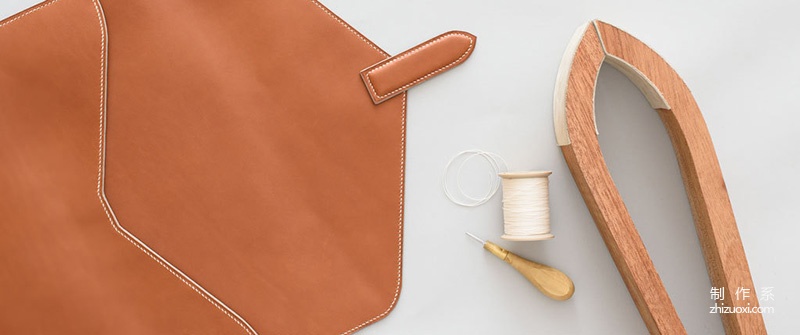
Envelope bags are commonly used bags. They are mainly used to carry paper and thin notebooks. Of course, they can also hold thin and light computers such as Air. The structure of the envelope bag is not complicated. It looks like a large envelope and is relatively simple to make. But just because it is simple, it needs to pay attention to details and design. A very detailed envelope bag construction process. The leather is Hermés Barénia calfskin and the lining is softer Nappa leather. The thread is made of white linen thread, and the edge oil is Vernis, a water-based ironable edge oil that is more fashionable. Detailed production steps: 1
 The picture on the left shows the side pocket on the back of the envelope bag. The picture on the right shows the blue lining (lining). 2

Start cutting To cut the leather, start by cutting the rectangular front body. 3

Then cut Cut the back piece. Here you need to cut out the shape of an envelope. Make your own template before cutting. The curved part in the picture is cut using Curved knives. ps: I don’t know what kind of knife it should correspond to in Chinese? If anyone knows, please give me some advice, thanks! 4

Then cut the leather of the back pocket. 5

After cutting the leather, use an ironing machine to iron the edges. The French FN2 MCR (F2M) ironing machine used in the picture is said to be exclusive to Hermès. Machine. 6

Look at the details of the creases caused by the perm. Please ignore the big F2M on the perm, ha! 7

The leather and lining are bonded using water-based glue, which is non-toxic, odorless and can provide sufficient bonding strength. 8

After gluing, cut Cut off excess leather. 9

Then process the front piece, because the front piece needs to be installed with a buckle, and the inner village needs to be intact, so it needs to be punched in advance. The punch used for punching holes in watch straps is used. 10

Apply edge sealing oil on the inside of the hole, used hereEdge sealing oil the same color as the leather. 11

Start production Front buckle strap. 12

Still using Second-layer leather, bonding, edge ironing, punching, sewing, edge sealing and other conventional processing. However, it should be noted that the two sides of the buckle need to be sewn together with the front piece, so they need to be reserved. 13

14< p style="text-align: center;">

15

16

17

Finally, sew together with the front piece. 18

Use a hammer or rubber hammer to tap after suturing. This will be flatter. 19
 < /p>Now punch holes and sew the front and back parts that do not need to be sewn together. 20

21

Start the assembly. Glue is critical here. Applying it too thickly will cause many problems, and applying it too thinly may cause the bonding to be not strong enough. 22< p style="text-align: center;">

The front and rear panels are bonded Together, clamped and ready to suture. 23

I won’t go into details about stitching, there are too many tutorials. Start applying the first layer of edge oil. It is best not to be too thick in the first layer of edge oil to avoid overflowing the edge. 24

After drying, polish the edges with sandpaper until smooth. 25

Tu Di Two coats of edge oil. 26

Iron edge On the machine field, the entire upper edge is oiled and edge-sealed, depending on the type and thickness of the leather. The entire process is repeated approximately 7-8 times to obtain a very durable and smooth edge. 27

Final production A buckle, which is often bent, is made of three layers of leather. 28

Red chevre leather as padded leather. 29

30< p style="text-align: center;">

Three layers are sticky After joining, use a bone knife to make a small shaping. 31

Cut off the excess leather, then punch holes for stitching and edge sealing. 32

33

Finally, sew it to the main body, and the entire production is basically completed. 34

The final buckle effect.
Envelope package

 The picture on the left shows the side pocket on the back of the envelope bag. The picture on the right shows the blue lining (lining). 2


 15
15


 < /p>Now punch holes and sew the front and back parts that do not need to be sewn together. 20

 The front and rear panels are bonded Together, clamped and ready to suture. 23


 Three layers are sticky After joining, use a bone knife to make a small shaping. 31


