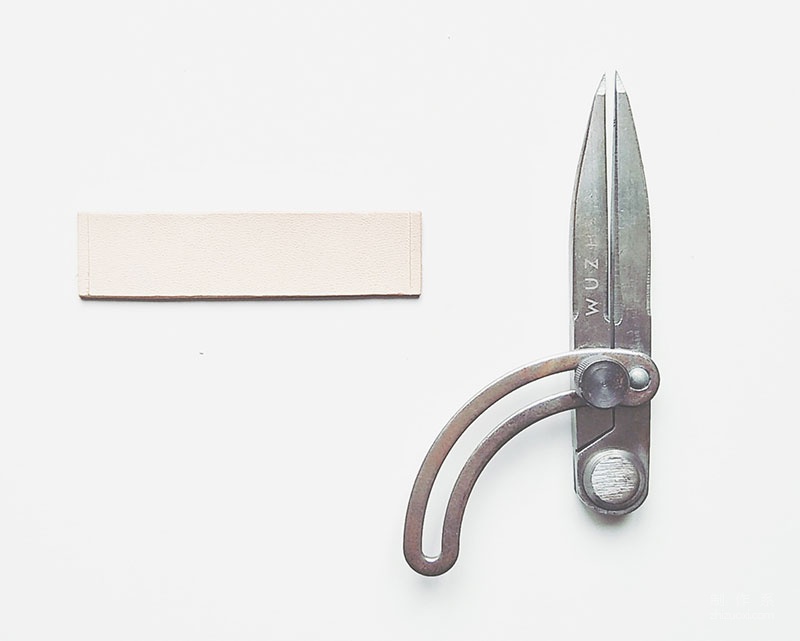
Handmade shoulder bag that can be completed in one day. Make a shoulder bag with your own taste. Author: Wuzhi WUZHI, WeChat: 309790637 Detailed production steps. Production tools: trimmer, film, frosting rod, spacing gauge, diamond chopper , round punch, clip production materials: cowhide rope, vegetable tanned leather, bed surface agent, leather glue


Use an edge trimmer with a small amount of bed surface agent to polish the 7 edges as shown in the picture


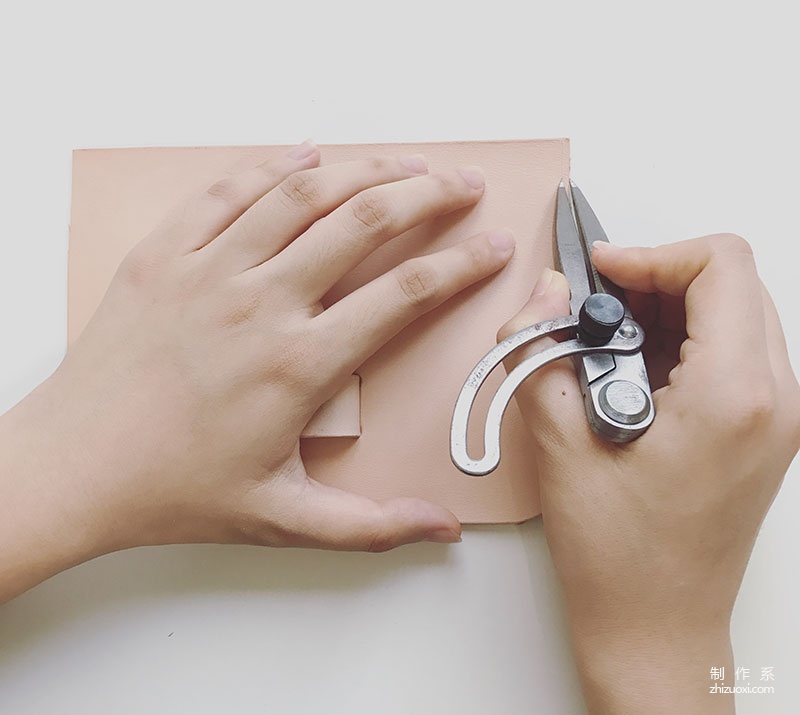
Score lines on both sides of the small skin patch


Punch holes on both sides of the small skin patch


Measure the wire length≈30cm

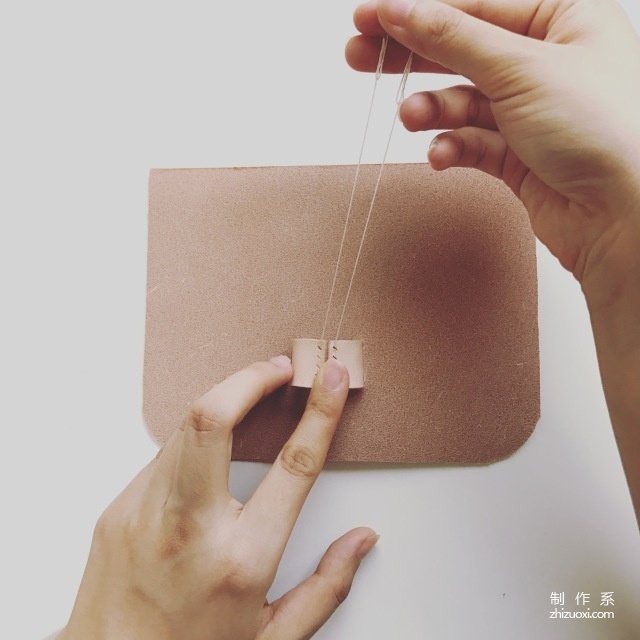
Threading the needle


Put the small leather piece into the hole of the small square leather


Sew as shown in the figure. Note: Backstitch reinforcement at the beginning and end


Put the pink leather piece into the leather buckle to make sure the size is appropriate. Tighten slightly


Adjust the scribing spacing gauge on the small square leather to 2mm~3mm

Punch

The arc part needs to be punched with a 2-tooth rhombus


Count the holes and use silver for every 20 holes Pen marks on the side
 Mark and punch holes in the side skin flap. Note: the number of holes is the same as that of the small square skin flap, and every 20 holes are marked with a silver pen

The curved side of the large square leather piece is the base, use a ruler to measure the midpoint And place the pink skin piece perpendicularly to the ruler, hold the intersection of the pink skin piece and the ruler with your left hand, and hold the awl in your right hand to mark four points as shown


< img src="https://img.111diy.com/timthumb.php?src=/d/file/p/36d59636512275cd231191d3e7aa185f.jpg" alt="">

Mark the end, take away the pink leather piece and the ruler, and mark the four marked points with a straight edge Note the ruler as shown in the link: line length ≈ 10.5

Use a sanding stick to sand the middle part of the two lines (to make it stronger when pasting)


Apply leather glue on the polished part and the dark part of the pink leather piece as shown

< img src="https://img.111diy.com/timthumb.php?src=/d/file/p/a11a0c97e60ce9f7e036fbeb6f3db2b6.jpg" alt="">
Align and glue the pink skin patch firmly


Underline length≈10.5cm

Punch


Needle thread length = suture length*4

Note on stitching: Reinforce the starting stitch and the back stitch at the end


Align the bottom edges of the two leather pieces on the backing board, and align them on the large leather piece. Mark the piece as shown in the picture. Note: The other side also needs to be marked in the same way

Start at the mark and end at the mark on the other side

Punch holes along the marked line

After drilling is completed, use a silver pen to mark every 20 holes and count the hole locations. And mark the other side of the side skin flap with a silver pen

Fold the side skin flap in half as shown, and mark the first and last holes

After marking, remove the excess skin Crop the piece

Use a 4mm round punch to punch holes on both ends of the side skin flap 3cm downward from the center

Thread the needle and sew the small square skin flap and side skin flap

Clamp the two leather pieces as shown in the figure. Note: 1. When clamping, align the marks made by the silver pen 2. Before clamping, put a piece of scrap leather or several layers of paper towels on the clamped area to prevent the clamp from damaging the leather surface

Note on sutures: backstitch reinforcement is required at the beginning and end of the suture
< img src="https://img.111diy.com/timthumb.php?src=/d/file/p/036be6c8dba2a2734b5c9771de84b05a.jpg" alt="">
After the first two pieces are sutured, sew the third piece of skin as in the previous step Clamp and sew. Note: Backstitching is required at the beginning and end of the suture

After the bag is sewn, insert the pink leather piece into the leather buckle, confirm the position of the pink leather piece, and use an awl to mark the left and right sides of the bag lid

The edge of the cover and pink leather The corresponding parts of the film should also be marked

Sand the white mark and apply leather glue


Attach the pink skin patches accordingly

Notes on marking: 1. The line length is 2cm and the scribing point is 2cm away from the edge of the cover; 2. The distance between the spacing gauges is adjusted to 5mm


Punch

The suturing steps are the same as step28, step29, and step30

After sewing, put on the cowhide rope


Thread the inner end of the cowhide rope and knot it multiple times


Complete
Shoulder bag


 Mark and punch holes in the side skin flap. Note: the number of holes is the same as that of the small square skin flap, and every 20 holes are marked with a silver pen


