Author: Caterpillar, WeChat: gbcandy11 Meng’s newly made piggy buns. If there is anything wrong with it, please correct me. Main materials: sheepskin black h-method sheep remnant, black edge oil, black leather edge oil, 0.5mm leather bran paper, pig Lippi 0.5mm, hardware set of piggy bag hardware tools required: chopper, needle and thread, utility knife, punch, awl, steel ruler, flat-nose pliers, roller, clamp Production steps:

All materials, paper grid, French parchment, leather bran paper , Map Pig Lippi
 Probably use these tools

Use a paper grid to mark the appropriate size on the outer skin, and then use a mercury pen to draw the outline

Remove the paper grid and prepare to cut the skin with a utility knife

This is all the cut skin. The straight part is cut along the steel ruler, and the other curved parts can only be Test your eyes and hands
 Roughly cut the leather and bran paper, and then put the cut outer skin and the leather bran paper on both sidesApply glue and paste, then cut off the excess part of the bran paper

The fitting of the pig skin is similar to the previous step. After fitting, cut off the excess

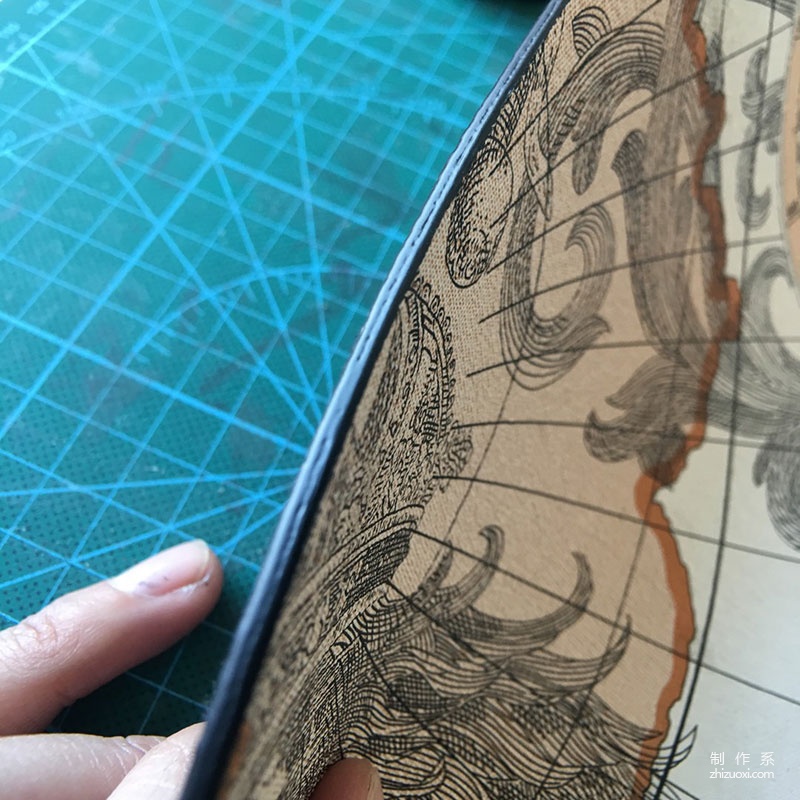
Start the most painful part, oiling the edges. This is the second coat of edge oil. I applied it with an awl. Dip the oil on the edge of the awl until it doesn't drip, and then apply it evenly to the edge of the skin. Apply thickly in the first few times

This is the state after the fourth sanding. After each coat, use 400-grit sandpaper to smooth it until it is very smooth. Later, change to 800 or 1000 grit for polishing, and then use a high-density sponge or duckbill stick to apply it thinly

Finally, the edge oil was applied. Because the density of the bran and the leather was different, I applied it six times and it was so broken

duang~still not perfect


After applying edge oil, place a paper grid on the leather surface and fix it with an awl. The point of cutting

DaZhanDaZhan
 Beat and chop completed
 Get ready to install the hardware
 < /p>Find the positioning point of the hardware, and then use a suitable punch to punch the hole

After installing the hardware before sewing, start the long suture. The length of the thread is 3-4 times the distance of the suture

Sew and sew, sewing each piece in turn part, remember to be symmetrical from head to tail

It will be completed soon

Finally, the sewing is completed, and then the side panels are clamped with clips, and the clips are removed after shaping

duang~Various shots


Piggy Bun

 Probably use these tools


 Roughly cut the leather and bran paper, and then put the cut outer skin and the leather bran paper on both sidesApply glue and paste, then cut off the excess part of the bran paper


 Beat and chop completed
 Get ready to install the hardware
 < /p>Find the positioning point of the hardware, and then use a suitable punch to punch the hole


