Although you don’t need a tutor, you can do cross-stitch with it. No need to be taught, you can slowly embroider according to the pattern! But learning a little bit about the basics of cross-stitch will make your cross-stitch more neat and delicate. Here are five simple methods for you: 1 When embroidering, you should pay attention to: direction consistency.
Be sure to note that the direction of the embroidery must be consistent when embroidering a cross. If you start embroidering from top to bottom and from left to right, the entire work must follow the same direction, otherwise the entire work will be ruined. Due to different personal habits, the direction of embroidery will also be different, but the consistency must still be followed.
2 When embroidering, you must find the location of the center point.
Otherwise, it may cause that after the pattern is embroidered, you must first find the center point of the cloth before starting to embroider the pattern. But the dilemma of being unable to mount the clothes smoothly.
3 Several stitches of cross stitch.
And several special-shaped stitches. Full stitch, 1/2 stitch, 1/4 stitch, 3/4 stitch, back stitch, long stitch, double-frame full needle embroidery, double-needle back stitch embroidery, double-frame long needle embroidery.
4 Needles used for cross stitch.
The needle used for cross stitch is a blunt needle. The needle used for cross stitch is not the same as the needle used for normal sewing. The needle head is rounder and the needle hole is larger; for different sizes of cross-stitch plaid, the needle sizes used are also different.
5 The basis of cross-stitch - cross-stitch cloth.
There are large plaid, medium plaid and small plaid. After selecting the fabric, you can choose cross fabrics of different specifications according to different patterns. Then choose the thread and needle according to the specifications of the cloth.
Cross-stitch hooking is an indispensable step for many patterns and can be omitted, but the omitted version is inferior to the one without hooking.
In addition to the hooking methods described in the general kit outer packaging, the commonly used methods are imitation back stitching and backstitching.
Imitation back vertical hook edge:
Advantages: Saves lines, and the back is more refreshing than the most common hook edge.
Disadvantages: It is troublesome to turn the cloth back and forth.
Backstitching:
Advantages: It saves trouble, and the effect of the back stitching is almost the same as that of the front.
Disadvantages: Waste of wires. When the hook has too many forks, you need to remember the route back.
My commonly used hemming method is: backstitch + traditional hemming
The backstitch method is refreshing on the back, but when faced with many forks or close ones, it is different from the traditional one. methods are used together.
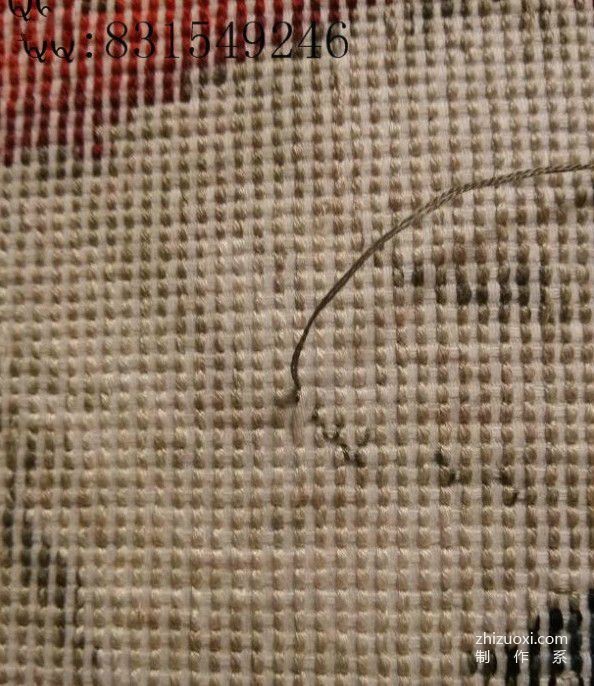
The following is the imitation back vertical: As shown in the picture: Determine the needle starting point from the front. As shown in the picture:
What it looks like after turning it over to the back (the embroidery frame is turned over), this is where the thread is successfully buried on the back The needle should be punched to the point where the outline begins on the front. This is my commonly used thread-embedding method for hemming: the first stitch of thread-embedding in a circle needs to pass through the warp of the cloth. Pull the wire and leave a little at the end. If you are not lazy, you can repair the wire tail neatly. The second stitch is passed through the weft of the fabric. Encircle the third stitch and pass through the warp of the cloth (i.e. the first the warp through which the needle passes) The last stitch of the looped thread passes under the weft of the cloth, which means that the starting stitch is finished. You can prepare the hook at the starting point. Turn it over to the front
Start outlining according to the drawing: After the first stitch on the front reaches the back, the needle passes through the weft near the hole on the back of the fabric to form a vertical strip (I call this imitation back vertical), and then passes through the front to the hole on the back and then returns to the front (original hole) Thread to the front and start the second stitch Still follow the instructions for the first stitch for the second stitch. The imitation back hook is finished and ready to be tightened. The narrowing needle still uses a circle to bury the thread. The needle passes from the front to the back and passes through the adjacent weft. Cross the longitude again Then cross the parallel The last step is to pass through the warp (that is, the same warp that the second needle passes through) and then bury the thread and cut it off. The hook is finished, the front view.? Imitation of the vertical back side
The following is the back stitch method: I won’t say much about thread embedding. It is still after confirming that the starting point is passed through from the back. Start outlining according to the drawing. This picture shows the first stitch on the front with two grids across. Follow the drawings and check by yourself. See drawings for details After walking forward, we are ready to start walking back. Go back to the first stitch Go back the second stitch Just follow the steps Looks like when all the back stitches have been drawn on the front
The way the back stitches are all hooked up is almost exactly the same, and it is my most commonly used method.
Cross stitch is not difficult. You must use your brain to think and practice. It is difficult to understand just by asking and talking without having the actual objects at hand.


 < /a>
< /a>


