The following is a DIY hand-made method for beautiful fabric lampshades. Follow this fabric lampshade tutorial and learn how to make them. Even without a lamp holder, these beautiful fabric lampshades can become your home furnishings!

Before DIY fabric lampshade, prepare the following materials:
Cloth
Adhesive tape for painting
Tape measure
Chalk
Scale
Large size pvc self-adhesive paper
Pencil
Scissors
Bottom and top rings
Clip
White craft glue
Small paint brush
Paper tape
Sewing machine
Line
DIY fabric lampshade specific steps:
1. First calculate the size of the lampshade you want to make. Perimeter = length, height = width. Choose a piece of fabric you like. Then turn it over and place it flat on your work surface, and stick it with the adhesive tape used for painting [which can be removed].
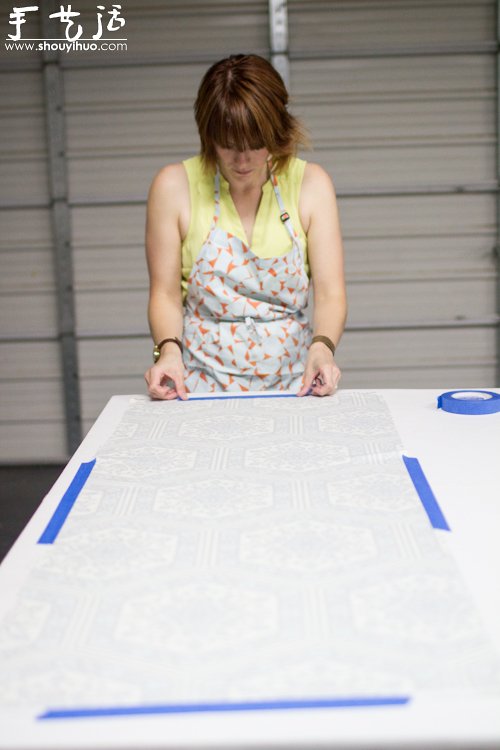
2. Use a long ruler to measure the size of the lampshade you want and draw the outline with chalk.
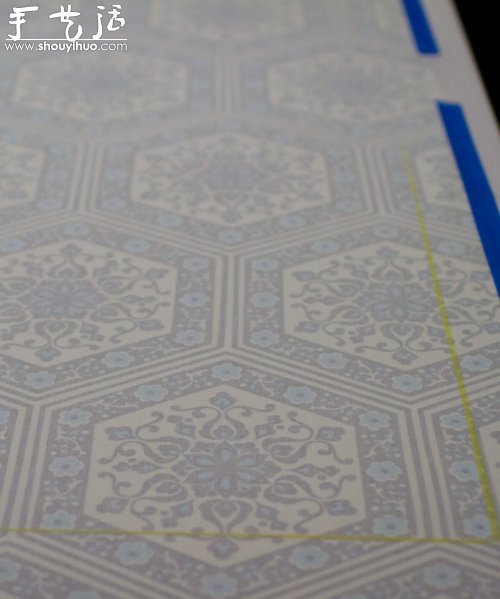
3. Cut another piece of PVC self-adhesive paper of similar size [This can be white adhesive paper, sold in general advertising material stores. Choose one with moderate hardness. Its main function is to support the lampshade cloth.The material is molded because the cloth is soft. 】
Apply the self-adhesive paper on top, be careful while scraping with a long ruler to prevent bubbles from forming. After finishing, use a blade or scissors to cut out this piece of fabric. Now we can see that it has a certain hardness and can be bent into shape.
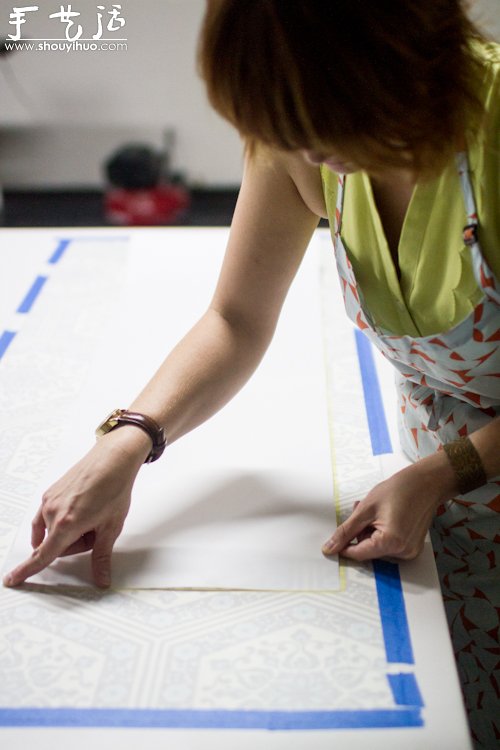
4. Bend the cloth with PVC self-adhesive paper and use a clip to help roll it into the shape of a lampshade. This step is mainly to mark the meeting points and test the top and bottom circumferences. So you can operate with confidence and boldness.
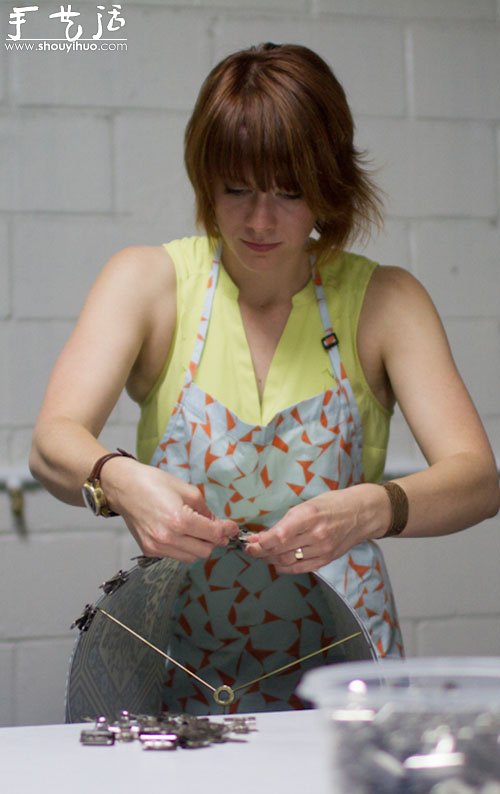
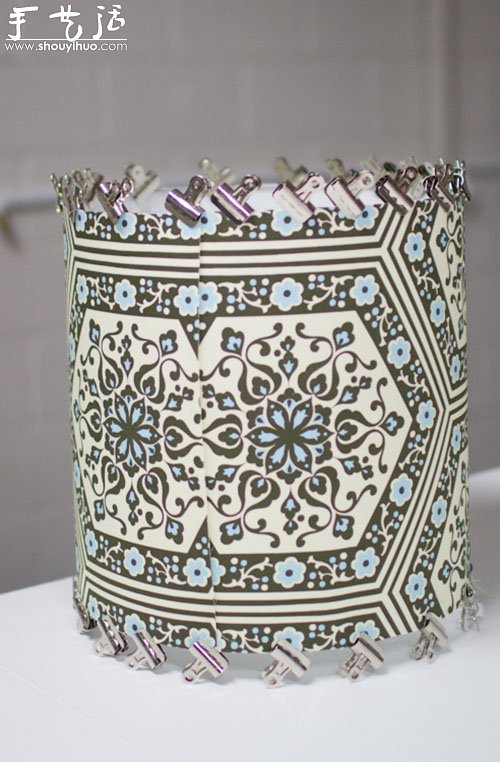
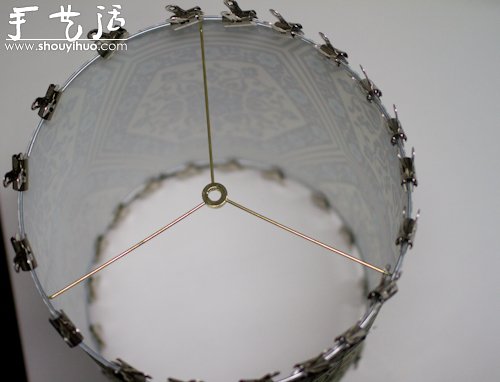
5. Use a pencil to mark the location of the joint, including the top and bottom. Try to be precise, otherwise it will cause the problem of the hoop being smaller or larger than the lampshade.

6. Take it apart and apply craft glue [such as white latex and other adhesives that take a while to dry, you will have some time to make adjustments, do not use quick-drying glue] on the edges.
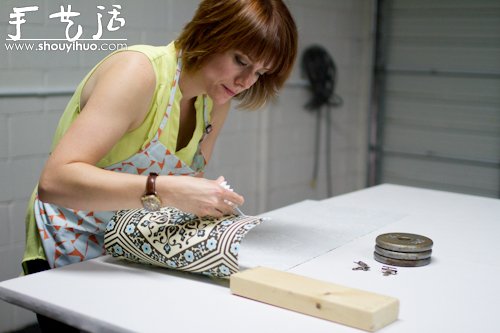
Align the top and bottom marks and paste them so that they don’t lose shape. Of course, if you want to make a trapezoidal lampshade that is narrow at the top and wide at the bottom, it is also possible. This needs to be marked in the previous step.
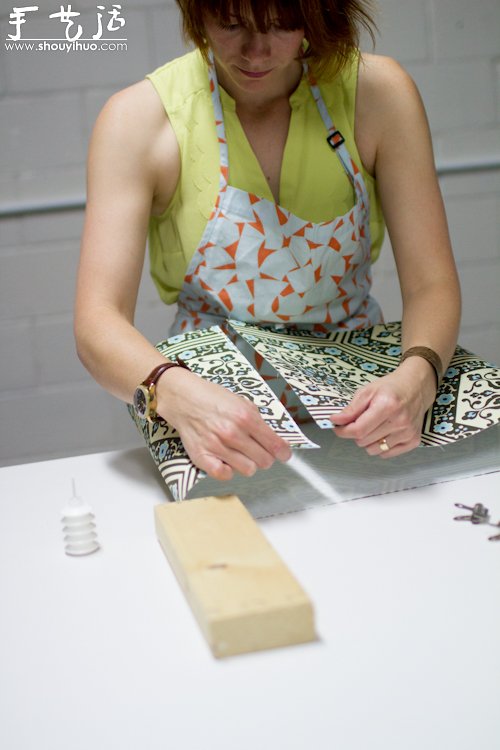
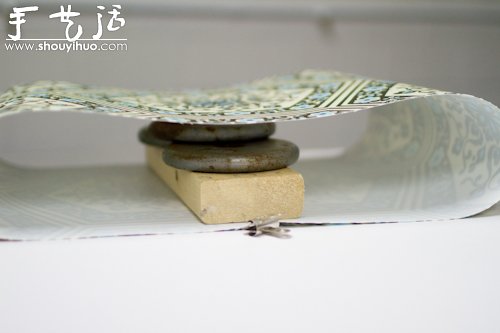
7. Use a long piece of wood or other objects to press the joint edge and wait for the glue to dry.
8. After the glue on the side edges dries, apply more glue on the inside of the bottom edge.
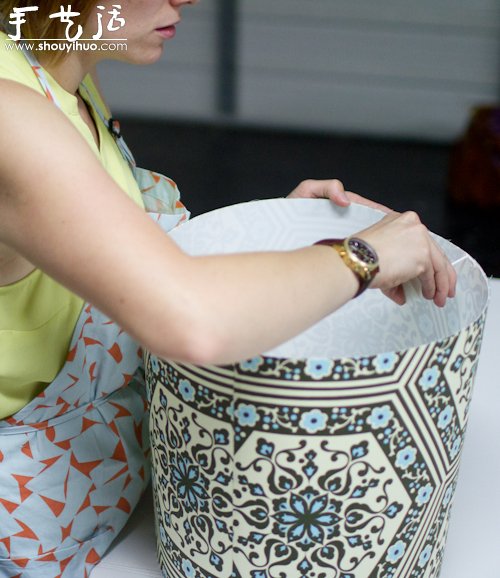
9. Install the bottom ring. Secure with clips.
Similarly, apply glue to the inside of the top edge, attach the top ring and secure with clips.
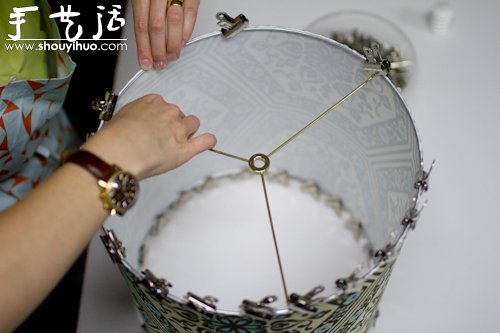
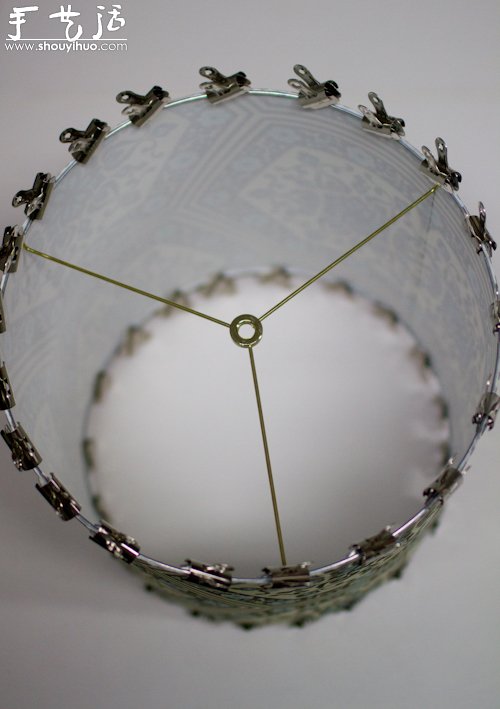
10. Use double-sided tape to secure the top and bottom rings again.
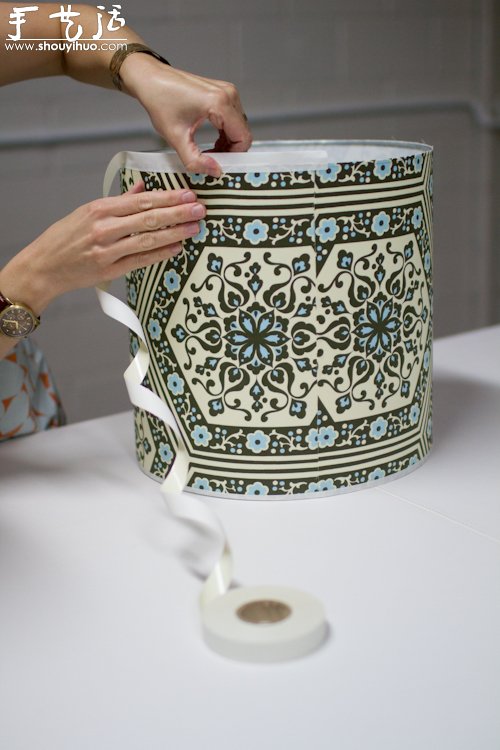
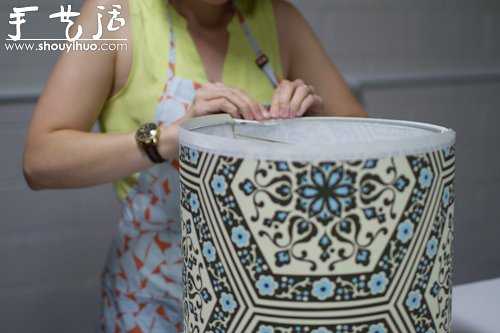
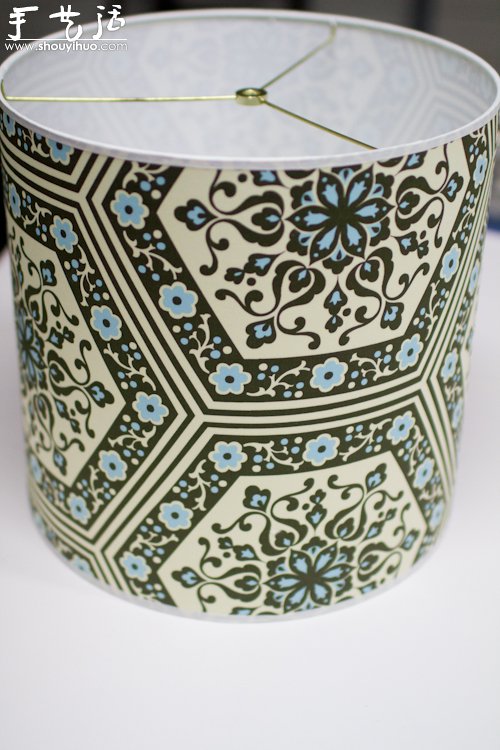
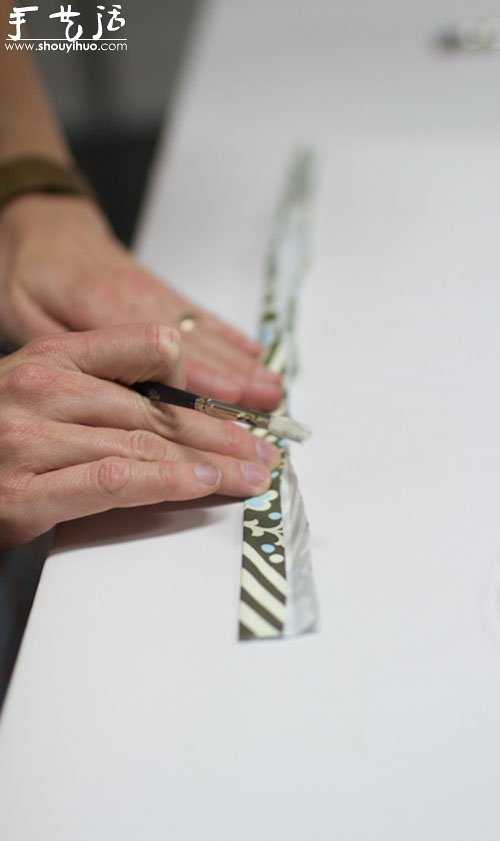
11. Cut some strips of fabric and prepare them for hemming.
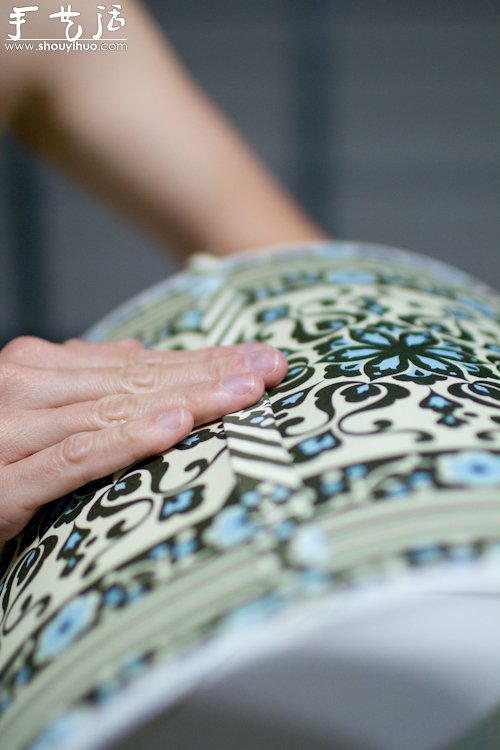
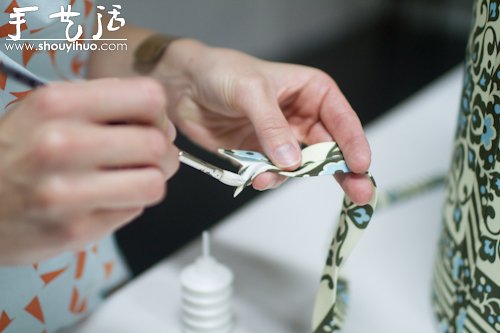
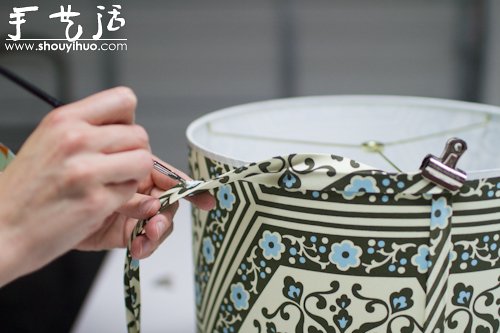
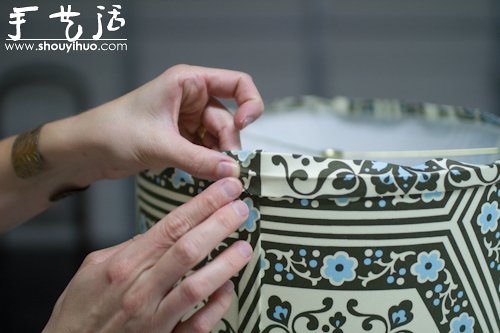
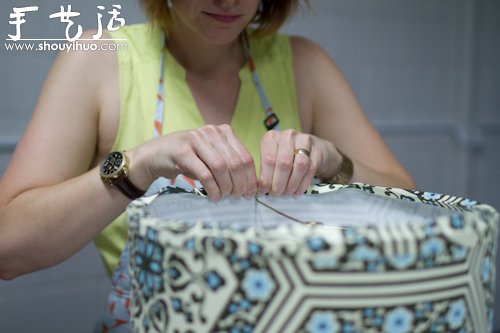
12. It’s done!
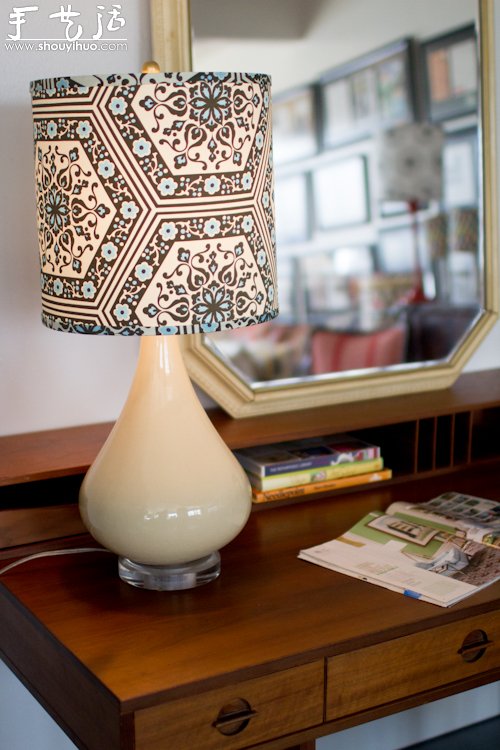
How about it, it’s not too complicated, use your infinite creativity to DIY a personalized and beautiful cloth lampshade~


