 Handmade Wooden Ring Tutorial
Step 1:

Step 2:

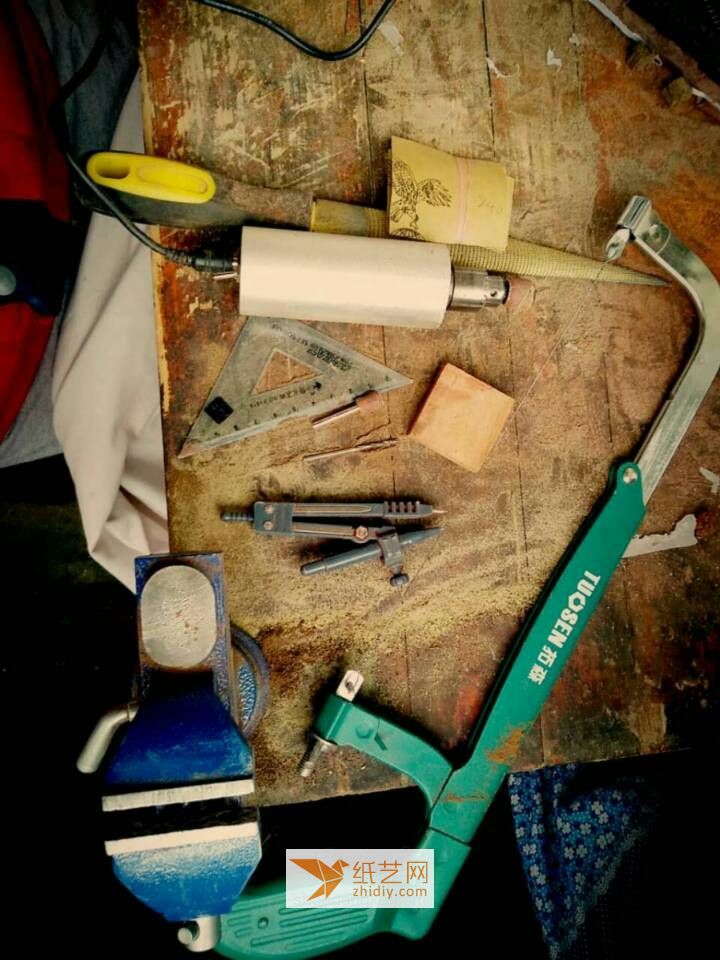
Tool Collection
Step 3:

Draw the inner and outer rings
Picture The picture in the middle is a No. 14 ring, which is the diameter of 1.72 divided by 2 to get the circle radius of 0.86. The outer ring is generally 2 mm larger than the outer ring, which means the outer ring is about 1.086.
Step 4:
p>
On the wire saw Saw the drawn circle
Step 5:

What does it look like when sawed?ω?
Step 6:

Cut it on a table vise and rub it with gold to remove the excess wood
p>
Step 7:

Rub it until it is close to the outer circle and it will look like the picture.
Step 8:

Replace the drill bit with electric grinder
Step 9:

Punch holes Hole
Step 10:
Punch holes around the inner circle and not next to the line
Step 11:

On the wire saw
Step 12:

Play around Start sawing the hole
Step 13:

What it looks like after sawing~( ̄▽ ̄~)~
Step 14:

Use the small grinding head on the electric grinder and start to expand the hole
Step 15:

Stop when you are ready to put a large grinding head
Step 16:
 < /p>
< /p>
Use the large grinding head to start rounding
Step 17:

You can stop once you have done this
Step 18:
< img alt="Tutorial on making wooden rings by hand" src="https://img.111diy.com/timthumb.php?src=/d/file/20220216/3xf3ny0klcj.jpg" />
Use the file and polish to the width you want. Thickness
Step 19:

I prefer the width of 4-6mm, here is about 4-5mm width
Step 20:

Use a caliper to measure the inner ring if there is no caliper. We can use a ruler to measure the same size
Step 21:

Shape and polish with sandpaper
Step 22:

This is what it looks like after endless polishing and changing the look
Step 23:

You can take photos and show off (′?ω?`)
Step 24:

Finished Product
Main material: wood, Tools required: hole punch,


