I don’t know if you are familiar with the production of wood carvings. In fact, the goal is to turn waste into treasure. It is a very common option in production. After we learn some simple wood carvings, we can make many very exquisite ones. It’s fun to make, and reusing wood is also a good attempt to turn waste into treasure. The simple handmade tutorial recommended to you today is a tutorial on using wood to make rings, which is also a good change. Of course, you may not have touched the target before, so you can’t complete the production very well. However, after learning this tutorial today, you will be able to successfully and easily complete the production of a very beautiful ring.
This tutorial is reprinted by us, so you can see the production tutorial of this wood carving, the author It shows in great detail how to complete the production of a wood carving ring. We can learn some of the production methods, and we can also explore the production process ourselves, so that our own creativity can be integrated into the design and production of this wood carving ring. . Since this tutorial on how to make a wood carving ring is reprinted, we cannot introduce you to more details here. You can actually follow this tutorial on how to make a ring from waste to treasure and learn some simple and interesting things. Wood carving knowledge and methods. These methods and knowledge can help us better master wood carving in future studies, and also allow us to turn waste into treasure during production.time to have a better foundation and enlightenment. When learning goals, everyone must pay attention to safety and hope that they will not hurt themselves when using some professional tools. This is also a fundamental long-cherished wish of ours.
Step 1:

Step 2:
p>
Tool Collection
Step 3:

Draw the inner and outer rings
The picture shows a No. 14 ring, which is a diameter of 1.72. Use 2 to get the circle radius 0.86. The outer ring is generally 2 mm larger than the outer ring, that is, the outer ring is about 1.086.
Step 4:

Use the wire saw to cut out the drawn circle
Step 5:

What does it look like when sawed off?ω?
Step 6:

Cut on the table vise and use gold Rub off the excess wood
Step 7:

Rub it until it is close to the outer circle and it looks like the picture.
Step 8:
< p> < p>Replace the drill with electric grinder
Step 9:

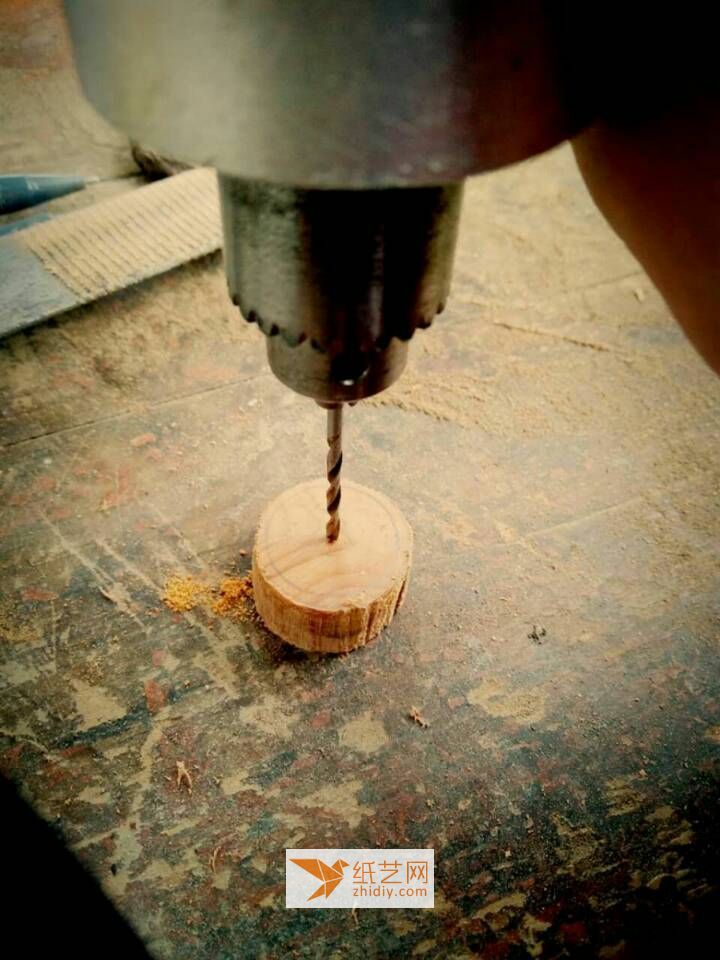
Punch holes
Step 10:

Surround inside Do not punch the round hole next to the line
Step 11:

On the wire saw
Step 12:

Throwing around Start sawing the hole
Step 13:

What it looks like after sawing~( ̄▽ ̄~)~
Step 14:

Use the small grinding head on the electric grinder and start to expand the hole
Step 15:

Stop when you can put a large grinding head on it
Step 16:

Use the large grinding head to start rounding
Step 17:

You can stop when you have done this
Step 18:

Use the file and grind to the desired thickness
Step 19:

I prefer 4 -6mm width here is about 4-5mm width
Step 20:

Use a caliper to measure the inner ring. Friends who do not have a caliper can use a ruler to measure the same
Step 21:

Use sandpaper to repair and polish
Step 22:

After endless polishing and changing, it became like this
Step 23:

You can take photos and show off (′?ω?`)
Step 24:

Finished product


