Everyone is afraid of spiders, especially the larger ones, which look scary. During Halloween, spiders play a starring role in Halloween decorations. Therefore, when making Halloween-related DIY productions, in addition to making bats, you can also make spiders as Halloween decorations. Here, we are making a spider using chewing gum paper. So it can be regarded as a handmade DIY that uses waste to turn waste into treasure. This spider made from chewing gum wrappers also looks quite beautiful. During Halloween, in addition to being used for decoration, we can also sew this spider onto our own Halloween clothes as decoration.
Step 1:

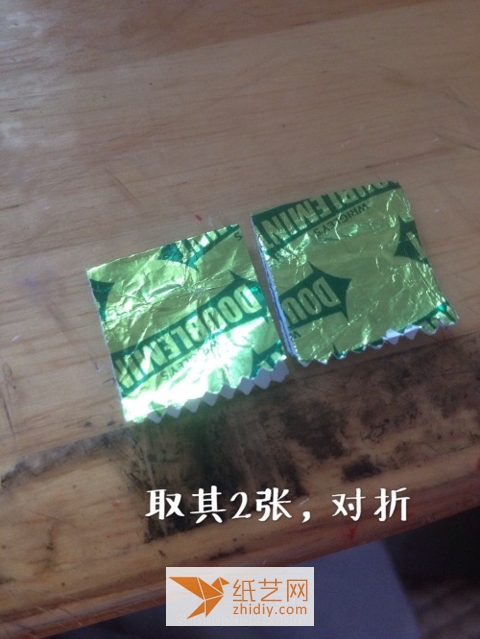
This is the chewing gum wrapper
Step 2:

First Fold it in half, then fold it in half again
Step 3:

Cut it like this
Step 4:

Thats it Four small pieces of paper
Step 5:

Fold two of them in half like this
Step 6:

Cut it out again
Step 7:

Then soak the white side of the paper into the water
Step 8:

Step 9:

Cut this paper Tear it off
Step 10:

Tear off all the white paper on one side
Step 11:

Then Roll the long piece of paper into a ball
Step 12:

Then fold the small pieces of paper into thin strips
Step 13:

Just make sure you rub it as thinly as possible
p>
Step 14:

Rub four times
Step 15:

In this way, glue the small ball to the paper
Step 16:

Wrap the upper part
Step 17:

Then place the four long strips Below
Step 18:

Continue to apply glue
Step 19:

Wrap it up like this
p>Step 20:

Start shaping below
Chapter 21 Steps:

Spread the four legs to look like a spider
Step 22:

When using chewing gum wrappers to make this paper spider, You need to preprocess these gum wrappers in advance, so that the spider produced will have a bright color effect. Looking at this spider production tutorial, you can find that the entire production tutorial is actually very simple.


