 Bodhi Ring Illustrated Tutorial
The wedding anniversary is coming, and I don’t know what to give to my daughter-in-law. I saw that the color of Bodhi is very moist, so I decided to make a ring for my daughter-in-law. He secretly stole his wifes ring, measured her hands, and prepared materials and tools. Taking advantage of the fact that my wife was not at home working overtime, I started work properly.
Step 1:

Step 2:

The heart shape is to leave some Bodhi skin and the black layer in the middle.
Step 3:

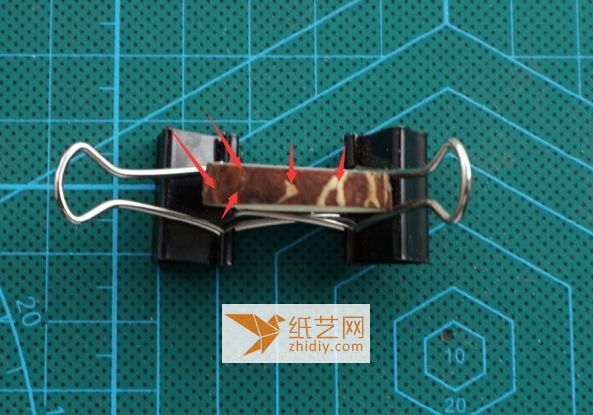
Cut the material first (the fruit I bought is 2.6CM in diameter, which can basically meet the needs of rings of various finger sizes)
Step 4:

Step 5:

Point! ! ! ! The skin of the fruit is uneven, so try to choose a smooth section as the location for the cat’s ears
Step 6:

Key point! ! ! ! The skin of the fruit is uneven, so try to choose a smooth section as the part for the cat’s ears
Step 7:

Point! ! ! ! The skin of the fruit is uneven, so try to choose a smooth section as the location for the cat’s ears
Step 8:

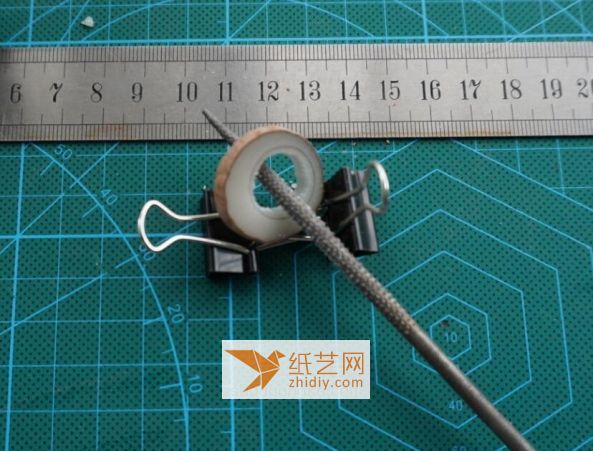
Use the file to file, which is almost the same as other ring making processes
Step 9:< /p>

Off-screen Circle polishing
Step 10:
Step 11:

Leave the position of the cat ears
Step 12:
< img alt="Bodhi Ring Illustrated Tutorial" src="https://img.111diy.com/timthumb.php?src=/d/file/20220216/02dyo3ibras.jpg" />
Use the dental machine (carving knife) to carve out Heart shape
Step 13:
Then the most boring part of sanding begins. The picture of the finished product is as follows, from matte to gloss
(Remember to sand the sandpaper from coarse to fine layer by layer. , no obvious traces can be seen when polishing each layer. The authors polishing order is 100#, 240#, 320#, 400#, 600#, 800#, 1000#, 1500#, 2000# for reference only)
Step 14:

Step 15 :

Step 16:


