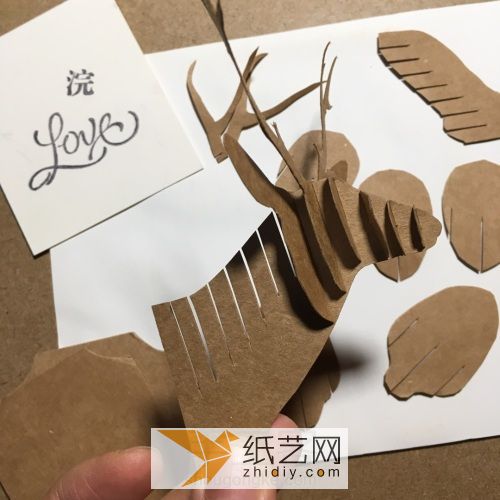
Tutorial on turning waste into treasure , we often use one kind of material, that is, cardboard. How to obtain effective cardboard for the design and production of turning waste into treasure? In fact, it is very easy to obtain cardboard. When we receive the express delivery, we usually have an express box, and after cutting the express box, we can get the cardboard. A handmade tutorial recommended here is a deer head wall hanging made of cardboard. We can understand that some people who like hunting often hang deer head wall hangings at home. However, the deer head wall hangings are all specimens made of real deer heads, which is very unenvironmental. The handmade paper art we are learning here turns waste into treasure. The production tutorial is to use cardboard to make an exquisite deer head wall hanging. This will look very unique and interesting, especially when Christmas comes. If you want your home decoration to become more beautiful and have a more festive atmosphere, then you can try this deer head wall hanging made of cardboard. In fact, you can put this deer head wall hanging except during Christmas. In addition to decorating the atmosphere, the deer head wall hanging we usually make will also fill it with a unique atmosphere. And since this handmade production uses cardboard, turning waste into treasure and completing the production, the handicraft you made will definitely attract everyones attention. At the same time, we must also see that this production provides us with an idea. That is to say, we can make similar three-dimensional structures through similar methods, that is, first use cardboard to cut out the structure we need, and then cut these vegetables or splice them together, so that we The required model is completed.
Step 1:

Step 2:

Step 3:

Drawings, you can go to the print shop after saving the original drawings Enlarge and print. If you want to make a mini one, you can just print it out on A4 paper~
Step 4:

Step 5:

Step 6:

Step 7:

Step 8:

Step 9:

Step 10:

Step 11:

Step 12:

Step 13:

Step 14:


Step 16:

Step 17:

Step 18:

Step 19 :

Step 20:

Step 21:

Step 22:

Step 23:

Step 24:

Step 25:

Step 26:

Step 27:

Step 28:

Step 29:

Step 30:

Step 31:
< p>
Step 32:

Step 33:

Step 34:

This is the big one I made before, you can take a look~
Step 35:

Print the paper pattern~
Step 36:

If it is thicker cardboard, the slots need to be cut with a carving knife or It will be more convenient to carve with a utility knife~
Step 37:

Step 38:

Step 39:

Step 40:

Combination, thick cardboard or thin wooden board is relatively stiff, It will be more stylish~
Step 41:

Thank you for watching!


