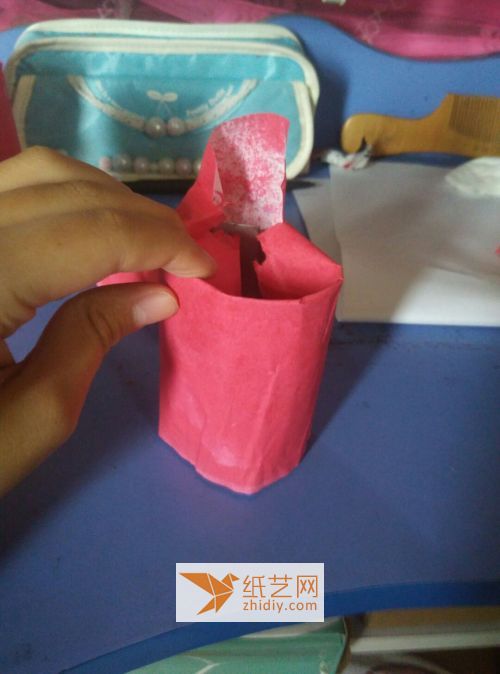
Handmade products that turn waste into treasure are loved by everyone. In fact, the concept of turning waste into treasure is not narrow. Our traditional understanding is that turning waste into treasure means reusing this waste. This kind of utilization not only refers to changing its structure, we can also use its structure to carry out some hand-made creative production. This is the tutorial for making a simple handmade pen holder seen here.
This is a very simple DIY paper art tutorial, we can see that it uses yogurt bottles. Usually when we finish drinking yogurt, these bottles will be thrown away as waste. Now here we can reuse them and make cute handmade pen holders. Because the materials used are very simple and are all paper that we can come into contact with in our daily lives, this is also a very interesting DIY paper art creation.
Some students may use origami to make origami pen holders, but if you don’t know how to do this, you can use the current method to make it. Get your own paper art pen holder. The production of the handmade paper pen holder is not complicated, but we can't just keep it in a simple style just because it is not complicated. We can also give it some decoration. As you can see, in this tutorial, we give it this The handmade paper art pen holder is pasted with the ears of the bunny, and the face of the bunny is drawn on it, so that the handmade paper art pen holder becomes a very cute bunny. One of the handmade pen holders, this simple handmade DIY, I believe It can bring a lot of happiness to everyone. Follow this handmade paper craft tutorial to learn now.
Step 1:

Take three finished boxes and wash them clean
Step 2:

Step 3:

Step 4:

Step 5:
< img alt="Very simple DIY pen holder method" src="https://img.111diy.com/timthumb.php?src=/d/file/20220222/yhhysh0mxjj.jpg" />
Attach double-sided tape< /p>
Step 6:
Tear it off! Take the rose-red cardboard and do it like in the picture
Step 7:

Wrap it in a circle
Step 8:
 < /p>
< /p>
Cut off the excess part
Step 9:

Press down the upper part again
Step 10:

The other two are also Then do it
Step 11:

Take out a piece of red colored paper
Step 12:

Draw a rabbit ear and cut it out,
Step 13:

Paste Tear off the double-sided tape
Step 14:

Dip on the back of the box
Step 15:

Draw another rabbit ears
Step 16:

Cut out and apply double-sided tape
Step 17:

Attach it to the back of the box
Step 18:
< p>
On top Draw a bunny ear and cut it out
Step 19:

Attach it to the back of the box
Step 20:

Simplely draw the rabbit’s eyes, mouth and eyebrows
Step 21:

Step 22:

Install the pen and the pen holder is ready


