 Origami Santa Claus step by step tutorial

It will be Christmas in a while, and my friends have already started collecting Christmas-related handicrafts.
The editor also tries to collect as many interesting Christmas handicrafts as possible to share with you.


What I will show you here is the method of making origami Santa Claus that children are most concerned about.


First prepare a square piece of paper and fold it in half twice.


First prepare a square piece of paper and fold it in half twice.


Fold the right corner to the middle, then open it and crimp it, then reverse it after folding.


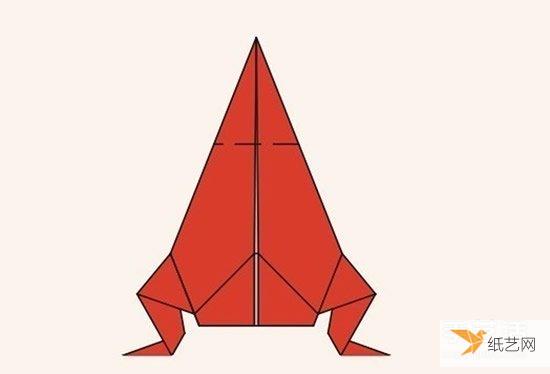
You can also fold it. First start folding the upper body of Santa Claus, then fold it along the dotted line, cut the upper layer along the upper cutting line, and then Let’s analyze it.

Fold it down along the dotted line, then cut along the cutting line, and then fold the small quadrilateral squares on both sides upward. .
Here is a completely folded look. Turn the lower corners to the top and fold them down along the two dotted lines in the previous picture.
Fold them briefly and fold them. After coming over, fold the upper corner downward.
Then fold it along the dotted line, and then fold it in half.


