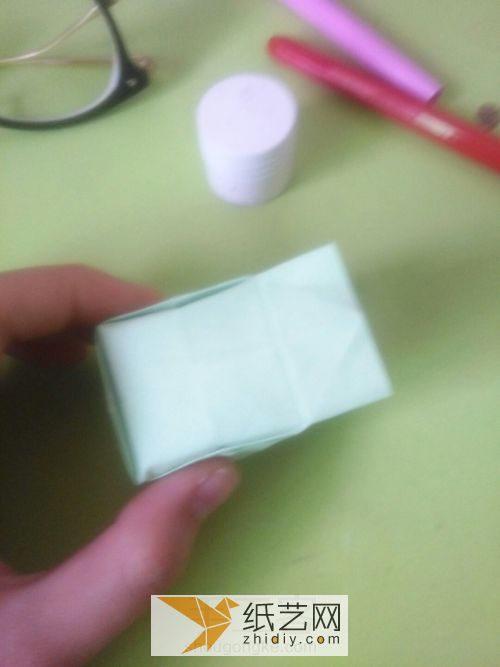
School is about to start. Has the teacher arranged some handicrafts or small handicraft activities for everyone as homework for everyone to complete during the summer vacation? In fact, many children face this kind of problem and hope to find a good hand-making tutorial to help them cope with not knowing how to do handwork during the summer vacation. Since it is the beginning of school, we recommend everyone to come and study. This summer vacation hand-making tutorial is a hand-making related to the beginning of school and school. Here we use origami to teach you how to make a cute little school bag step by step. The making of such a small school bag is very cute, and it can be made quickly and easily. Let you create handmade creative DIY that is different from others and more exciting than others.
Step 1:

Prepare all the materials
Step 2:

Fold the square paper in half like this
Step 3:
Fold the four corners to the center point
Step 4:

Then turn to the back
Step 5 :

Continue to fold the four corners to the center point
Step 6:

Turn over to the other side
No. 7 Steps:

Continue to fold the corners to the center point
Step 8:

Turn over to the other side
Step 9:
< p>
Open these parts in the middle, and then fold them outward
Step 10:

Fold the four corners like this
Step 11:

Step 12:

The other side
Step 13:

The bottom part needs to be glued with a glue stick
Step 14:

Use a glue stick to stick it together
Step 15:

glued
Step 16:

Put one side of the other one open
Step 17:
p>
Insert it like this and stick it in place
Step 18:

Glue the three sides like this
Step 19:

Leave the above An opening
Step 20:

Take another piece of paper
Step 21:

Continue to make
Step 22:

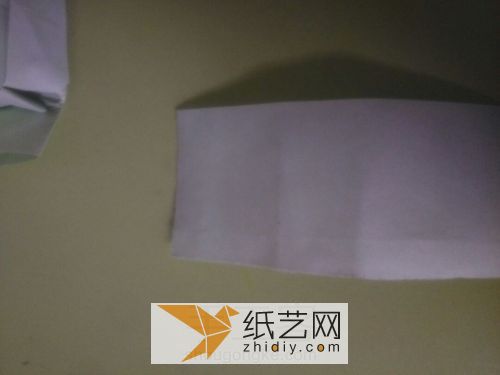
Fold the paper into a rectangle
Step 23 :
 < /p>
< /p>
Fold it like this
Step 24:

Fold the crease
Step 25:

Produced< /p>
Step 26:

Glue it to the front opening
Step 27:

Then fold it with a piece of paper
Step 28:

Fold into thin strips
Step 29:

Cut to appropriate length
Step 30:

The next step is to glue it to the backpack to make backpack straps
< p>Step 31:Just stick it on it
Step 32:

Take another piece of paper and make it into a small book
Chapter Step 33:

Cut the paper into long strips
Step 34:

Fold it in half like this
Step 35:
< img alt="Little cute paper art school bag childrens handmade production" src="https://img.111diy.com/timthumb.php?src=/d/file/20220222/vys5a30ji0z.jpg" />
Fold it in half again
Step 36:

Continue to fold in half to look like a booklet
Step 37:

Open
Step 38:

Then fold it again according to the crease
Step 39:

Continue folding
Step 40:

This will fold it into a small book
Step 41:

Step 42:

Then take another piece of paper
Step 43:

Put the small schoolbag in this way Inside
Step 44:

Thats it
Step 45:

Press hard to make traces
Step 46:

Open
Step 47 :
 < /p>
< /p>
Fold it into a book cover according to the pressed marks
Step 48:

It’s folded like this
Step 49:
< p>
Just put the book cover on the small school bag
Step 50:

You can draw cute expressions on the cover
Step 51:

Put the backpack The front strap is also made and glued
Step 52:

Make two corresponding buckles
Step 53:

Draw a cute expression on the backpack
Step 54:

Cute The small schoolbag is ready
Step 55:

Put the completed book in your backpack
Step 56:

< span style="color: rgb(51, 51, 51); font-family: Microsoft Yahei, 'Microsoft Yahei', 'Hiragino Sans GB', tahoma, arial, 宋体; line-height: 28.8px;">Simple The interesting handmade origami school bag making tutorial is shown in the form of illustrations. Of course, its production is not completely completed by origami. We also need to use scissors and glue in this production process. After all, it is such a cute little school bag. It would be very complicated to make it entirely using origami.


