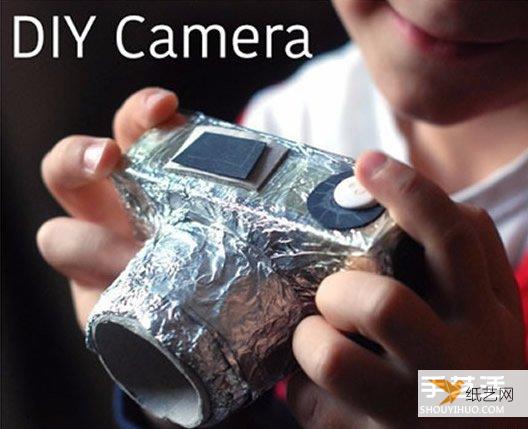
 Tutorial on how to make a personalized children’s toy camera using a paper roll and a paper box

This is a tutorial on how to make a childrens toy camera. It looks very similar. If children want to make one and play with it, they need to make it in advance. Prepare some materials, mainly including paper rolls, smaller paper boxes, tin foil, etc.
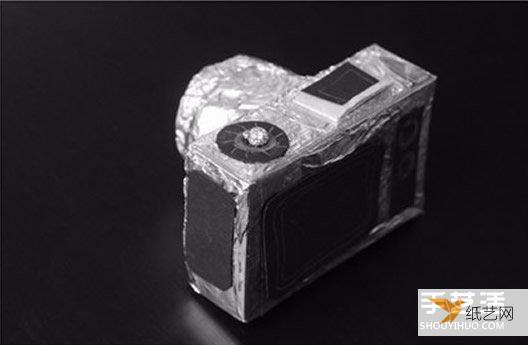
Although this is just a toy for children, it was made with great care, even on the shutter.


Cut the paper roll in half, cut one side as shown in the diagram above, and paste it directly on the paper box.
Use a larger piece of tinfoil to wrap it and paste the paper on it to make a photomachine parts.

This is a very simple tutorial on how to make a childrens toy camera. You can make it yourself on the weekends.
As long as children master the steps, it will be very fast to make. I believe it will not take long to successfully make a children’s toy camera. Even if the camera cannot be used, it will be conspicuous in the house. The place is also very good as a kind of decoration.


