 Candy Box Origami Box with Lid Illustrated Tutorial
The Lantern Festival is over, and so is the year. It’s time to start the new year’s work. I just went to the supermarket and when I was about to leave after paying, a security guard stopped me and said, “Wait a minute, what’s that bulging thing inside your clothes?” I lifted up my coat angrily. , shouted loudly: "This is meat, its meat! Its mine! It just grew during the Chinese New Year!" T.T kid, you should lose weight~! Stop eating meat. Eat a few nuts to quench your cravings when you're hungry. If you put snacks directly on your desk, the boss will chop you with his eye knife when he passes by~ Hey~ follow this tutorial to give the snacks a home~! I can only help you here~The next step is up to you~!
Step 1: Prepare 3 squares of the same size, usually just use A4 paper. Young students, please find colored paper by yourself~

Step 2: Fold in half~

Step 3: Fold in half again

Step 4: Fold the four equal parts, as shown in the picture, fold a small corner.

Step 5: Fold all four corners like this and then open it. You get the picture.

Step 6: Fold with the middle as the center.

Step 7: Fold all four sides and open.

Step 8: Open the corners on both sides again.

Step 9: Fold the top and bottom edges as shown

Step 10: After folding, follow the previous traces. Pinch the sides.

Step 11: Fix and fold as shown.

Step 12: Fold the corners on both sides in again.

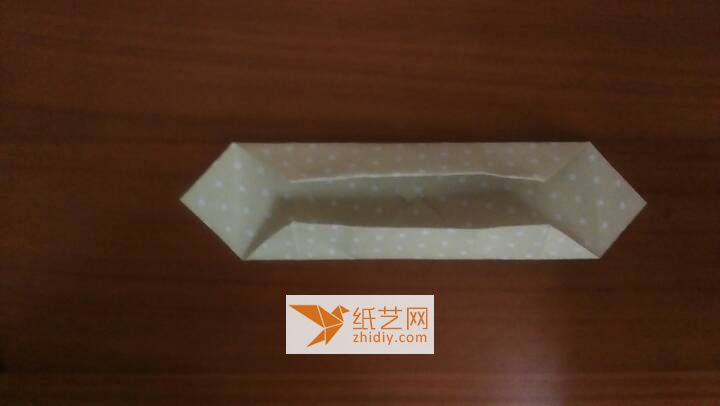
Step 13: The bottom box is ready~ Now we have to fold the lid~

Step 14: Take another square and fold it as shown .

Step 15: Fold up to about 3 mm from the center point

Step 16: All sides are like this When folding, be sure not to fix the center point, but leave a little space so that the lid can be closed.

Step 17: Fold in half

Step 18: Students who are worried can put the folded boxes in to compare, and adjust the size of the lid if it is not suitable.

Step 19: Then fold the corners in.

Step 20: The lid is now folded.

Step 21: Take the third square to make the middle partition of the box. Fold diagonally. Fold diagonally.

Step 22: After opening, fold it in half and then in half again.

Step 23: Open

< /p>
Step 24: Fold upward and divide the paper into three parts evenly

Step 25: Turn to the other side and fold the same way

Step 26: Fold the four corners to the positions in the picture

Step 27: Fold down again

Step 28: Fold all four sides

Step 29: Pinch Diagonal lines

Step 30: Fold it as shown in the picture

Step 31: Fold the top corner down
p>
Step 32: Turn over and pinch the top corners and both sides.

Step 33: As shown in the picture, there are two folds Marks.

Step 34: Pinch these two creases.

Step 35: Press down

< br/>
Step 36: Organize and finish

Step 37: Put it in the box

Step 38:

Okay, done.
Main material: Three pieces of square paper,

![[Origami Encyclopedia] Creative handmade origami video tutorial on origami Apple LOGO](https://img.111diy.com/timthumb.php?src=/d/file/20220217/dd2zin3tlq5.jpg&w=200&h=200&zc=1)

![[Complete Fish Origami] Carp Origami Illustrated Tutorial](https://img.111diy.com/timthumb.php?src=/d/file/20220217/crxjaul5f53.jpg&w=200&h=200&zc=1)


