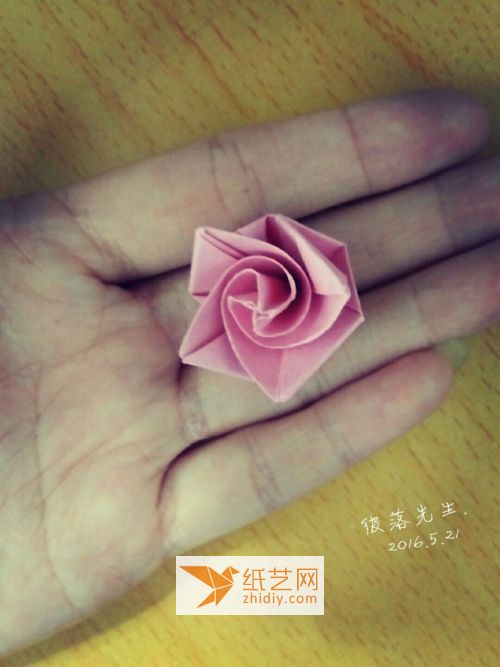
Before, I only made origami roses, but I never thought that the origami roses themselves could be extended to create other effects we wanted. For example, I think the origami rose ring here is quite awesome. The origami rose and origami ring are combined to form the very beautiful origami rose ring you see here. I also found this origami rose ring tutorial with great difficulty. Following this tutorial, I was able to complete a beautiful handmade origami rose ring by myself.
Step 1:

First take a photo of the finished product
Step 2:

The steps in front of a square piece of paper are similar to folding a heart
Step 3:

Fold in half diagonally
Step 4:
< p>
As shown in the picture
Step 5:

Step 6:

All four corners are required! ^O^
Step 7:

Step 8:

Look at the picture, you also need all four corners
Step 9:

Step 10:

All four corners are required
Step 11:

There is really one missing step. You need to fold up the middle corner and the back too. .In fact, the previous steps are the same as folding a heart,
Step 12:

Step 13:

Look at the picture
Step 14:

Step 15:

Fold up along the crease
Step 16:

All four corners are required
Step 17:

Step 18:

Step 19:

This is hard to describe, let’s look at the picture
Step 20:

Step 21:
In reverse
Step 22:

Use your nails to make a cross shape
Step 23:

Step 24 :

Rotate
Step 25:

Bend the petals
Step 26:

Beautiful (^ _^)Y
I like this simple and clear illustrated tutorial of hand-made origami. This illustrated tutorial of hand-made origami shows exquisite details in the form of step-by-step diagrams. The production process allows beginners like me to learn origami to quickly get started and harvest exquisite handmade products.


![[Origami Encyclopedia] Creative handmade origami video tutorial on origami Apple LOGO](https://img.111diy.com/timthumb.php?src=/d/file/20220217/dd2zin3tlq5.jpg&w=200&h=200&zc=1)

![[Complete Fish Origami] Carp Origami Illustrated Tutorial](https://img.111diy.com/timthumb.php?src=/d/file/20220217/crxjaul5f53.jpg&w=200&h=200&zc=1)


