 Illustrated tutorial for parent-child handmade simple paper wreaths
Spring is here. The warm wind blew the green branches, and the small flower bones poked their heads out. The flower season is here, make a beautiful garland and go for an outing. Here I recommend this simple wreath tutorial to everyone, I hope you like it. Bring beautiful garlands and go for an outing with your cute babies. Let babies know more flowers and more colors.
Step 1: Make the rings of the wreath first. Prepare six such papers.

Step 2: Roll into strips like this.

Step 3: Connect with transparent tape.

Step 4: Next, prepare to make flowers. Prepare a piece of colored paper, fold it in half and then fold it in half again.

Step 5: Cut four-petal and five-petal flowers as shown. You can also draw it in advance and let your baby cut it slowly.

Step 6: Make some flowers of different colors.

Step 7: Use double-sided tape to stick on the garland made in the third step.< /p>

Step 8: Only flowers without leaves are very monotonous. Next, make green leaves. Fold the green colored paper in half and then in half and cut as shown.


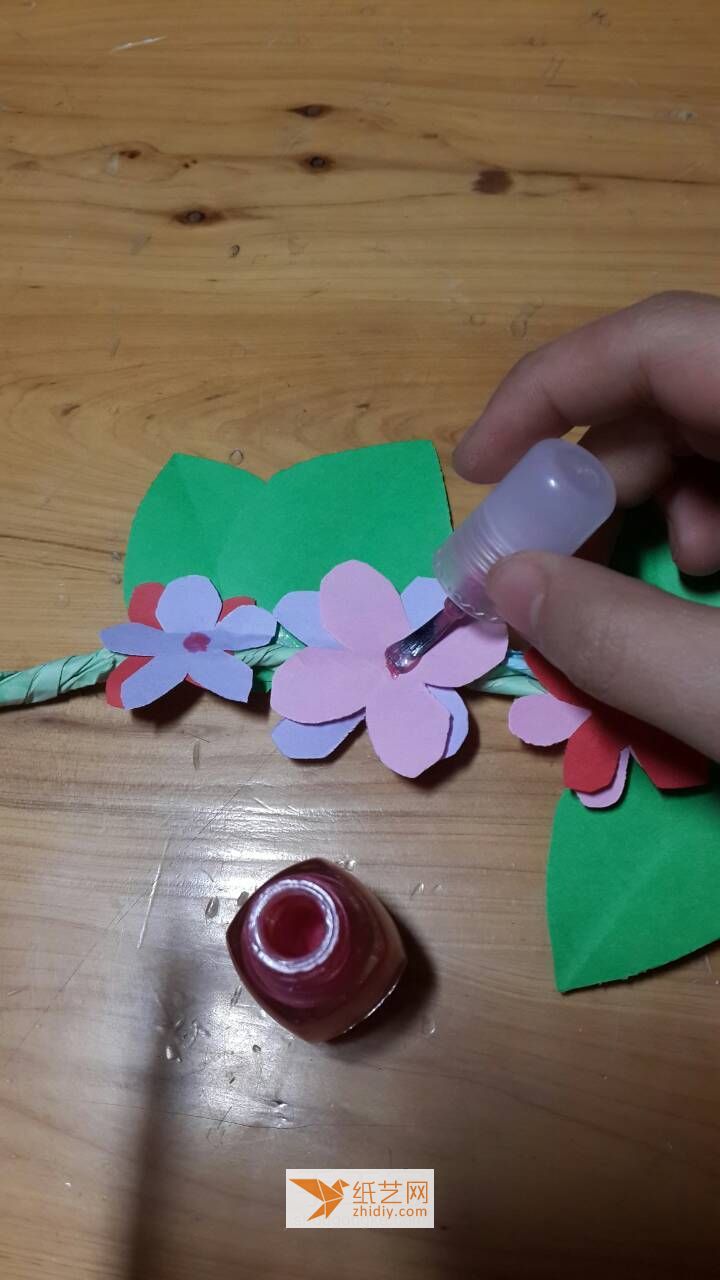
Step 10: Use a colored pen to draw the center of the flower. (This bottle of nails If I don’t like the oil, I’m going to throw it away. Let me use your last light and heat before throwing it away.)

Step 11: You can also add some color to the petals. Can draw Let’s get moving, children~

Step 12:

Step 13: You can also stick a flower or something~

Step 14: Finished~!

This is with leaves
Main material: colored paper, Tools required: Scissors, double-sided tape, transparent tape,

![[Origami Encyclopedia] Creative handmade origami video tutorial on origami Apple LOGO](https://img.111diy.com/timthumb.php?src=/d/file/20220217/dd2zin3tlq5.jpg&w=200&h=200&zc=1)

![[Complete Fish Origami] Carp Origami Illustrated Tutorial](https://img.111diy.com/timthumb.php?src=/d/file/20220217/crxjaul5f53.jpg&w=200&h=200&zc=1)


