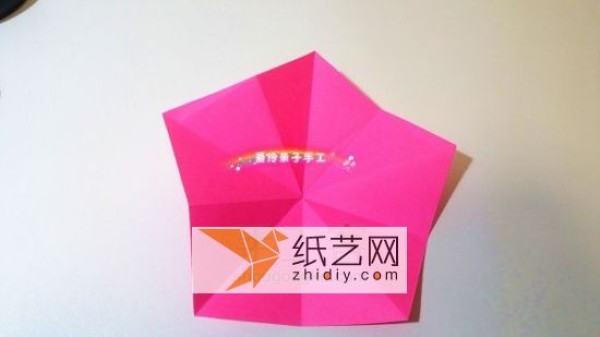
Step 1:
Finished product picture
Step 2:

Cut out a pentagon from square paper. The specific method is as follows!
This is another way to make a pentagon. For other methods, please refer to the other cherry blossom tutorials I posted!
Step 3:

Fold the sides in half, then fold the corners in half once on the left, fold the crease and open it
Step 4:

Step 5:

Step 6:

Step 7 :

Align the right corner with the intersection point and fold it, as shown below
Step 8:

Step 9:

Fold the corner to the right
Step 10 :

Fold the left one as shown in the figure, and then fold it backwards
Step 11:

Step 12:

Step 13:

Cut along the trace pointed by your finger to form a pentagon
Step 14:
< p>
< br/>
Step 15:

Fold along the crease
Step 16:

Step 17:

Step 18:

Step 19:

Fold the top corner downward, align it with the middle of the bottom, fold the crease and open it
No. 20 steps:

Fold the upper corner downwards and align it with the midpoint of the crease in the previous step
Step 21:

Open all
Step 22 :

Fold along the crease pointed by your finger
Step 23:

Step 24:

Turn over and fold along the crease pointed by your finger
Step 25:

Fold it as shown, you need a finger to help hold the center below
Step 26:

All move closer to the center
Step 27:

Step 28:

Rendering at the bottom
Step 29:

Press flat
No. 30 Steps:
 < /p>
< /p>
Fold the corners as shown in the figure. Note that the hypotenuse of the triangle is parallel to the top
Step 31:

The next layer is also folded into a small triangle
Step 32:

Turn over, fold each layer into a small triangle, pay attention to the diagonal Make the sides parallel to the top
Step 33:

Step 34:

Lift the crease in the middle of the two corners to the right Folding
Step 35:

Step 36:

Fold it as shown in the figure, then press it on the paper cover folded in step 32 Below
Step 37:

Same operation for the other four corners
Step 38:

Fold out a small triangle from the sharp corner, and then follow both sides of the small triangle Fold the crease
Step 39:

Step 40:

Same operation for the other four corners
Step 41:

Fold the center part in the same direction
Step 42:

Done!
Step 43:

Step 44:

Step 45:< /p>


![[Complete Fish Origami] Carp Origami Illustrated Tutorial](https://img.111diy.com/timthumb.php?src=/d/file/20220217/crxjaul5f53.jpg&w=200&h=200&zc=1)
![[Origami Encyclopedia] Creative handmade origami video tutorial on origami Apple LOGO](https://img.111diy.com/timthumb.php?src=/d/file/20220217/dd2zin3tlq5.jpg&w=200&h=200&zc=1)


