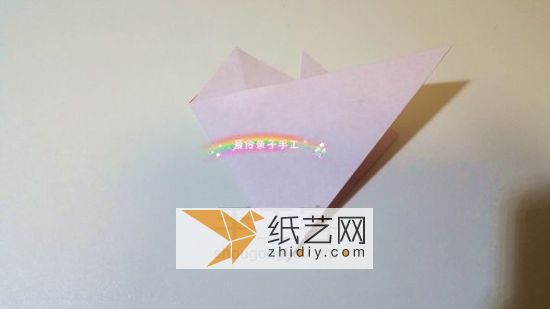
Step 1:

Finished product picture
Step 2:

Cut out a pentagon from square paper! The pentagon is made as follows
Step 3:

Fold in half
Step 4:

Fold it in half again, make the crease and open it
5 steps:

Fold the top corner down, align it with the center line of the bottom, fold the crease and open it
Step 6:

Fold the upper corner down again, this time the same as the previous step Align the midpoints of the folded creases
Step 7:

As shown in the figure, align the bottom midpoint and the left corner of the small triangle above
Step 8:

Flip
Step 9:

Fold as shown
Step 10:

Fold the top layer to the left
p>Step 11:
Fold the right one to the left
Step 12:

Fold the top layer down so that the hypotenuses are aligned
No. 13 Steps:

Fold the crease, open it, and cut along the crease to get a pentagon
Step 14:

Fold the following figure along the creases of the pentagon
Step 15:

Step 16:

Fold the upper corner downward, align it with the midpoint of the bottom, and make a crease
Step 17:

Fold the upper corner downwards and align it with the midpoint of the crease in the previous step
Step 18:

Open everything and fold along the outermost crease pointed by your finger
Step 19:

Step 20:

Turn over and fold along the crease pointed by your finger
Step 21:

Fold along the crease, trying to bring the center closer together, keeping the bottom layer flat Move
Step 22:

Fold everything to the middle
Step 23:

Rendering at the bottom
Step 24:

Fold each corner in the same direction
Step 25:

Erect one of the corners
No. 26 steps:

As shown in the picture, open the middle and fold the upper corner with the lower corner
Step 27:

Step 28:

Step 29:

Press the upper corners flat
Step 30:

Same operation for other corners
Step 31:
 < /p>
< /p>
Flip
Step 32:

As shown in the picture, fold the two corners toward the midline, fold the crease, open it, and fold inward along the crease
Step 33:

< br/>
Step 34:

Do the same with the other four parts on the other side
Step 35:

No. 36 steps:

Turn it over and fold it on both sides of the corner as shown in the picture. After making the crease, open it and fold it inward along the crease
Step 37:

Step 38:

Same operation for the other four parts
Step 39:

Fold the sharp corners back
Step 40:
< p>
Step 41:

Open the middle part as shown in the picture, and fold the upper sharp corners back
p>Step 42:
Slightly arrange the center into a circle and complete
Step 43:

Step 44:
p>
Step 45:

Step 46:

Step 47:< /p>

Step 48:


![[Origami Encyclopedia] Creative handmade origami video tutorial on origami Apple LOGO](https://img.111diy.com/timthumb.php?src=/d/file/20220217/dd2zin3tlq5.jpg&w=200&h=200&zc=1)

![[Complete Fish Origami] Carp Origami Illustrated Tutorial](https://img.111diy.com/timthumb.php?src=/d/file/20220217/crxjaul5f53.jpg&w=200&h=200&zc=1)


