You may not have learned how to make origami zodiac signs before. Many students prefer the twelve zodiac signs, so they also hope to learn how to make origami zodiac signs. We recommend that you learn this manual origami illustration. Tutorial, this is an illustrated tutorial on how to make an origami Libra and an origami Aquarius using origami. Why do the methods of making an origami Libra and an origami Aquarius appear in a manual illustrated tutorial? The main reason is that the basic folding methods of Libra and Aquarius are the same, but the subsequent shaping processing is different, so they end up showing two completely different origami constellation symbols. This is why we will show them here at once. Learn how to make these two origami constellations.
Step 1:

First divide the square paper into two square origami 8×8 grids horizontally and vertically, just keep folding in half< /p>
Step 2:

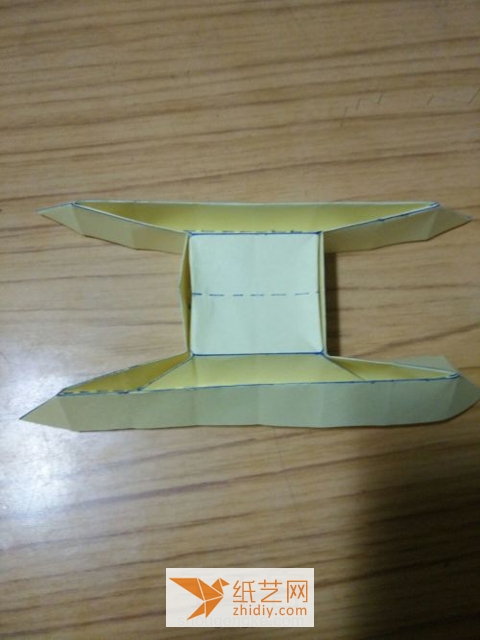
Find these creases and fold them
Step 3:

After folding This is the effect
Step 4:

Open the square in the middle
Step 5:

Fold it in like this
Step 6:

Start shaping below
Step 7:

Organized The origami Aquarius is complete!
Step 8:

The compatibility of the origami Libra will be different from this step onwards
Step 9:


![[Origami Encyclopedia] Creative handmade origami video tutorial on origami Apple LOGO](https://img.111diy.com/timthumb.php?src=/d/file/20220217/dd2zin3tlq5.jpg&w=200&h=200&zc=1)

![[Complete Fish Origami] Carp Origami Illustrated Tutorial](https://img.111diy.com/timthumb.php?src=/d/file/20220217/crxjaul5f53.jpg&w=200&h=200&zc=1)


