My favorite origami craft is animal origami, because I like all kinds of small animals very much. I have liked to observe the characteristics of various animals since I was a child. Origami animals can well express the characteristics of each animal. , the essence of this kind of origami work is the characteristics of animals. It is a sense of accomplishment to let others see what kind of origami animal you are making at a glance. I have seen tutorials on the origami peacock on the paper art website. This It is the production of an origami peacock with its tail open. It can no longer be regarded as a childrens craft because it is a bit complicated. However, you can successfully complete the origami peacock by slowly following the tutorial.
Step 1:

What is prepared is a piece of A4 paper
Step 2:

Cut the paper according to the length and width 2:1
Step 3:

Fold one side first
Step 4:

Then stand up one corner
Step 5:

Stand up the front Open the corners and then fold them
Step 6:

Fold the lower corners upward
Step 7:

Fold the other bottom part down
Step 8:

After folding like this, continue to the other side Production
Step 9:

After both sides are done, it will look like this
Step 10:

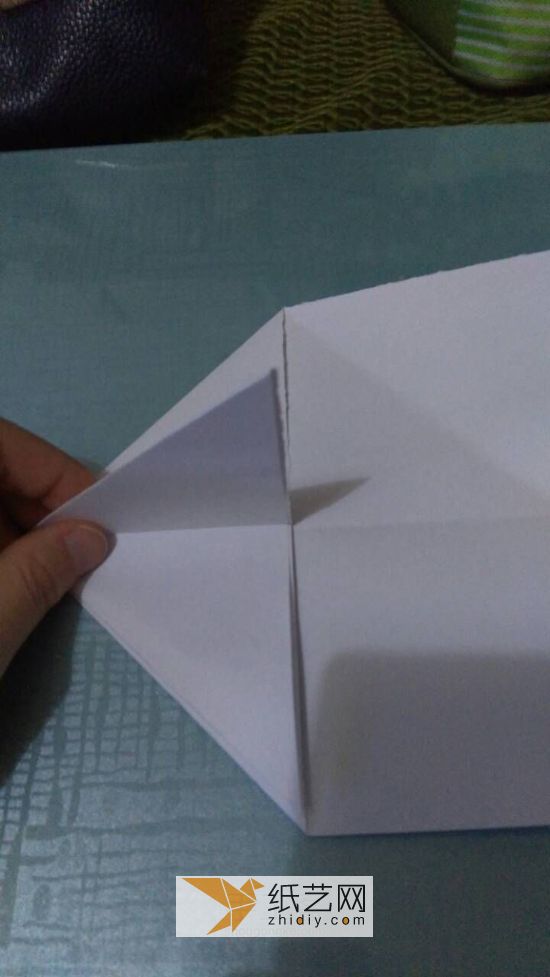
Open both sides slightly
No. Step 11:

Then fold the small triangle part inside
Step 12:

The sharp corners should be folded to both sides
Step 13:
< p>
The folded corners on both sides Everything looks like this
Step 14:

Open it and then fold it
Step 15:

This is what it will look like after folding
Step 16:

The other side is also made in the same way
Step 17 :

Now we need to fold the big paper at the bottom to the middle
Step 18:

Fold the other side in the same way
Step 19:

Thats it Like this
Step 20:

Turn over to the other side
Step 21:

Fold the bottom wide edge little by little
Step 22:
 < /p>
< /p>
Same as folding a fan
Step 23:

Fold to this position and stop
Step 24:

Fold the top part
Step 25 :

Fold to the other side
Step 26:

According to the previously folded position, you can stand the triangle part up
Step 27:
p>
Flip it over and the tail will look like a fan open
Step 28:

Thats it
Step 29:

Put the pointed head up Fold it over
Step 30:

The folded origami peacock head
Step 31:

It is somewhat similar to making the head of an origami crane
Step 32:

The head is folded
Step 33:

Then you can adjust the tail and the feet of the origami peacock
Step 34:

How about, the origami peacock can stand up
Step 35:

A very beautiful origami peacock bar.


![[Origami Encyclopedia] Creative handmade origami video tutorial on origami Apple LOGO](https://img.111diy.com/timthumb.php?src=/d/file/20220217/dd2zin3tlq5.jpg&w=200&h=200&zc=1)

![[Complete Fish Origami] Carp Origami Illustrated Tutorial](https://img.111diy.com/timthumb.php?src=/d/file/20220217/crxjaul5f53.jpg&w=200&h=200&zc=1)


