The tutorial for making hand-made origami roses is very popular with everyone. This is because the hand-made origami roses themselves are more exquisite. Making hand-made origami roses can help us enrich our lives.
The origami tutorials for handmade roses are mainly based on Kawasaki roses. The tutorial for making handmade origami roses that you see here is a relatively simple folding method of handmade origami roses. We can see that what is folded out of this handmade origami roses is an origami rose made by Class 4. He is speaking. This is a simple hand-made origami rose origami illustration tutorial based on the Kawasaki rose, which helps us quickly get started in learning hand-made origami roses. Since the illustrations in this tutorial are relatively clear, even if you don’t have any basic knowledge of origami roses, you can follow this tutorial and make a beautiful folding box with handmade origami roses. Personally, I still like to use handmade origami roses when the holidays come.
Roses are given as gifts to relatives and friends. This is because the hand-made origami roses are made by themselves, so they represent The meaning is more profound. You may think that this handmade origami rose is not particularly beautiful in terms of color. I personally recommend using bright red paper to complete the folding of this rose. This is because in nature, we often see more Red rose flower. If you simply like to collect tutorials, then this origami rose tutorial is also worth collecting.
Step 1:

Step 2:

I believe everyone can learn the eight-line grid
< p>Step 3:
Step 4:

Double triangle
Step 5:

Fold along the line
Step 6:

After opening, there will be a square like this
Step 7:

Step 8:

Fold along the line
Step 9:

Step 10:

Step 11:

Down
Step 12:

Same
Step 13:

Front
Step 14:

Reverse side
Step 15:

Folding
Step 16:

There will be such a crease
Step 17:

Folding
Step 18:< /p>

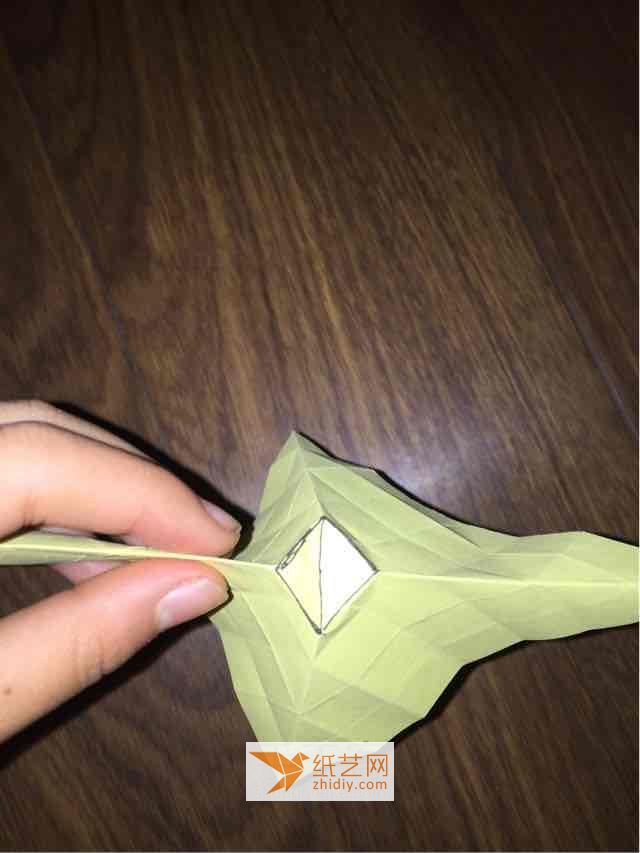
Thumb, press where you are pointing
Step 19:

Thats it
Step 20:

Adjust it
Step 21:

All four are like this
Step 22:

Turn over to the back
Step 23:

Step 24:

The other three Same thing
Step 25:

Like this
Step 26:

Open
Step 27:


Same for the other three
Step 29:

Like this
Step 30:

Fold your thumb to the black line
Step 31:

Like this , the same goes for the other three
Step 32:

Turn over and do the same for the other three
Step 33:

Like this
Step 34 :

Step 35:

Like this, the other three are like this
Step 36:

Like this
Step 37:< /p>

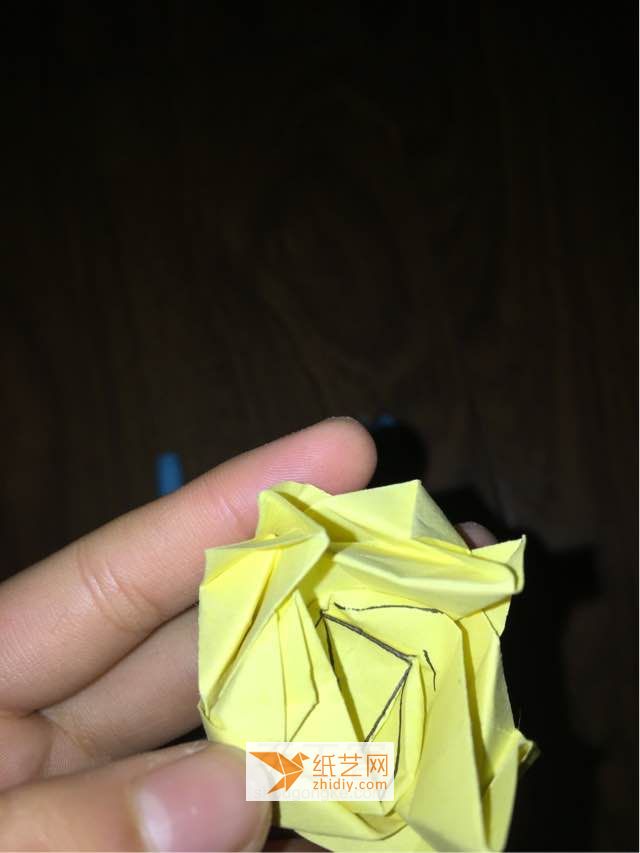
Press your thumb
Step 38:

Step 39:

One thumb press
Step 40:

Same for the other three
Step 41:
Like this
Step 42:

Step 43:

Same for the other three
Step 44:

Step 45:

Fold clockwise
Step 46:


Step 48:
 < /p>
< /p>
Step 49:

Step 50:


![[Origami Encyclopedia] Creative handmade origami video tutorial on origami Apple LOGO](https://img.111diy.com/timthumb.php?src=/d/file/20220217/dd2zin3tlq5.jpg&w=200&h=200&zc=1)

![[Complete Fish Origami] Carp Origami Illustrated Tutorial](https://img.111diy.com/timthumb.php?src=/d/file/20220217/crxjaul5f53.jpg&w=200&h=200&zc=1)


