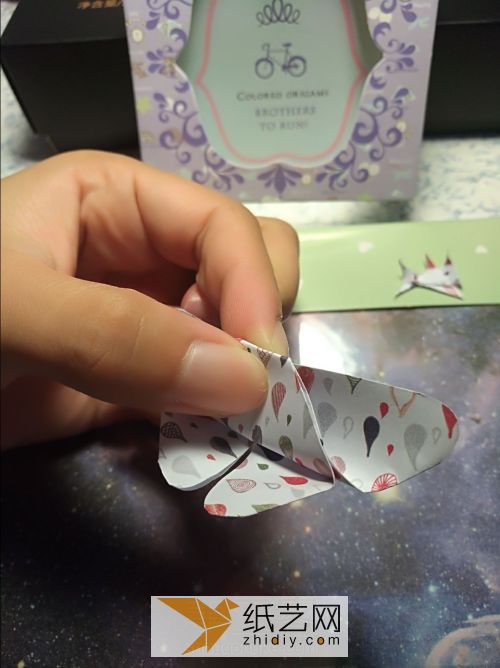
 Teach you step by step how to make a three-dimensional origami butterfly
Step 1:
Origami butterflies require square paper
Step 2:

Fold the crease like this
Step 3:
p>
Then fold it according to the crease
Step 4:

It looks like a triangle
Step 5:

Fold it in half
Step 6:< /p>

This is a small triangle
Step 7:

Cut the corners into arcs with scissors
No. 8Steps:

This is what it looks like
Step 9:

Open
Step 10:

Then fold the corners down
No. 11 Steps:

Fold the other side like this
Step 12:

Turn over to the other side
Step 13:

Turn this corner up
Step 14:

Continue to fold upward
Step 15:

Then fold the corners so that the upper edges can be hooked
No. 16Steps:

Slowly fold it in the middle like this
Step 17:

Pinch it like this
Step 18:

The front side looks like this kind of butterfly
Step 19:

This is an origami butterfly that is not cut into an arc shape. Isn't it also very beautiful?
Step 20:

Learning the folding and making of such a hand-made origami butterfly is definitely not difficult for our hands-on students, because such origami butterflies are made from basic folding methods Look, the difference from other hand-made origami butterflies is not very big. The main thing is that everyone needs to seriously invest in their own experience and experience during the folding process. Especially you can see that we have to reshape this hand-made origami butterfly at the end. Sometimes, there is a flat surface to make a very three-dimensional shape, and we need to perform some simple processing. These processing are not easy for students who may not have much contact with plastic surgery, but the biggest one is the manual origami illustration tutorial. HighlightsThis is because the folding steps are clearly displayed. For beginners, they can completely imitate the operation methods in the guardian illustrations and express the three-dimensional effect of origami butterflies.
Main material: colored paper, Tools required: Scissors,


![[Origami Encyclopedia] Creative handmade origami video tutorial on origami Apple LOGO](https://img.111diy.com/timthumb.php?src=/d/file/20220217/dd2zin3tlq5.jpg&w=200&h=200&zc=1)

![[Complete Fish Origami] Carp Origami Illustrated Tutorial](https://img.111diy.com/timthumb.php?src=/d/file/20220217/crxjaul5f53.jpg&w=200&h=200&zc=1)


