For many origami beginners, making this goldfish is still very tempting. This is because the goldfish itself is very elegant. After we use origami to fold it out, we combine handicraft art and the beauty of nature. Together, this kind of artistic beauty is very attractive. The handmade origami goldfish you learned before is a very simple handmade origami goldfish for children. The handmade origami goldfish you see here today is more complicated. We can see that this handmade origami goldfish is very three-dimensional and not just on a flat surface. So is it difficult to make such a handmade origami goldfish?
From the actual origami illustration tutorial, we can see that this hand-made origami goldfish is very easy to complete, and the paper used temporarily is not our common square shape. Instead of paper, rectangular paper is used, so this origami goldfish looks very beautiful with lines. My favorite part is the tail fin of this origami goldfish. The structural lines formed on it are very elegant.
If you also want to make this hand-made origami goldfish more beautiful, it is recommended that you perform some plastic surgery on the goldfish after the final folding is completed. , thus making the structure of the origami goldfish more exquisite and beautiful. If you want to put together a nice three-dimensional painting of origami goldfish, then you can try to make multiple origami goldfish, then paste them on the cardboard or wooden board you prepared, and then hang it on the wall, so that you I completed a homemade handicraft with my own hands!
Step 1:

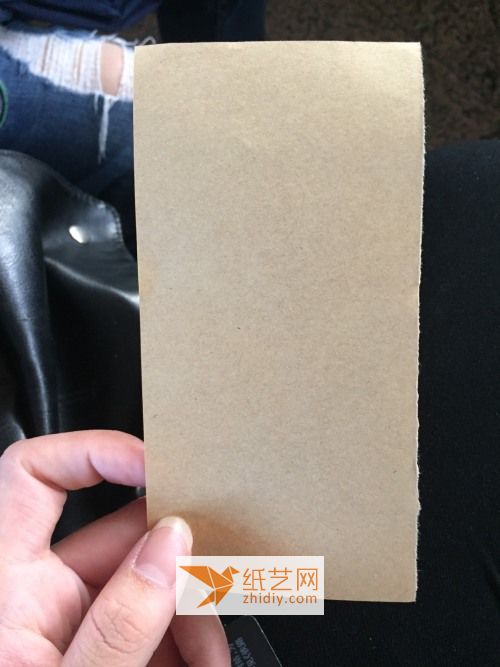
Separate a piece of square paper in half and take the rectangular paper as shown in the picture
Step 2:< /p>

Step 3:

Triangle open ? ? ? ? ? ? ? ? ? ? ? ? ? ? ? ? ? ? ? ? ? ? ? ? ? ? ? ? ? ? ? ? ? ? ? ? ? ? ? ? ? ? ? ? ? ? ? ? ? ? ? ? ? ? ? ? ? ? ? ? ? ? ? ? ? ? ? ? ? ? ? ? ? ? ? bsp; /d/file/20220222/h3vpvohmwgr.jpg" />
Open into two intersecting lines
Step 5:

Fold the lower edge to the intersection
Step 6:

Open the left and right sides and fold them to the intersection
Step 7:

Flip the lower crease outward
Step 8:

The left and right corners at the bottom are divided into left and right sides based on the midline, and each corner is folded back in half
Step 9:

Fold the two corners into the picture
< p>Step 10:
Back view
Step 11:

Fold the two corners outward
Step 12:

Turn over
Step 13:

Fold the top in half
Step 14:

Open Turn over
Step 15:

Fold the left side to the right based on the middle horizontal line
Step 16 :

Step 17:

Open the same on the other side
Step 18:

Open and turn over to complete the picture
Step 19:

Fold the center line downward
Step 20:

Pictured
< p>Step 21:
Step 22:

Did you see a diagonal crease on the side?
Step 23:

Fold the diagonal line and fold the middle part upward
Step 24:

Step 25:

Step 26:

Step 27:


Fold the triangles on both sides of the outer side of the fish tail downward
Step 29:

Open in the middle and fold downward
Step 30:< /p>

Step 31:

Fold the triangles on both sides of the outside of the fish tail
Step 32:

Fold a small triangle protruding from the bottom
Step 33:
Then open from above
Step 34:

Fold out the thin edges of the fish head and tidy it up yourself
Step 35:

Back view
Step 36:

Finished product
Step 37:


![[Origami Encyclopedia] Creative handmade origami video tutorial on origami Apple LOGO](https://img.111diy.com/timthumb.php?src=/d/file/20220217/dd2zin3tlq5.jpg&w=200&h=200&zc=1)

![[Complete Fish Origami] Carp Origami Illustrated Tutorial](https://img.111diy.com/timthumb.php?src=/d/file/20220217/crxjaul5f53.jpg&w=200&h=200&zc=1)


