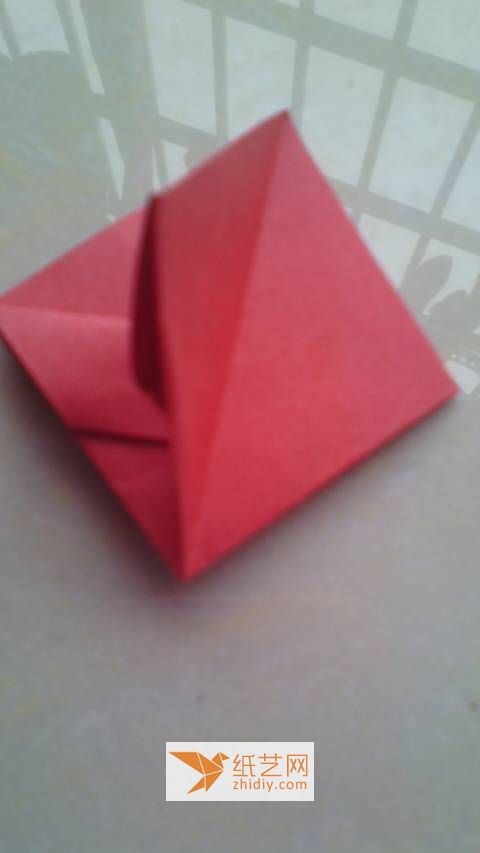
Origami making tutorials are very interesting to learn because origami can turn an ordinary piece of paper into a very interesting and vivid object. Here I will introduce you to a simple origami. This simple manual origami tutorial can teach you to fold an origami handbag. Handbags are definitely familiar to students. We all see various kinds of origami in our daily life. There are various handbags, but have you ever thought about folding them out using origami?
Simple handmade origami handbags are relatively easy to implement, as we see here The effect of this handmade origami handbag is better. The style of the handbag that came out yesterday is also very beautiful. It is basically the same as our common handbags in real life. So this points out what kind of handbag needs to be used. material! If you are familiar with origami, you will definitely know that as long as you use square paper, common things in our daily life can be folded out, so as you know, here we use square paper to complete this craft Making an origami handbag. The reason why the illustrated origami tutorials are accepted by everyone is mainly because the basic origami tutorials are relatively clear. Most of the origami tutorials in the Origami Encyclopedia are origami illustrations, so everyone can learn easily. This is why the Origami Encyclopedia is so popular. The reason why students like it. This manual origami tutorial further enriches our origami collection and makes our origamiThe paper encyclopedia becomes a real origami encyclopedia. Did you also learn the tutorial for this handbag?
Step 1:

This is the tool
Step 2:
< img alt="Simple illustrated tutorial of origami handbag" src="https://img.111diy.com/timthumb.php?src=/d/file/20220222/5s5khhkoecs.jpg" />
Fold it as shown in the picture Imprinting
Step 3:

Fold it as shown in the picture
Step 4:

First fold it as shown in the picture
Step 5:
 < /p>
< /p>
Open again
Step 6:

Fold again as shown in the picture
Step 7:

Fold it as shown in the picture
Step 8:

The same goes for the back
Step 9:

Replace it as shown in the picture
Step 10:

Turn over
p>Step 11:
Fold again as shown in the picture
Step 12:

Open as shown in the picture
Step 13:

Re Fold as shown in the picture
Step 14:

Fold again as shown in the picture
Step 15:

This is after folding
Step 16:
 < /p>
< /p>
The same is true for the back, as shown in the picture after folding
No. 17 steps:

Open it from the two sharp corners, as shown in the picture
Step 18:

Then stick the two toes together with double-sided tape and you are done.
Step 19:

This is a finished product


![[Origami Encyclopedia] Creative handmade origami video tutorial on origami Apple LOGO](https://img.111diy.com/timthumb.php?src=/d/file/20220217/dd2zin3tlq5.jpg&w=200&h=200&zc=1)

![[Complete Fish Origami] Carp Origami Illustrated Tutorial](https://img.111diy.com/timthumb.php?src=/d/file/20220217/crxjaul5f53.jpg&w=200&h=200&zc=1)


